

Rustic Cardboard Christmas Villages
I am continuing in my rustic cardboard decorating, this time with Christmas Villages. I always have piles and piles of cardboard boxes around, so I try to use as many as I can. Christmas Villages seem like a wonderful addition to my Cardboard decorations collection, and I’m keeping my iconic distressed look.
DEC 11, 2023 >
It is so simple, low-cost and impressive!
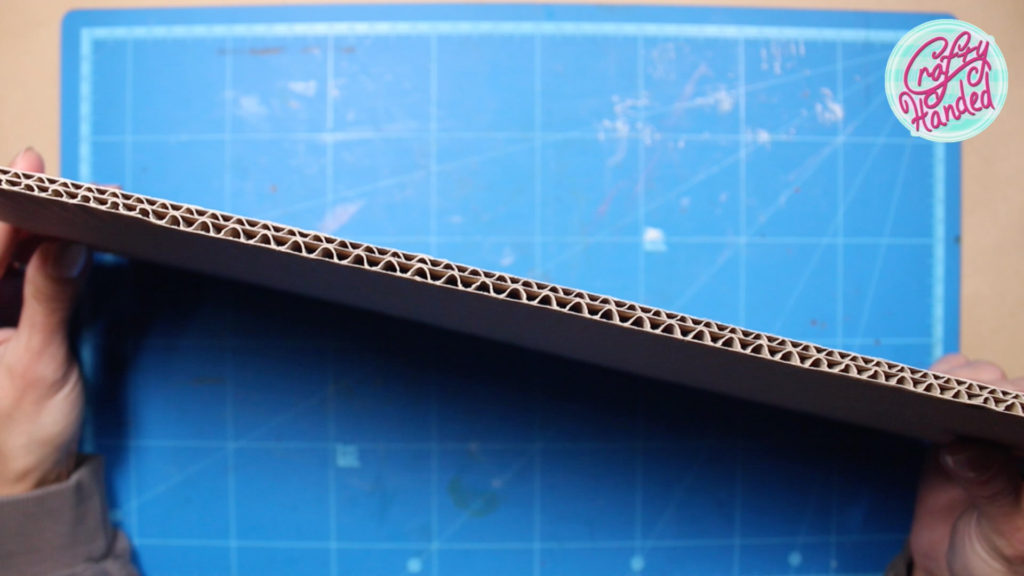
I like to use double corrugated cardboard. It is sturdy, and you can distress it from both sides if you need to!
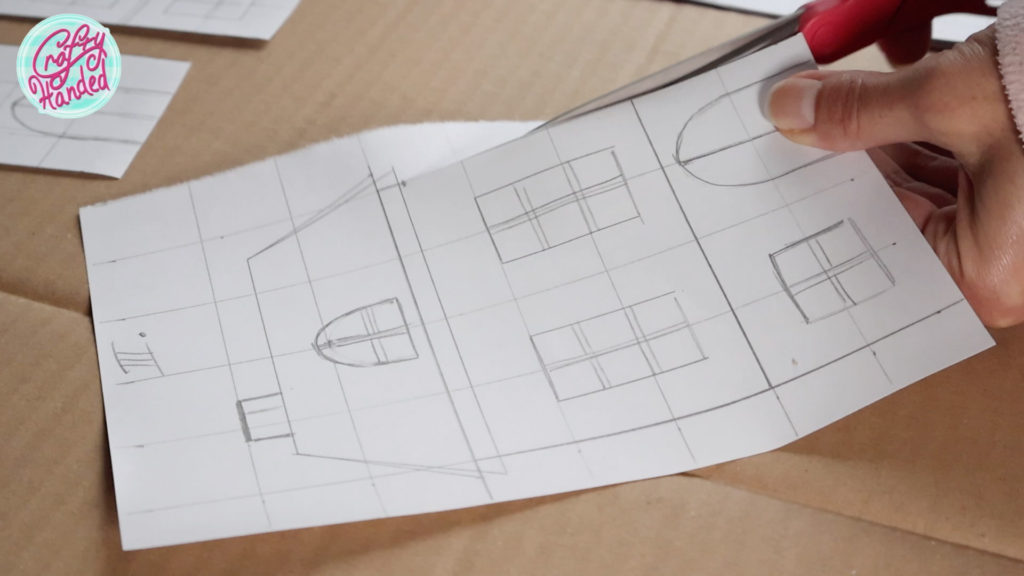
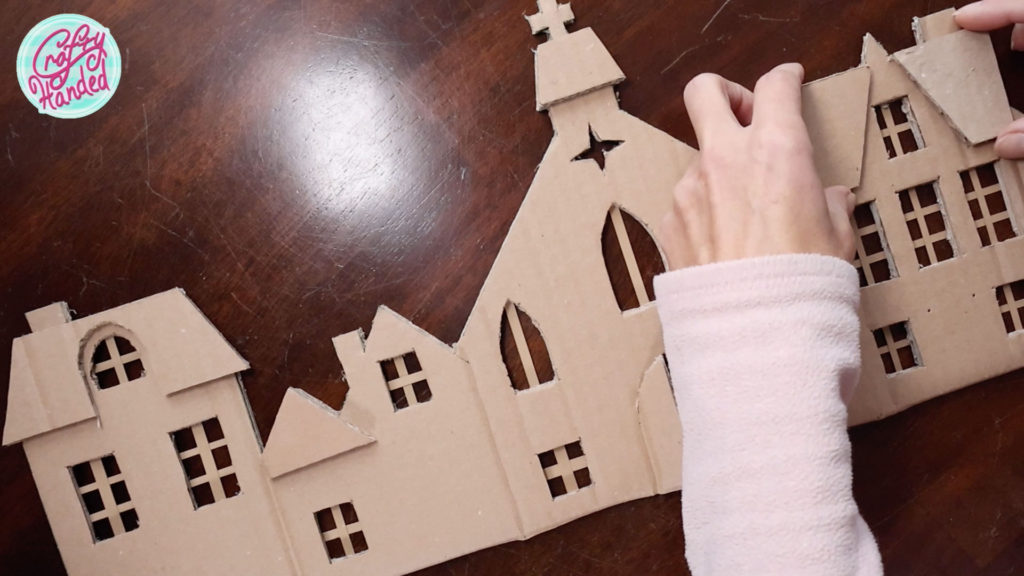
I started by drawing my houses separately on plain paper to match it’s sizes and windows. I am using a 1″ grid for that. Then I cut them out.
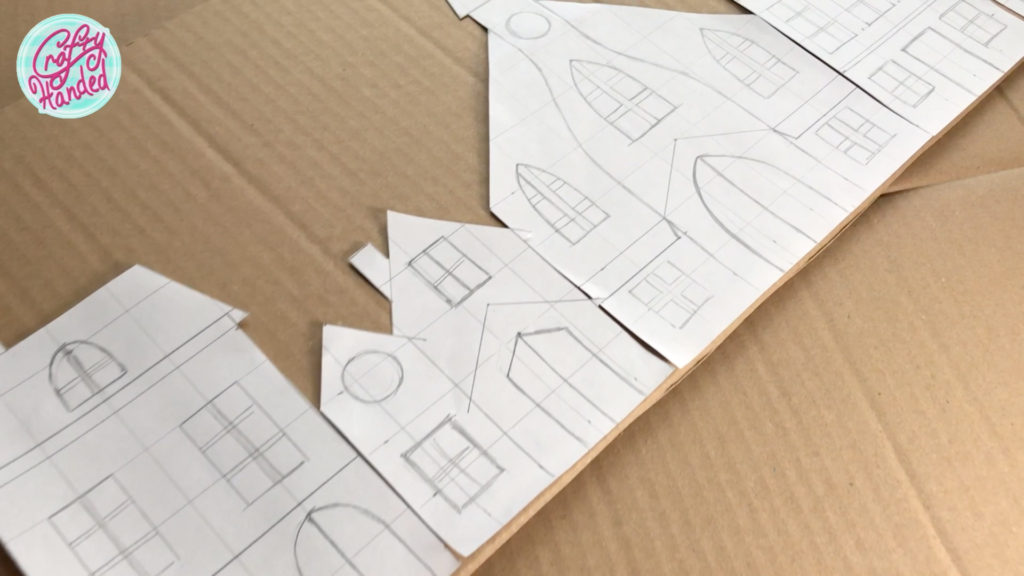
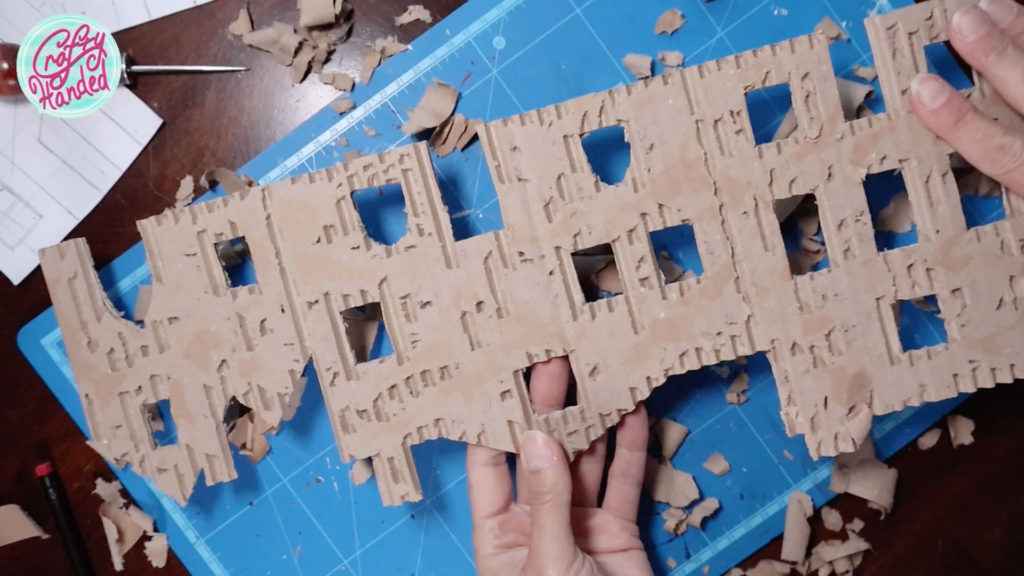
Then, I played around with which houses in which order would fit my piece of cardboard best. When I was happy with the layout, I traced the outline and carefully cut it out with a utility knife and a fresh blade. (Very carefully).
For transferring the placement of the windows and doors, I am using some pointy tool. And again, I cut them out cautiously.

For more durability, spray the decorations with a mat top coat.
2 Ways to Make Rustic Corrugated Cardboard Christmas Villages
- Mantel Christmas Village
- Window Christmas Village
Mantel Christmas Village
I always wanted a mantel village with lights behind it, but they are so overpriced in the stores that I decided to make my own to fit my style.
Construction Process
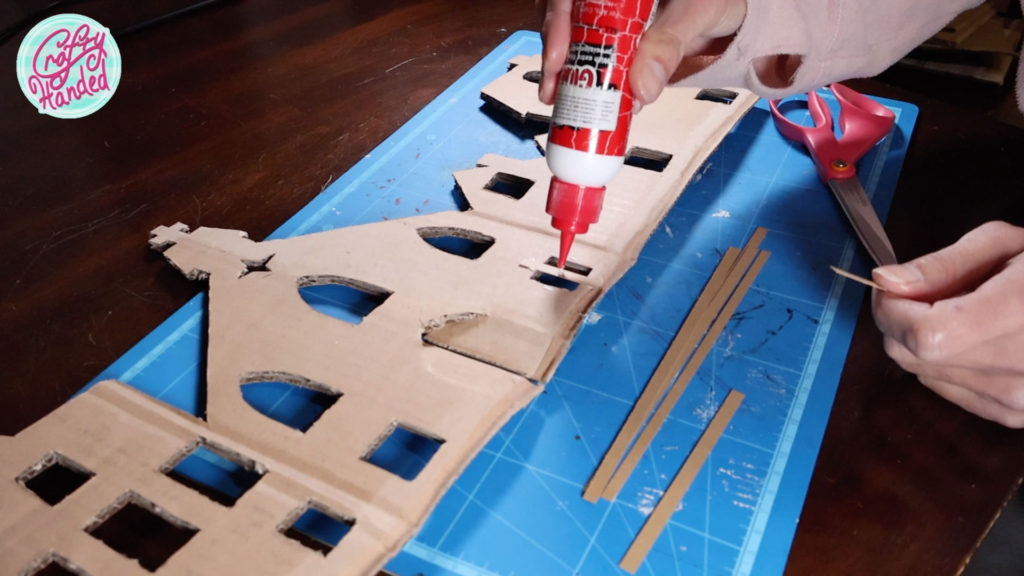
When I finished cutting the village outline and all the windows, I prepared a few thin stripes of kraft paper to make the window bars. I attached them with a PVA glue from the back side of my little village to each little window. Yep, it is a little tedious, but I like the effect. Of course, you can totally skip those.
The last construction touch was to emphasize the roofs of my little houses. I traced parts of the roofs and cut them out from leftover cardboard. Then I glued them on.
And now, the fun part. Start peeling off the top layer randomly! Well, this time, I focussed more on the roofs and around the edges. But it all depends on the size of your project and your taste for distressing.
Notice how I tore the grooves between the buildings so the village could be bent easier, and stood by itself.

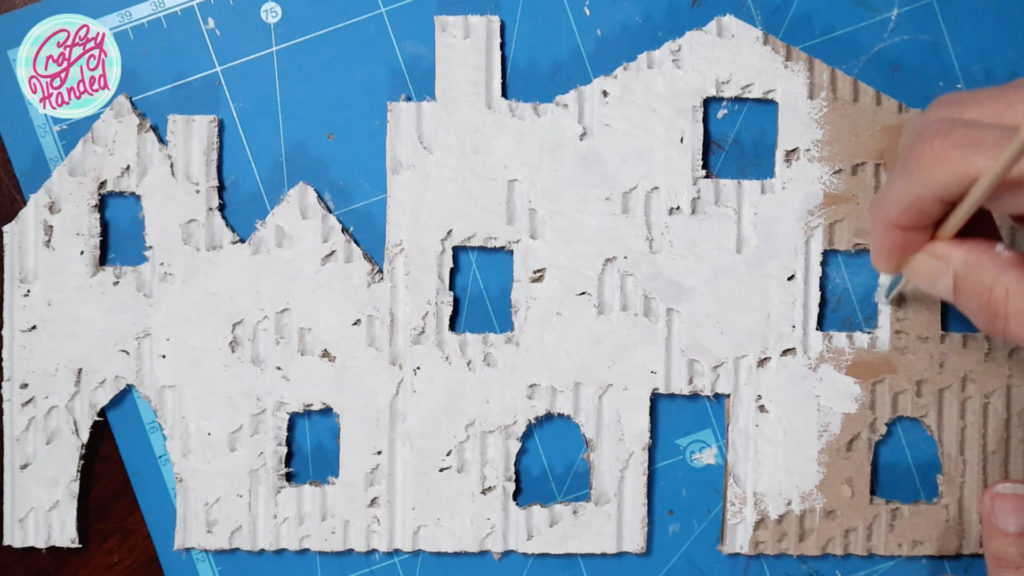
When I was happy with my destruction, it was time to start painting. I was going to use some leftover Annie Sloan Original white paint, but it was a bit too yellow for my taste, so I went back to Old White. I love the texture and coverage of this chalk paint, and it dries lightning-fast.
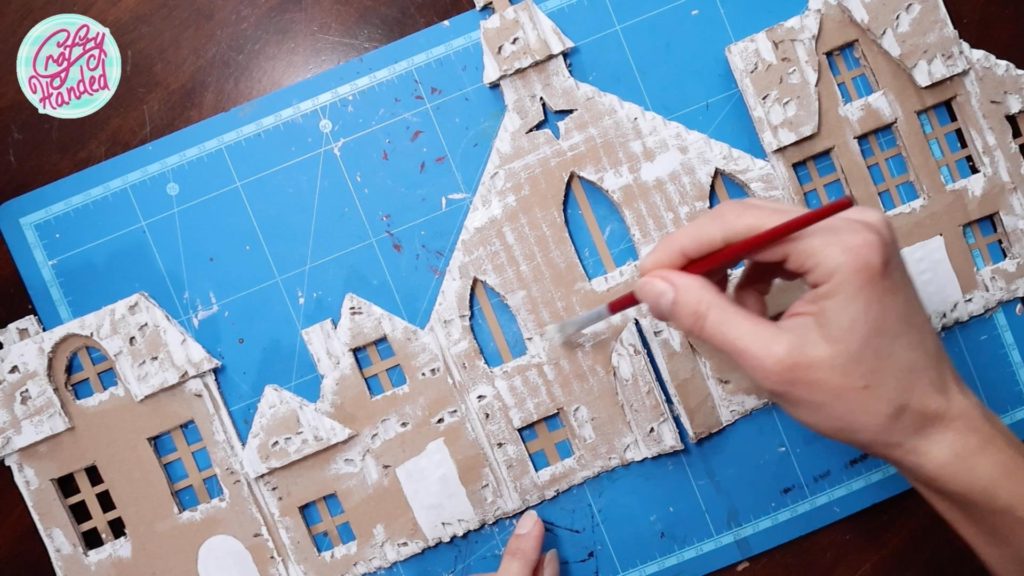
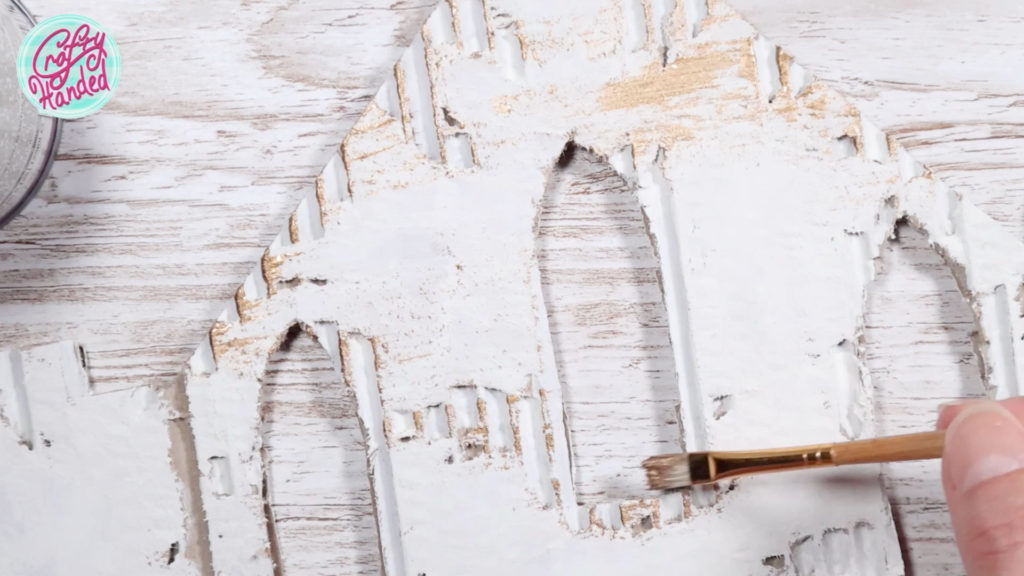
I painted the roofs and chimneys the most but still with a light hand. It is better to build up the paint gradually. Then, I painted all around the edges and here and there to emphasize the distressing. And I let the paint dry.
And if you feel like you are missing some texture in the process, there is always time to do more paper ripping.
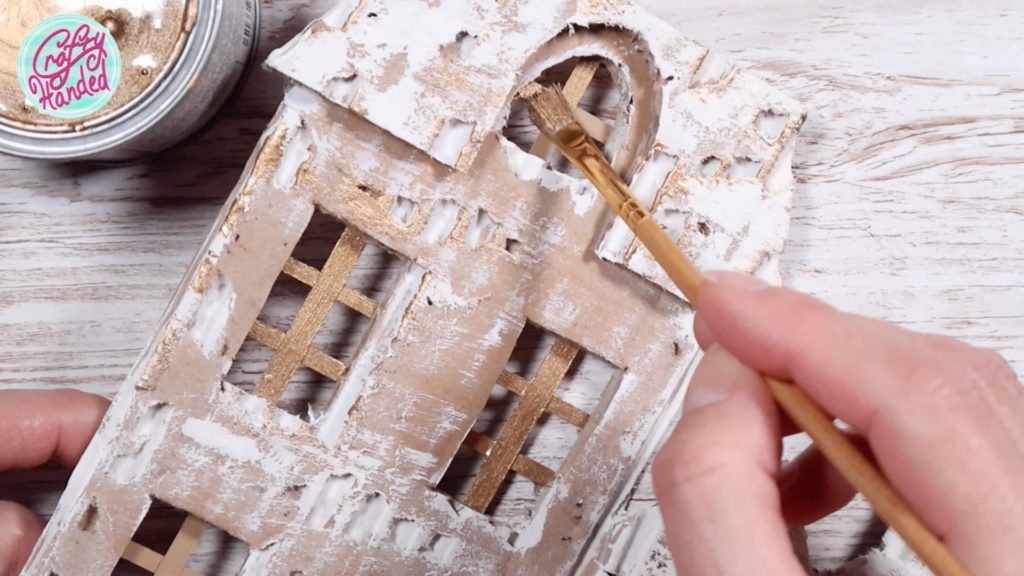
I picked my favorite gold Rust-oleum furniture paint and highlighted the raised areas and edges. I also decided to paint the window bars with it.
Installing the Mantel Christmas Village
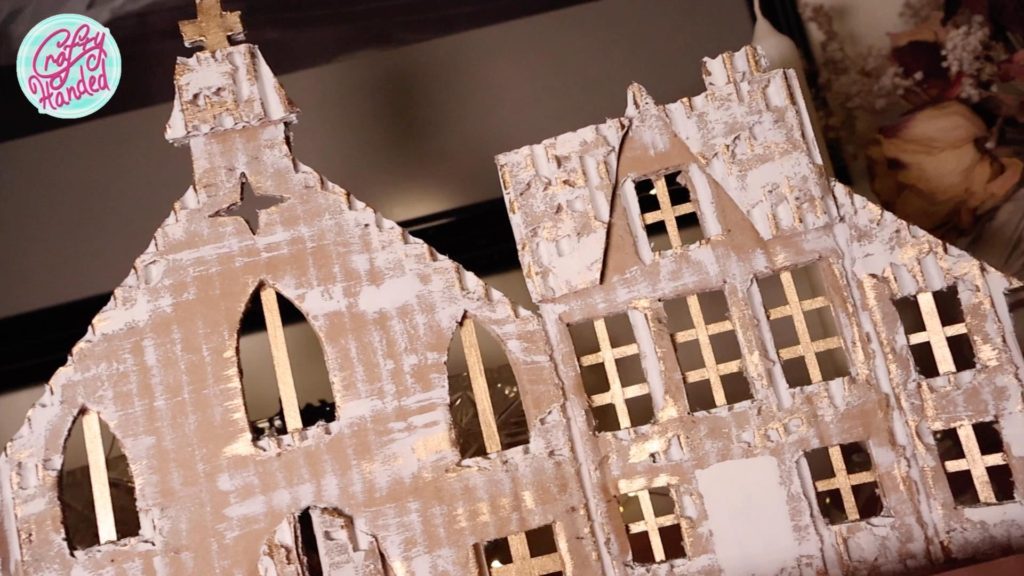
When I was finished, I carefully bent the village between the houses back and forth so it would stand on its own. Then I put a string of lights behind, and my Mantel village was done!
Window Christmas Village
For my second project, I decided to make a Christmas village for my house windows.
Construction Process
I measured the width of the glass in my windows and found long enough double corrugated cardboard to fit them. Then, I fit the different houses in each panel and cut the outline.
I decided to make smaller windows so I could skip the window bars. I was not emphasizing the roofs with an extra cardboard layer because I needed my village to lay flat against the windows. And I was doing much heavier distressing from both sides, front and back.
Also, I decided to paint the village all white, so it was more visible in the window. During the painting, I found it is a good idea to leave the grooves between the houses unpainted for visual separation. But if you accidentally paint some as I did, you can always paint them over with brown or gold paint.
On the indoor side, I decided to go ahead with the gold metallic highlights and accents again.
Installing the Window Christmas Village
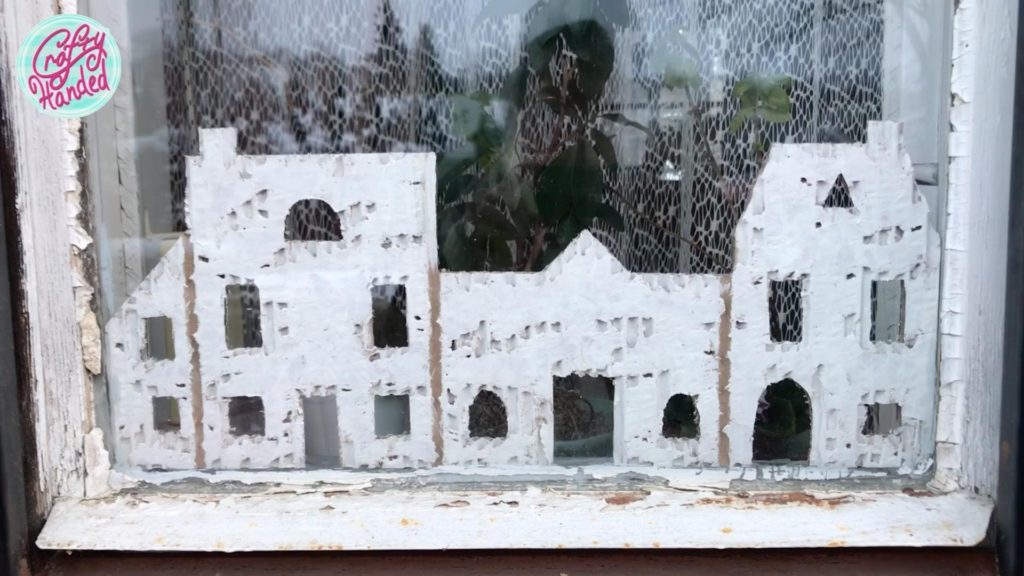
I glued a small piece of double-sided tape in the village and stuck it at the bottom of my window panels.
And here they are, my rustic corrugated cardboard villages to match my last year’s decor and my rustic house. I didn’t even think they would fit the windows so well.
And the mantel village with the shiny gold and a string of lights behind? I just love it.
What do you think? Please write me in the comments. And have a lovely Christmas! Thank you for watching!
If you want to see the whole process, don’t miss my video on my YouTube channel …And if you like what I do and would like to support me, please become my Patron.
More Christmasy Posts
-
Rustic Cardboard Christmas Villages
Easy and impressive way to make rustic Christmas Villages on budget from corrugated cardboard boxes.
-
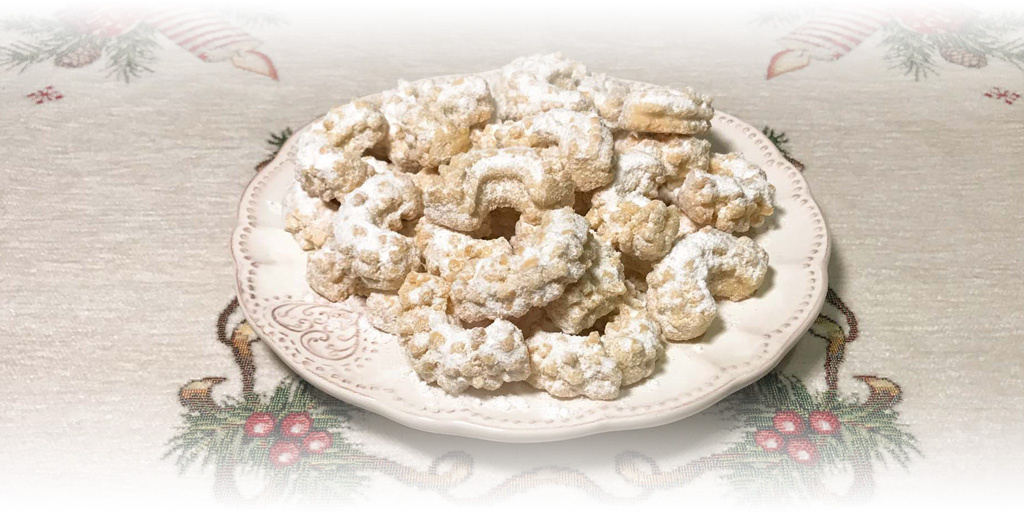
Brenda’s Vanilla Crescents
Here is another SIMPLE and AMAZING last-minute holiday cookie recipe. Vanilla Crescents to amaze your guests, who will not know when to stop nibbling on your cookies 🙂
-
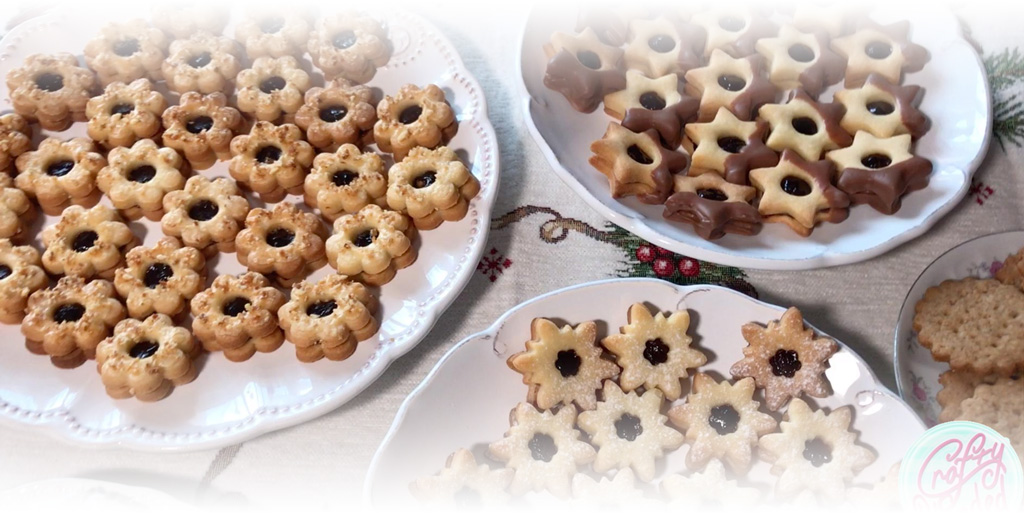
Last-minute Christmas Linzer Cookies 3in1
Here is one simple, last minute Christmas Linzer cookie recipe. And I will show you 3 different looks you can make out of one dough batch!