

Upscaled Easter Bunnies
I always wanted to get these beautiful vintage Upscale Easter Bunnies you see in expensive stores. And then I stumbled upon some cheesy gold plastic ones in a dollar store… with a beautiful shape. And I instantly saw them in a new coat, so I had to buy them. Join me for a detailed bunnies makeover.
JAN 31, 2024 >
From Low-cost to Upscale Easter Bunnies!
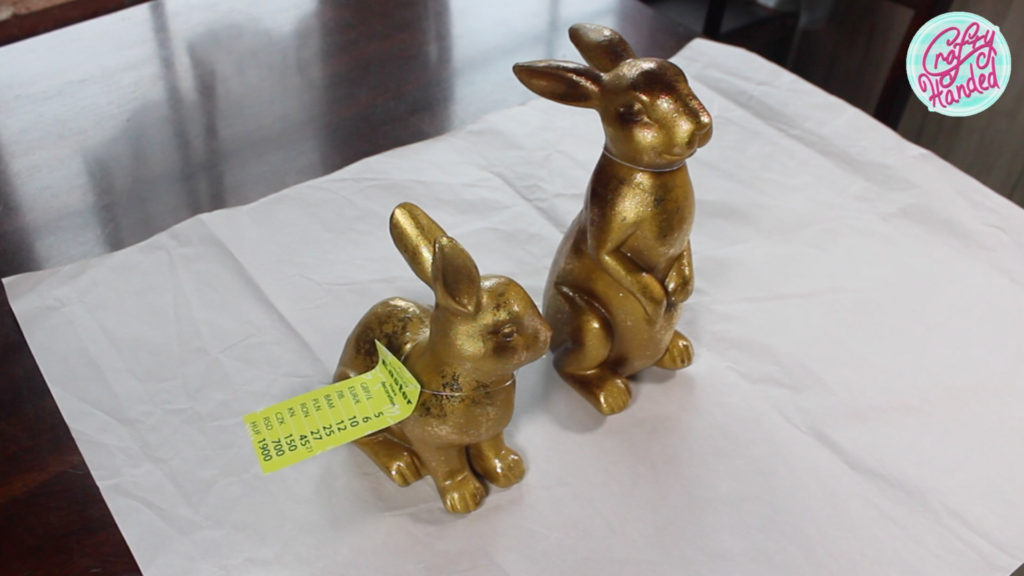
We are starting with cheap plastic glittery gold bunnies, which I got in Pepco.eu “dollar store”. But remember, you can use any material and color bunnies for this project, as long as you like their shape. Only if they are too glossy, either scuff them up a bit with sandpaper or paint with a bonding primer first.
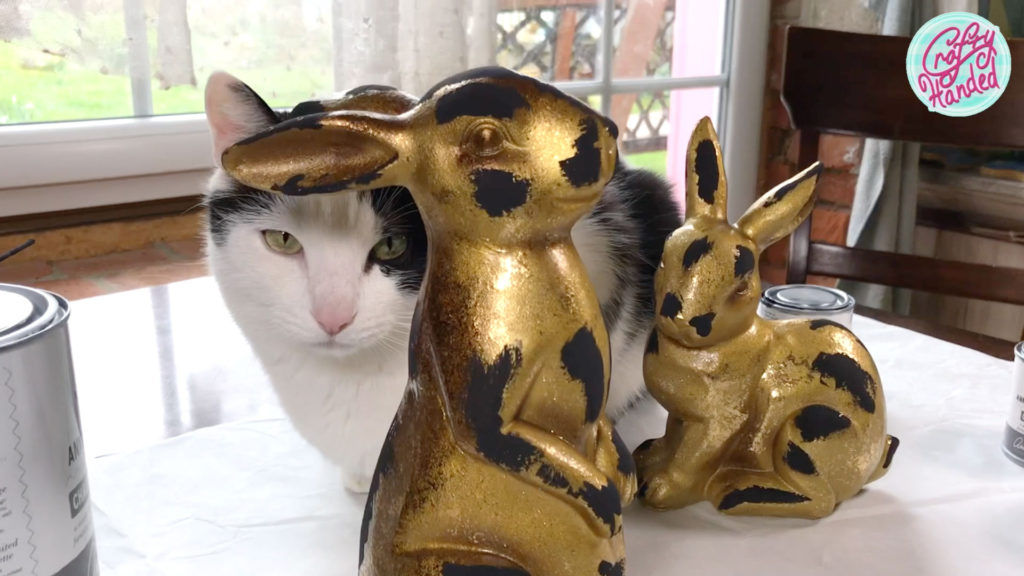
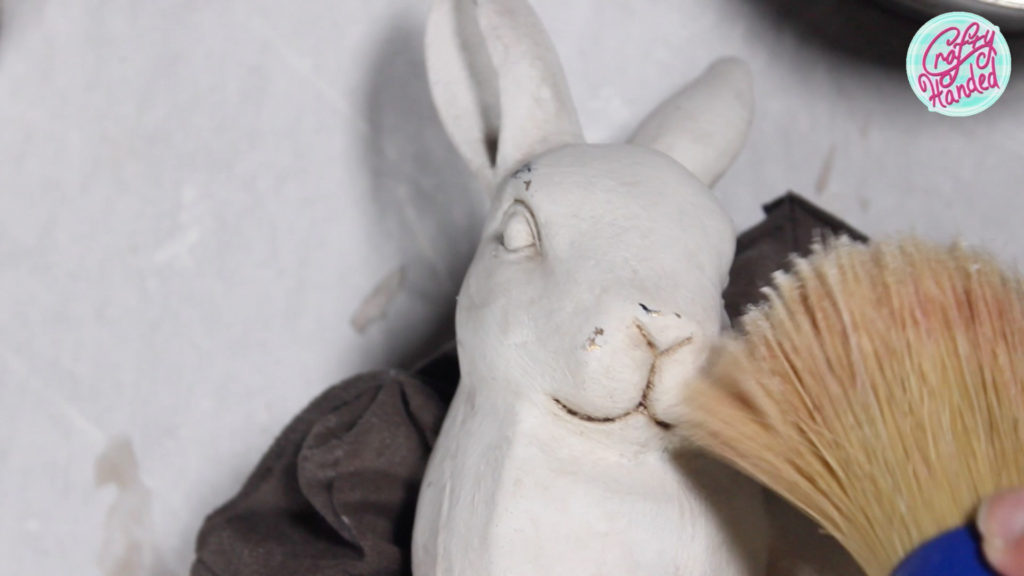
After proper cleaning and degreasing, I painted some black spots with my Annie Sloan Athenian black chalk paint. These are the places that I imagine I would be sanding down to later. So, I was picking raised areas. Of course, you could paint the whole bunny black, but I didn’t feel like wasting my paint on it 🙂 I see Spotty likes the bunnies already.
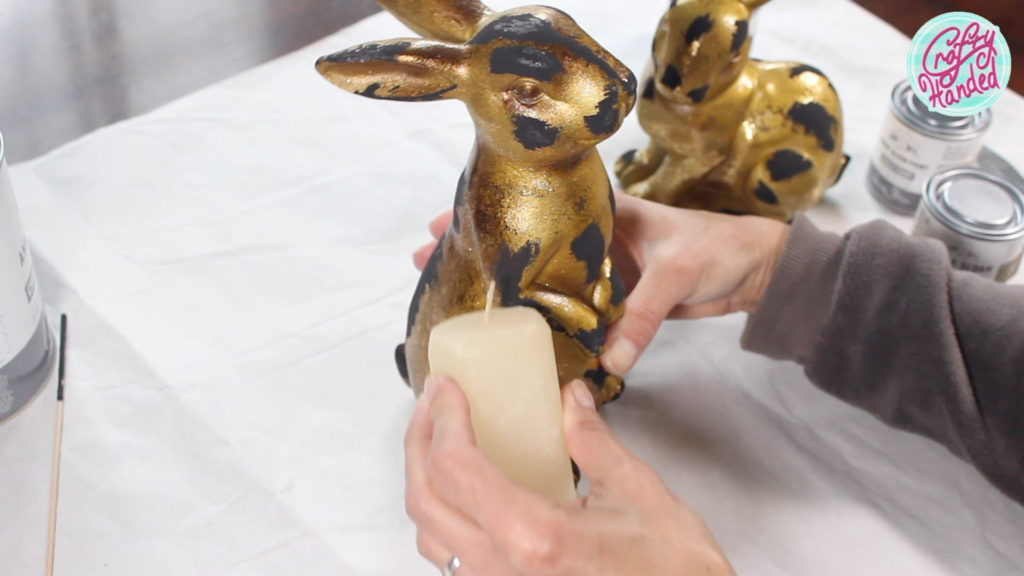
After the paint dried, I used candle wax on it to help chip off the next layer of paint later.
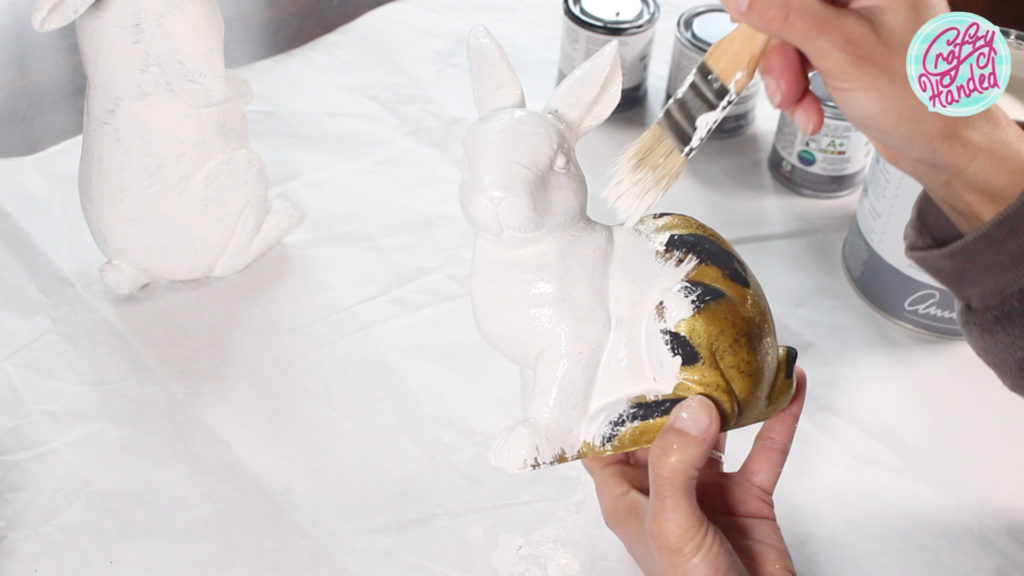
The next layer was in Old White chalk paint. This time, I painted the whole bunnies with it. I was painting them in a crisscross manner to achieve a more natural look with brush strokes. I ended up giving them two coats of paint to cover all the gold and black.
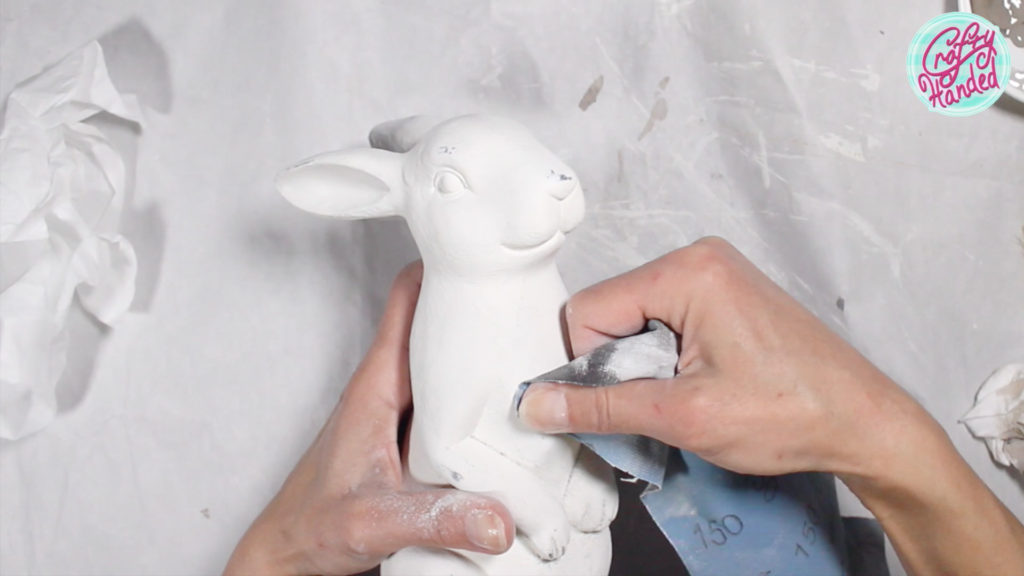
After the paint dried, I took 150 grit sandpaper and started slowly sanding away. It didn’t go as planned, but things rarely do with me. So I just let them flow.
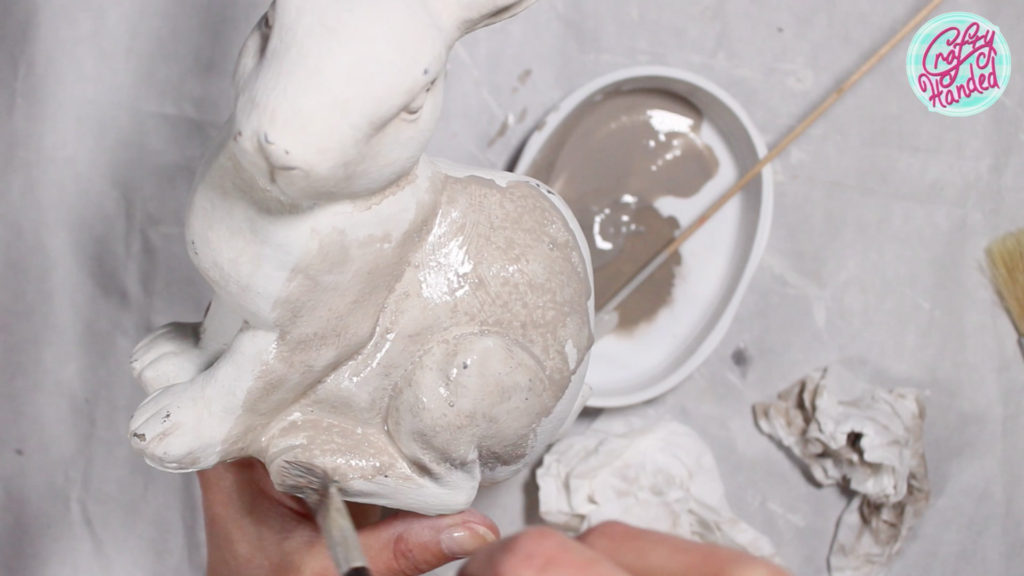
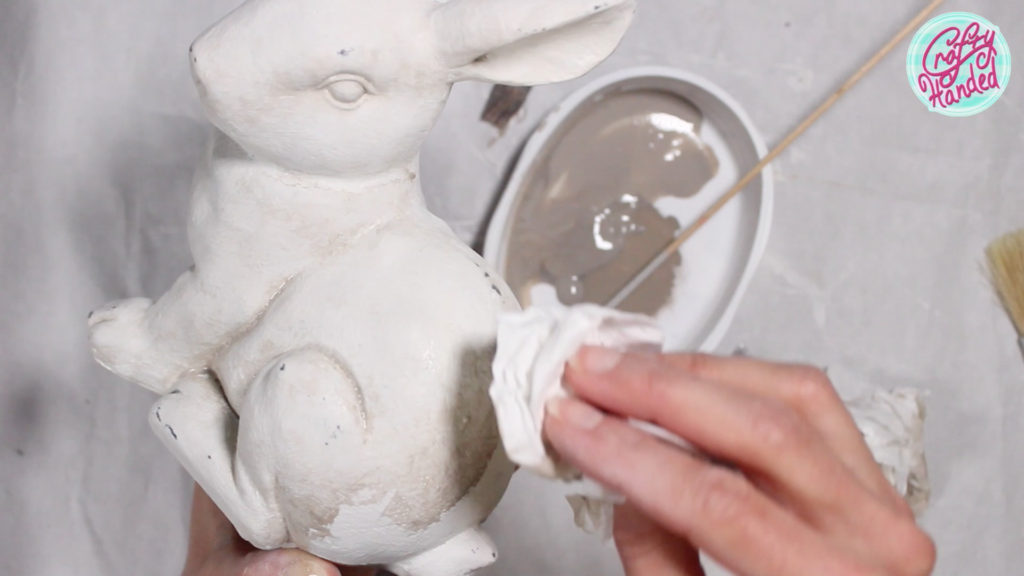
So, I took my Paris Grey and French Linen chalk paints and made a color wash by adding water to it. Then, I started painting the whole bunny in sections with it while dabbing the paint off right away with the paper tissues. Leaving some in the folds and corners.
I love how easily they got the aged look! And how the wash created maps, like something stained the bunnies over the years. What the wash also did was help to remove the white paint from the spots that were earlier covered with wax. So, I got a more distressed, chipped look.
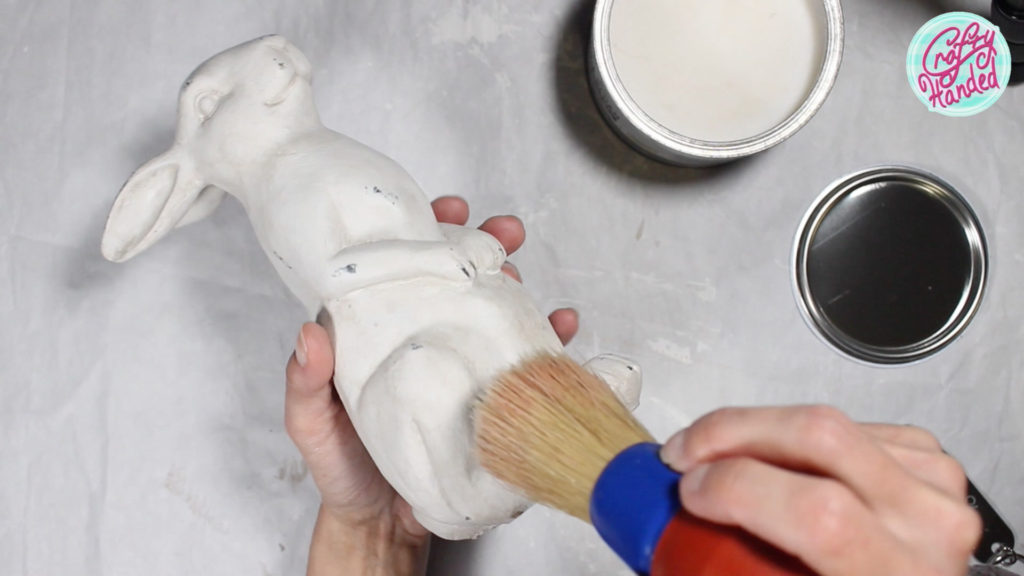
The next day, when the bunnies were completely dry, I sealed them all over with a layer of Annie Sloan clear furniture wax.
Then, I darkened the deep areas like the eyes and nose with dark wax, wiping and blending with the clear wax where needed. When I was happy with the shading, I let the wax dry a bit and then wiped and polished the whole bunnies with a soft cloth.
They were almost done. But I thought something around the neck would be cute. I tried different things, but only the lace gave me the vintage look I was looking for. I think an old button was a nice touch, too.
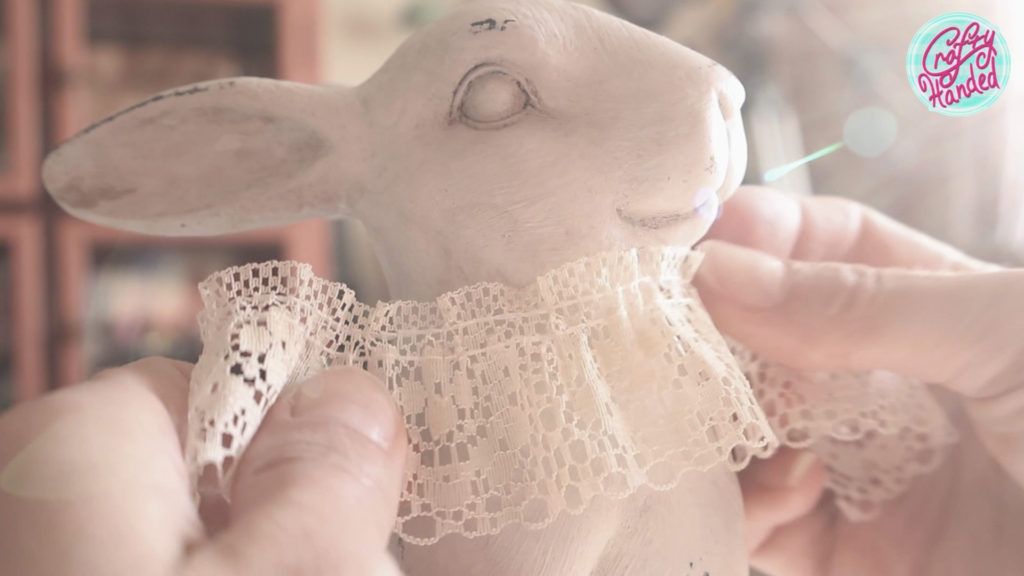
I think they came out just lovely! Such a change from the glittery gold plastic! And they do look like they are made from clay or stone like they are ages old. All the vintage details in color and texture.
What do you think? Please write me in the comments. And have a lovely Easter! Thank you for reading!
If you want to see the whole process, don’t miss my video on my YouTube channel …If you’d like to Buy Me a Coffee for nicer mornings I would be delighted! And if you like what I do and would like to support me, please become my Patron.
More Easter Posts
-
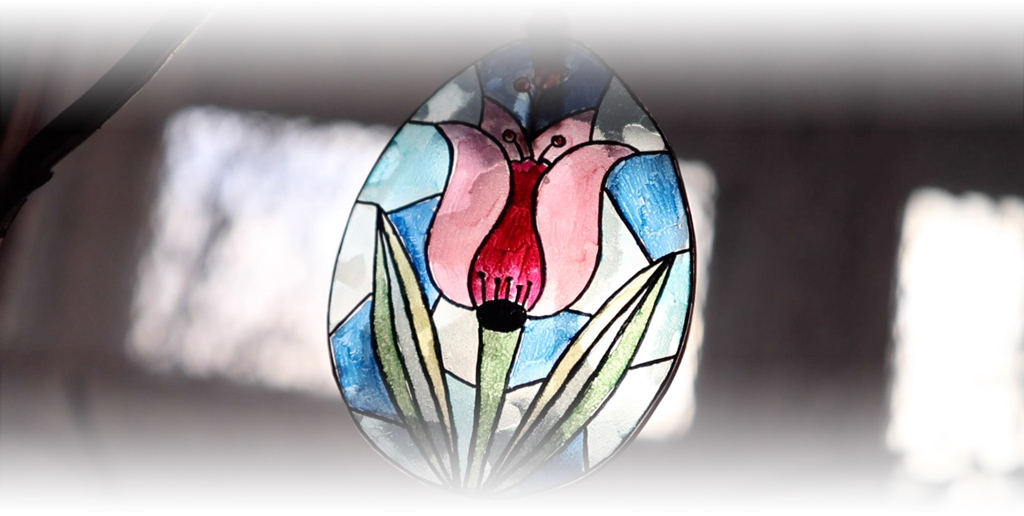
Stained Glass Easter Eggs
Let’s do an easy Easter decorating project. Faux stained glass Easter egg ornaments – No glass and eggs needed :), but shrink plastic and markers…
-
Upscaled Easter Bunnies
I always wanted to get these beautiful vintage Upscale Easter Bunny statues from expensive stores so I flipped some cheap ones!
-
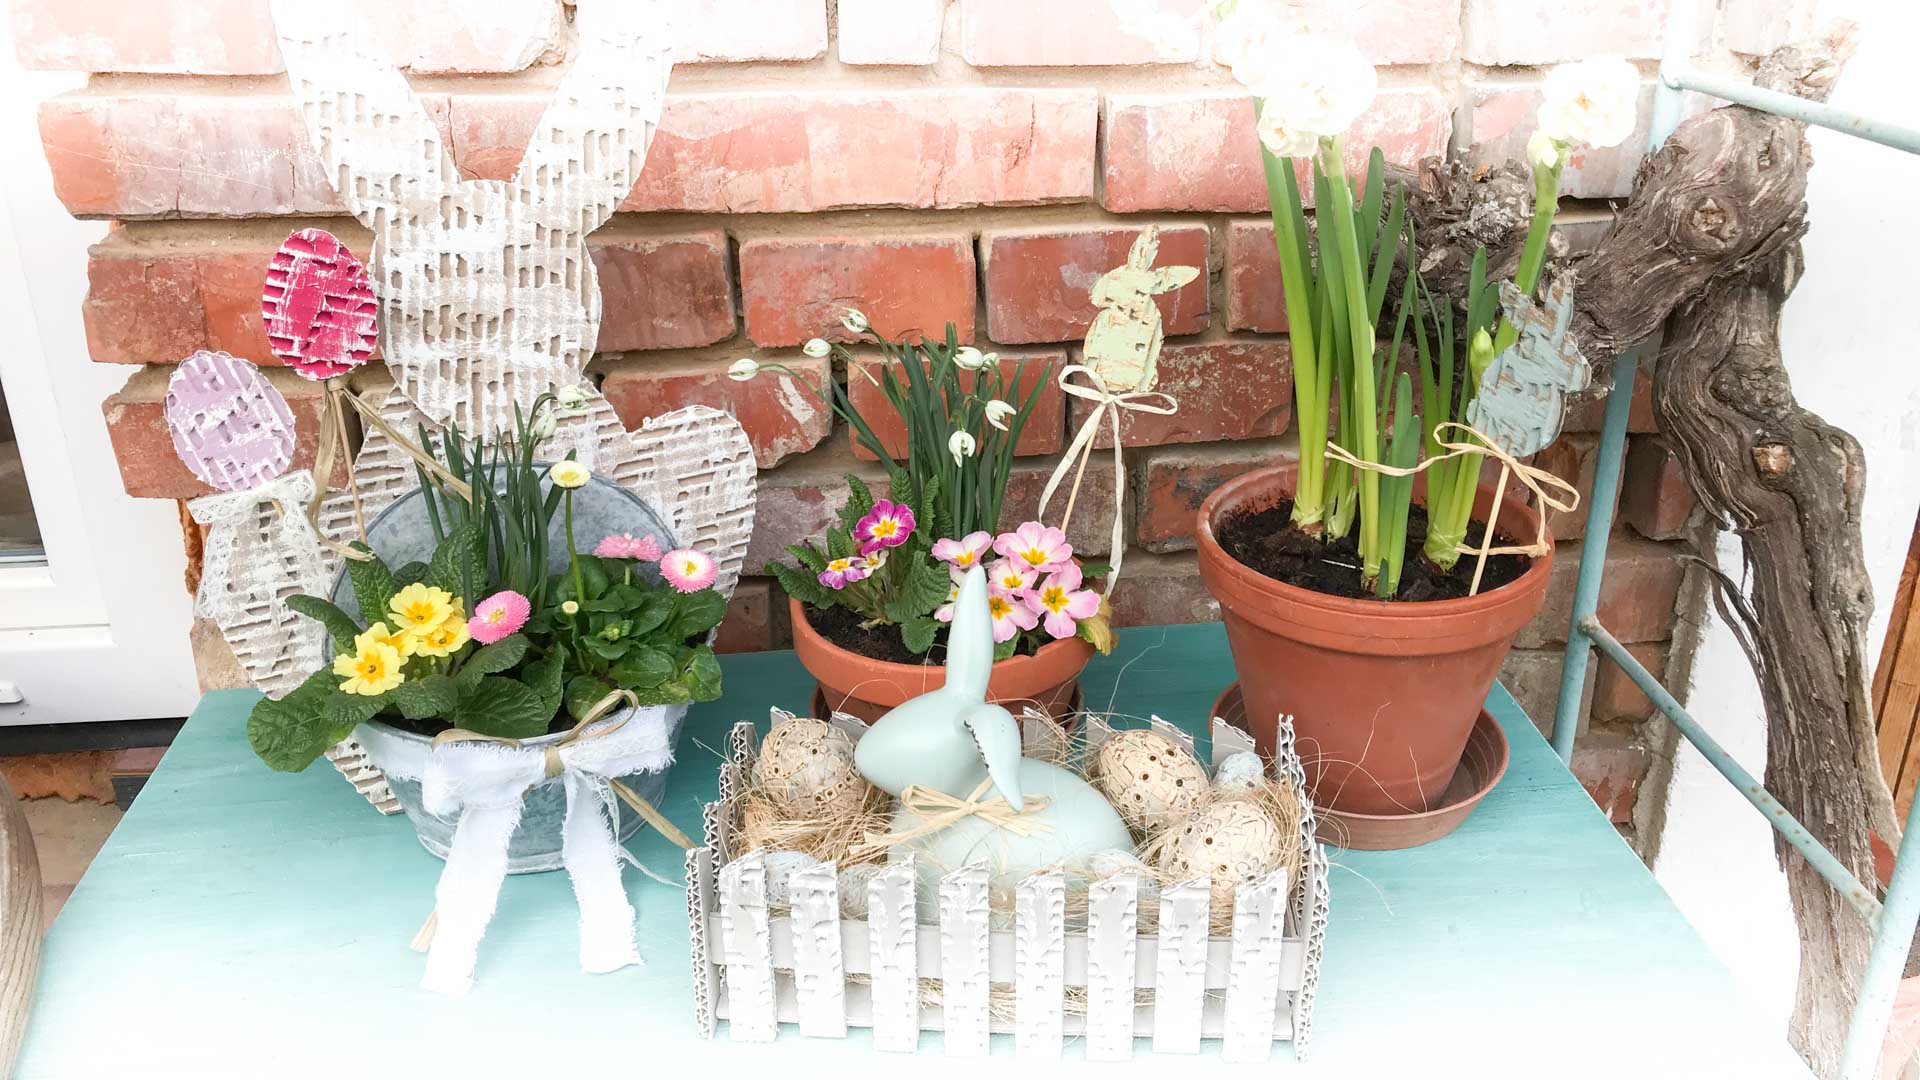
Rustic Corrugated Cardboard Easter Decorations
Easy way to make rustic Easter decorations on budget from corrugated cardboard boxes.