

Kitty Cat Winter Retreat
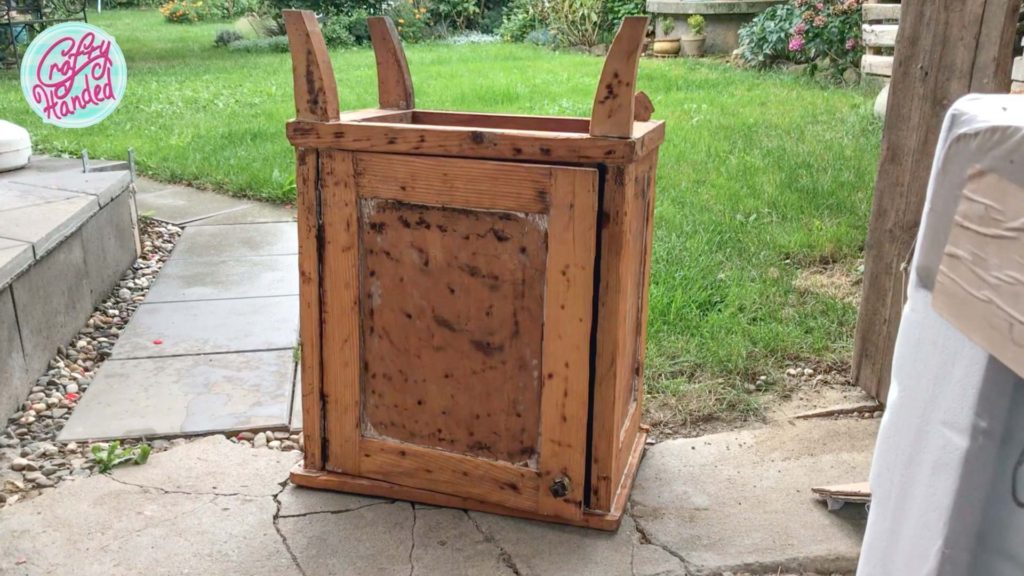
Seeing my poor outdoor kitties curled up this winter on a doorstep in a 5°F freeze made me start another project quickly, a “tropical” Kitty Cat Winter Retreat. A comfy place where they could warm up their little feet and rest. As I salvage everything that might be useful one day, it didn’t take me long to find a perfect base for my project. An old dilapidated nightstand.
JAN 18, 2024 >
Good tea time, my sweet strangers. This blog post is about my Kitty Cat Winter Retreat project, but if you are not a big reader and haven’t seen my videos, you are welcome to jump to the bottom of this post. 🙂
Selected tools and supplies I used:
- Durham’s Water Putty
- Dremmel Tool + bits (9910 Tungsten Carbide Carving, 105 Engraving, 191 Carving)
- Sedlácká Barva (Farmer’s Paint) from Sokrates
- Queen Bee Stamp set plus Black Ink from IOD
- Distressed Wallpaper Stencil from Prima Redesign
- Fusion Mineral Paint in Victorian Lace
- Transfer Gel medium from Stamperia
- if you’d like to know about something else, please let me know
Total Nightstand Remake
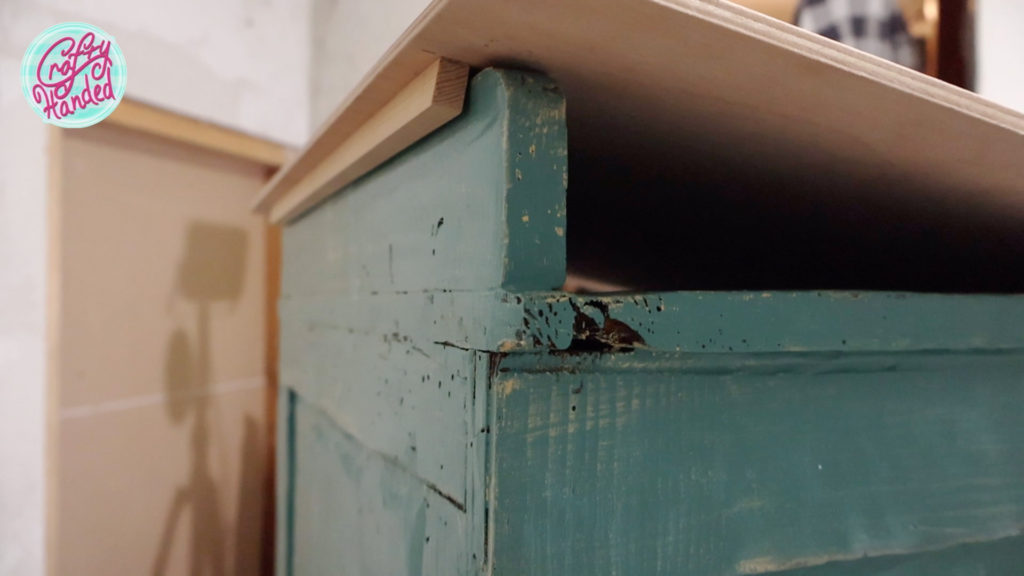
The nightstand was heavily damaged and eaten by woodworms, but already treated in the summer, so hopefully, there are no live ones in there. It had some parts missing, and parts needed to be repaired before I could start calling it a cat house.
Repair and Construction Work
I started with crafting a new set of legs from my pet wood. After copying the shapes of the original ones, I cut them out and sanded them to fine-tune the shape. I also drilled holes for dowels.
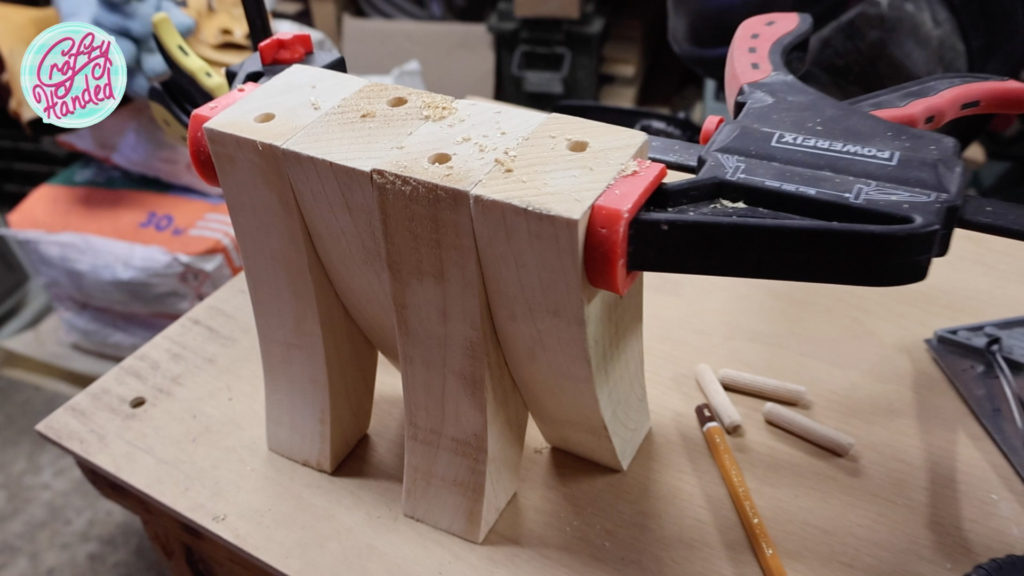
Tip: When you have curved, off-center legs and want to drill a hole as close to vertical as possible in the top. Clamp the legs together in such a way that they will stand naturally by themselves. Now, you can use a drill press or a drill guide to drill vertically without the legs toppling over.
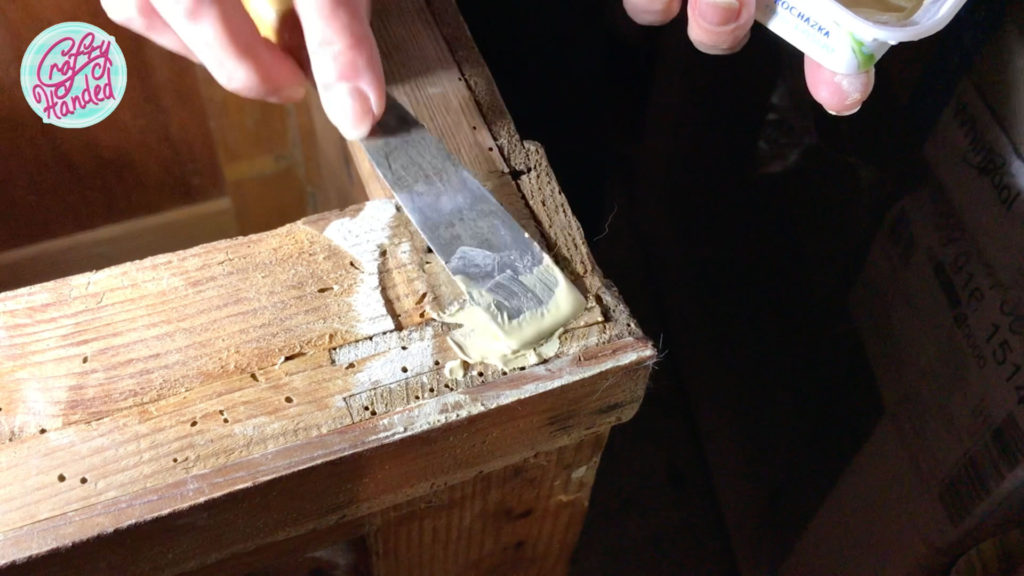
Then, I filled all the big holes with my favorite Durham’s Water Putty and glued all the loose parts back together. I clamped everything overnight to dry.
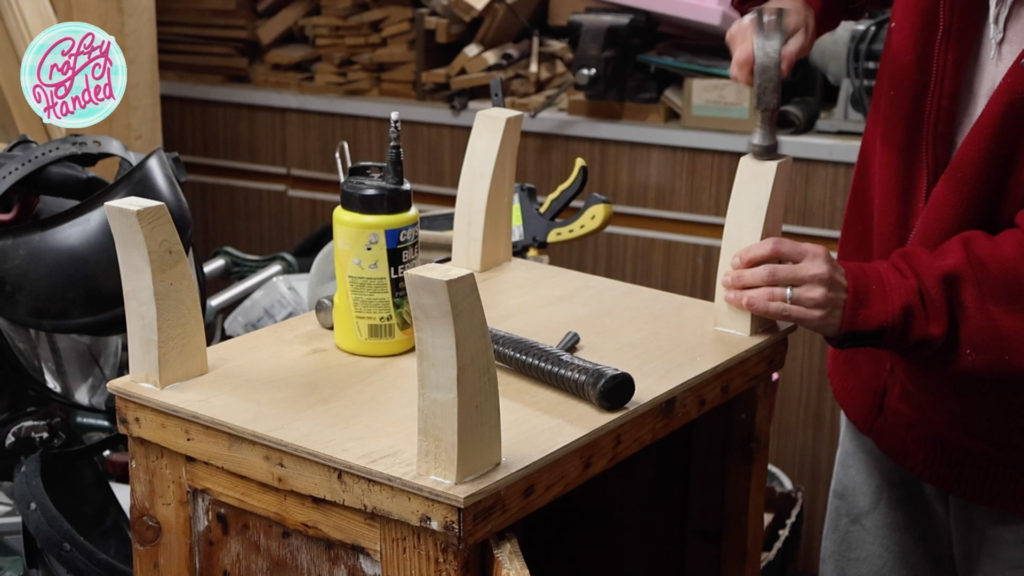
I decided to add an extra bottom from a sheet of plywood, so I could sandwich an insulation in between later. And attached the feet with dowels and long screws from inside of the cabinet.
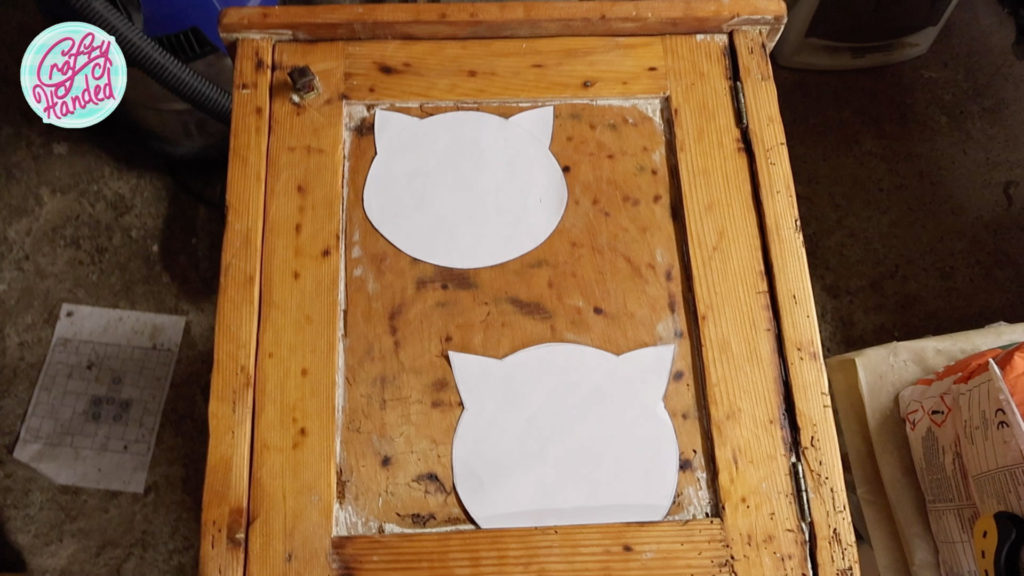
After realizing that the middle shelf was missing, I had to cut a new one to fit and fix the broken braces for it. Then, I sketched some kitty shapes on paper and played around with them on the cabinet door to find the best place for the kitty doors.
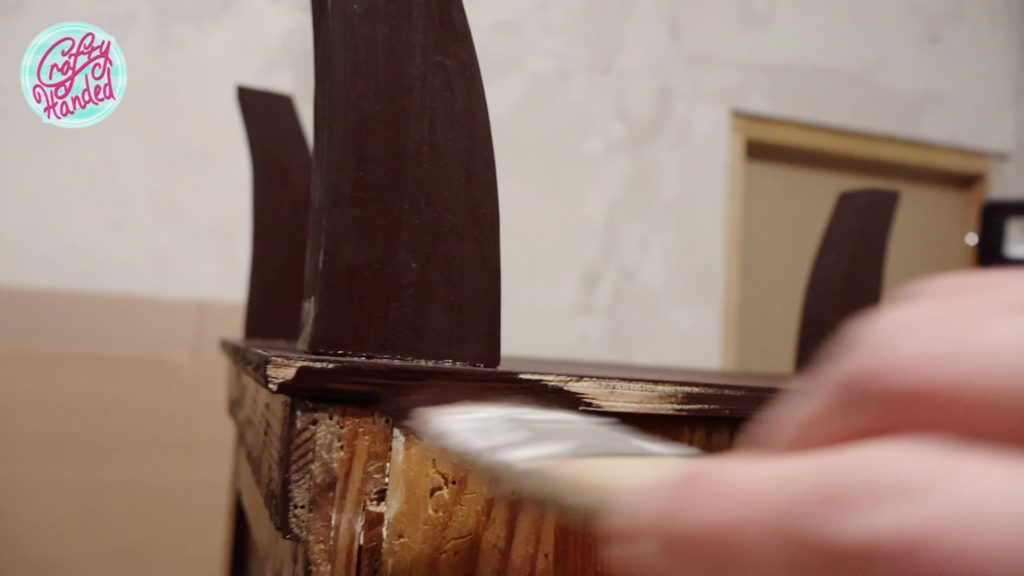
Finally, I painted everything with a Rosewood brown Farmer’s heavy-duty paint. (The paint is suitable for outdoor furniture as well as kid toys, so It was a good choice.)
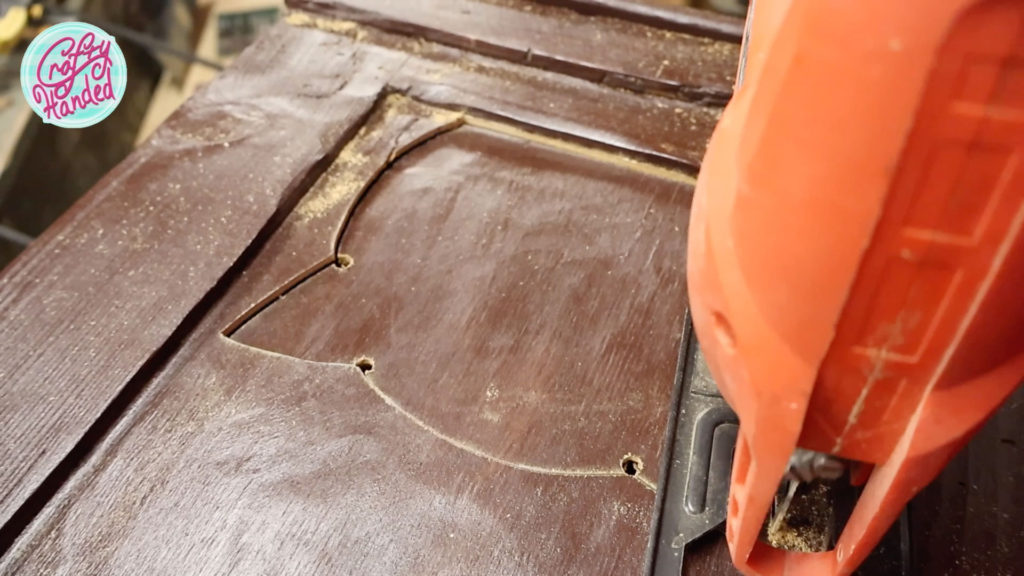
Only after painting everything, I got second thoughts about the kitty door placement and decided, to recut the openings from the side of the cabinet. I realized that kitties would rather watch me fussing around the kitchen than a garden. Oh well. To fill the unwanted holes in the door, I boarded it up with a thin plywood panel.
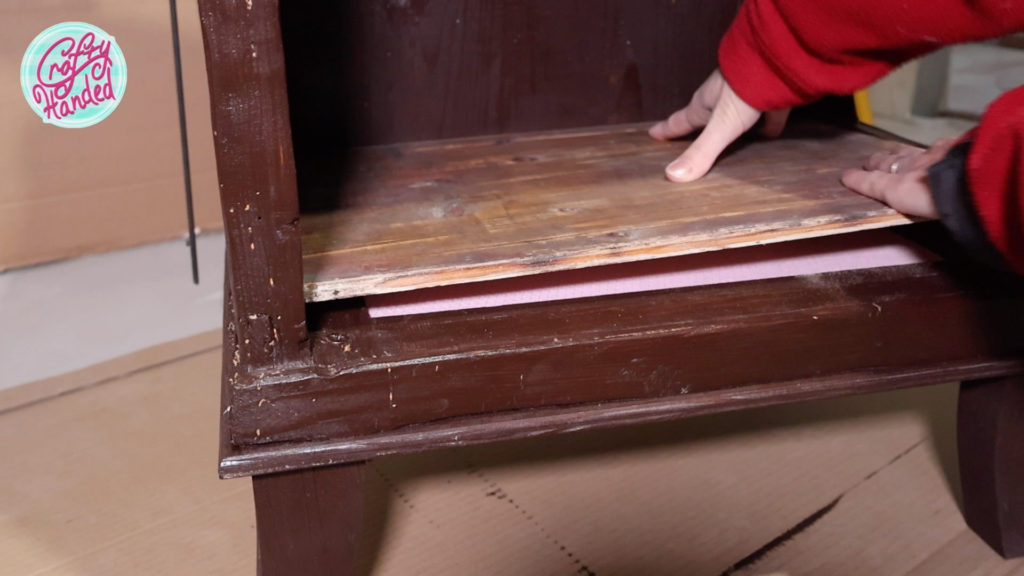
The new bottom allowed me to fill the hollow space in between with a thick piece of extruded polystyrene insulation I had leftover from another project.
From Nightstand to Kitty Cat Winter Retreat
Painting and Decorating
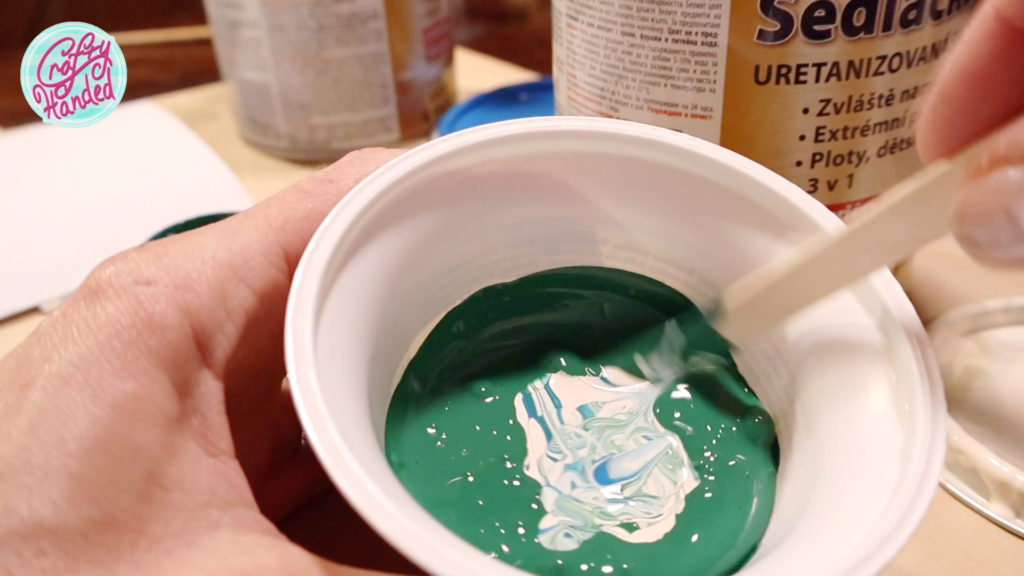
With everything fixed and new kitty doors in place, I think we can start calling it a cat house. But my cathouse couldn’t stay just brown, could it? No, that wouldn’t be me. Unfortunately, my favorite Farmer’s paint line comes only in the primary tones, made for colorblind or artists. And since I am certainly not colorblind :), I decided to mix my own tropical aqua blue. I mixed 2 parts blue to 1 part green lightened with 4 parts ivory. That is my sweet color :).
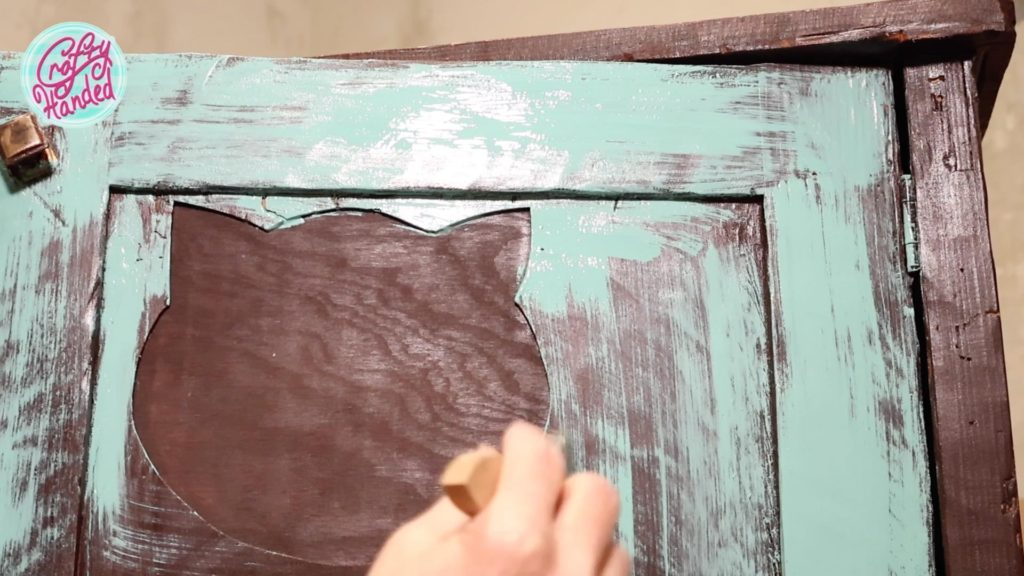
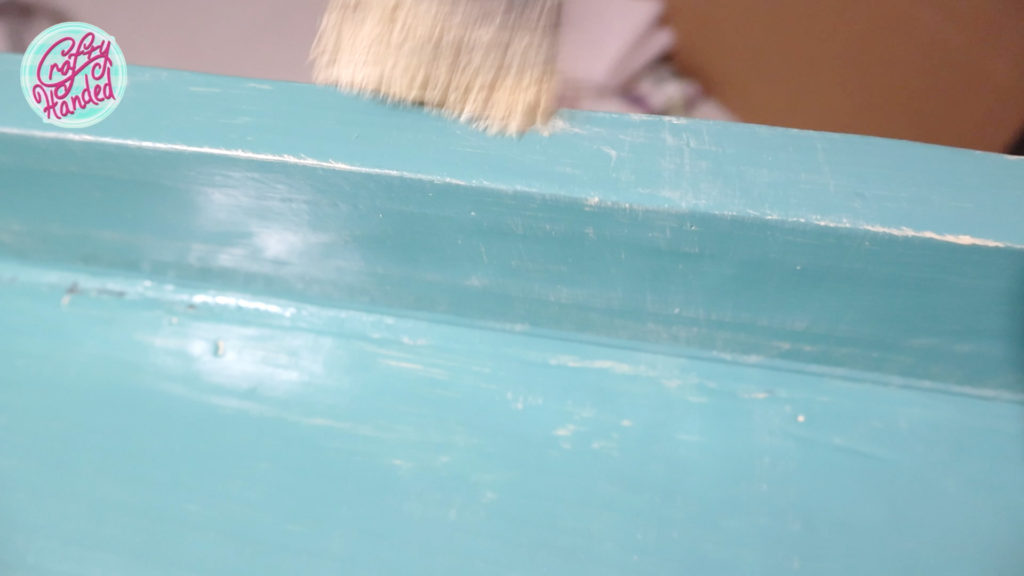
First, I rubbed some candle wax around the edges for later distressing and then almost dry-brushed the cat house to see how I liked the color. It wasn’t bad, but not what I wanted…
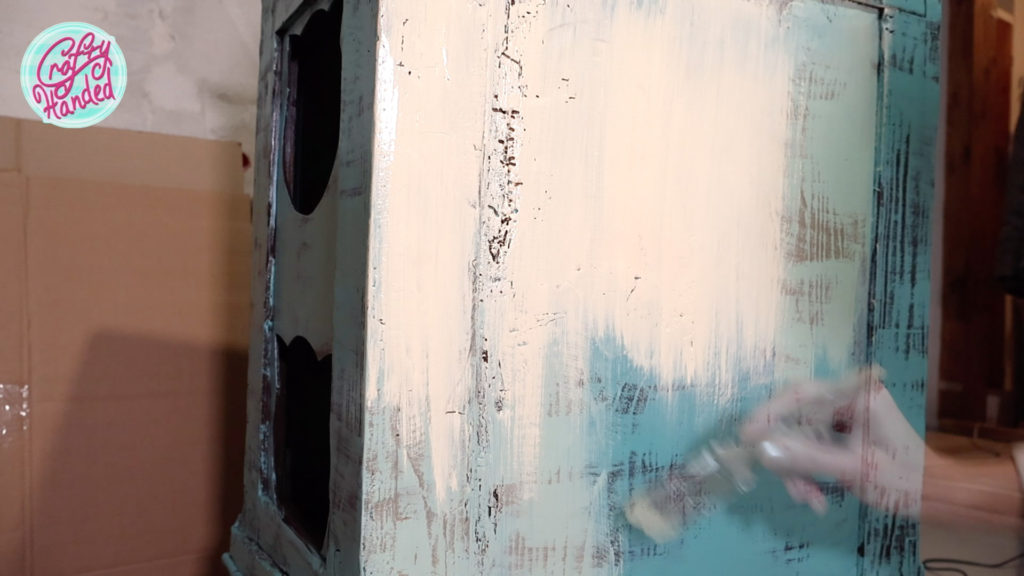
So, I repainted the whole thing with an old-fashioned cream color, not focussing on perfect coverage.
And then repainted it once again with my blue to get a layered, chippy and distressed look.
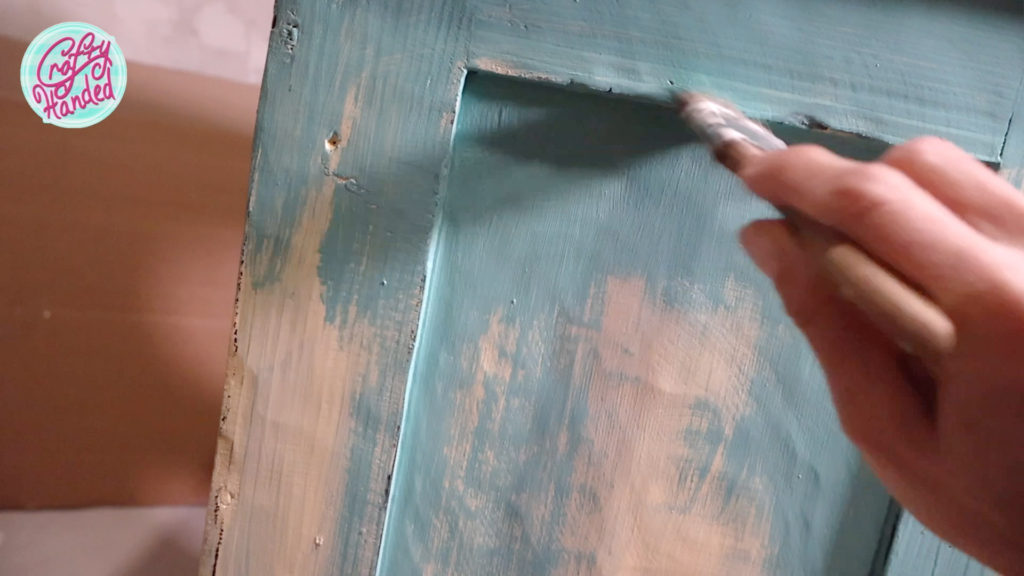
The last touch was an ivory dry-brushing and scraping at the waxed edges and spots to distress.
Kitty Cat Winter Retreat Roof
As this cat house is intended for the outdoors, I knew it would need some roof. A detachable one would be perfect so the cat house could act as a side table in the summer. First, I cut a sheet of plywood and fitted it with a thin strip of wood from the bottom for easy hanging. Then, I painted it with two full coats of my exterior heavy-duty brown.
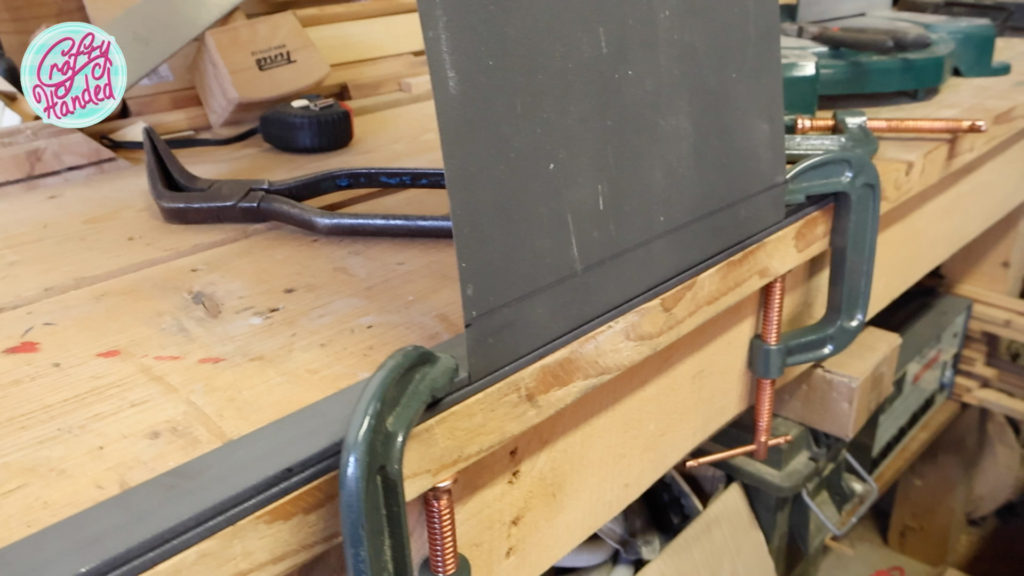
But to withstand snow and rain, it will need more than that. I pondered over my options, looked through my leftover piles, and discovered two scraps of metal windowsills. Almost perfect size, too. They just needed to be trimmed and finished.

I borrowed sheet metal bending pliers and freestyled my hand-bending press with a pair of steel straight edges, clamps, and rubber mallet. It was not perfect, but in the end, it did the job.
Since the new roof was a bit scuffed up, I decided to decorate it with shabby stencils and Victorian Lace paint. The sloppy stenciling is part of the style, but remind me to post a great tip on, how to fix it if it is NOT desirable and it accidentally happens.
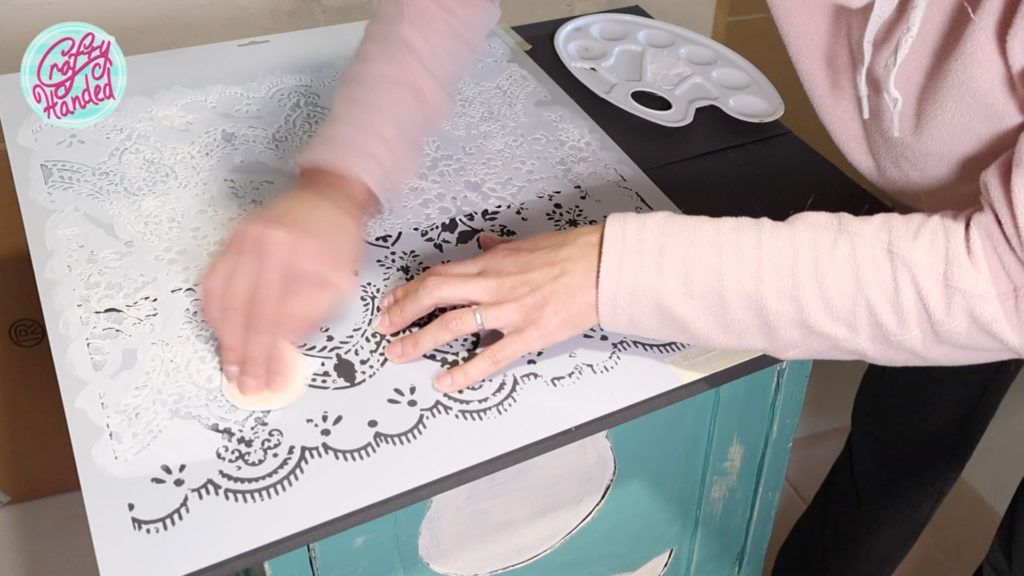
I am probably going to show it on this roof later to you, but first, I will finish this project :).
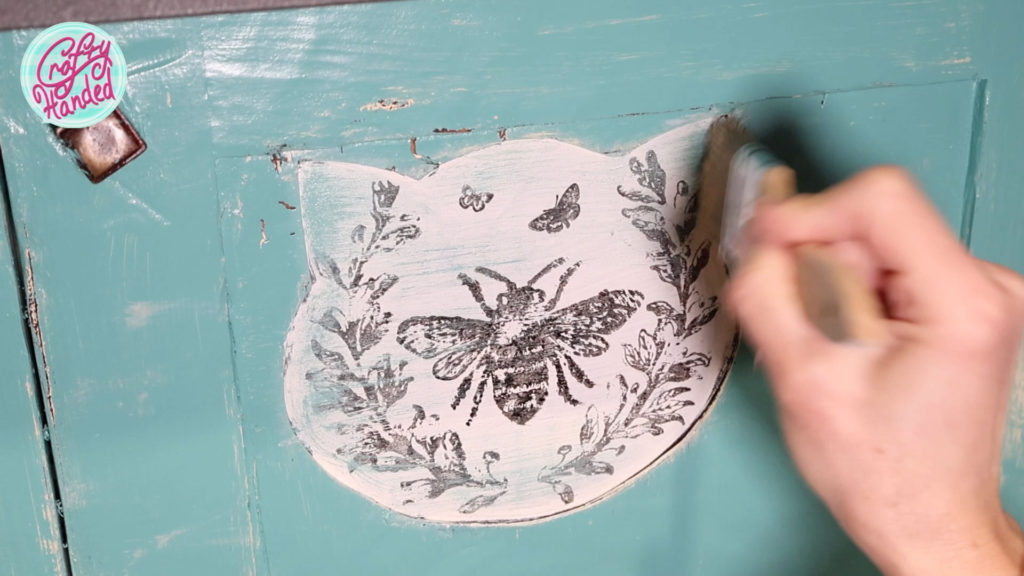
Old Kitty Door Fillers
I rather wanted the wrong kitty doors to become a feature than disappear. But I wasn’t happy with cream dry brushing or ivory repaint. So, I tried decorating the openings with Queen Bee stamps from IOD and some of my butterfly stamps and black ink. To blend everything in, I dry brushed it with cream and aqua blue, and I was happy.
Padding and Cushions
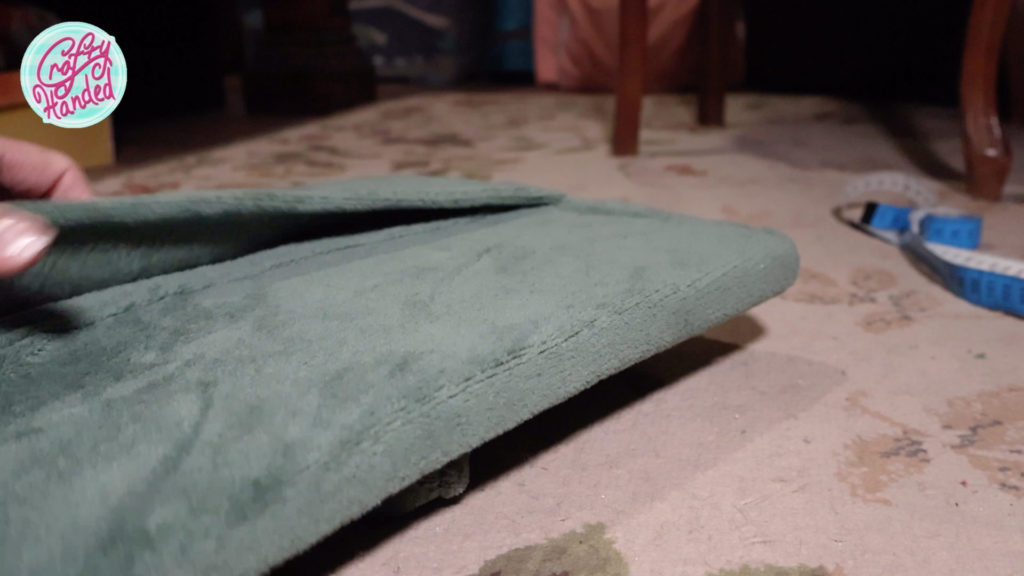
And last but not least, the comfort. I found a lovely, heavy-duty fabric in my stash and sewed two sleeves out of it. I filled each with two longer pieces of 3/4″ foam and one shorter one in the middle to form a padding around each kitty cubicle.

After figuring out the endless zipper and sewing a couple of cushions from the same material, I changed my mind and decided to make a set of simpler, envelope-style pillowcases from a cheap but soft blanket.
Name Tags
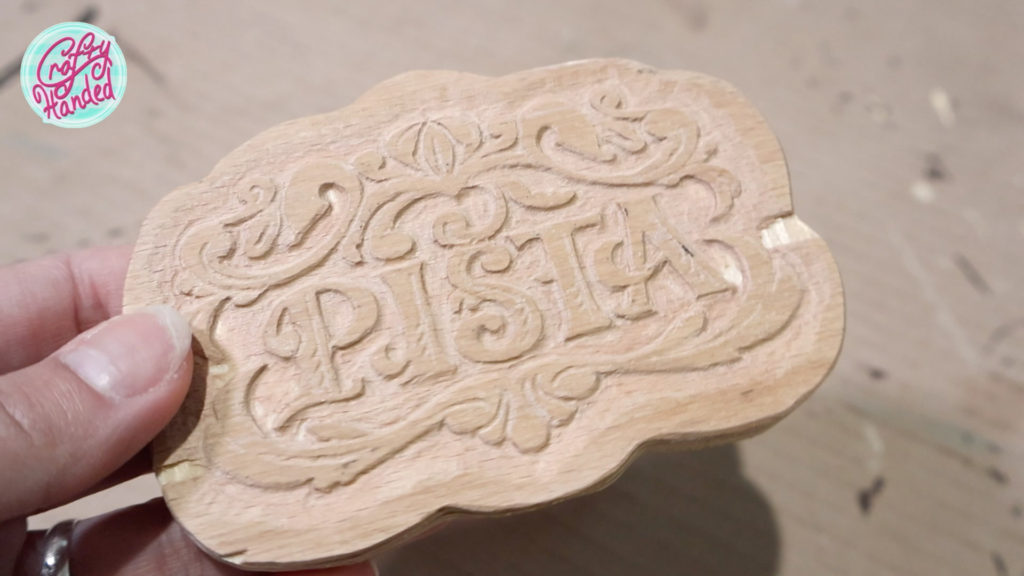
I would almost forget to mark the doorways! I need to make a couple of nametags over each door. As usual, I started very simply, with plain oval plaques and hand-scribbled names. Until, finally, I designed a set of intricate Victorian-style name tags on my iPad. I printed them out mirrored and transferred them to plywood scraps I had.
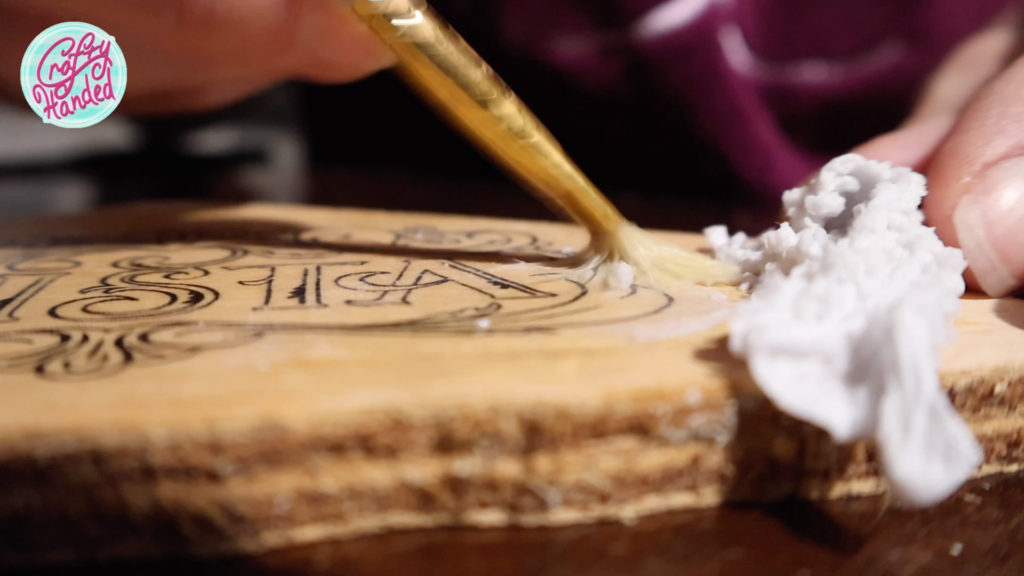
Looking at the pretty wood, I didn’t know if I should try carving or burning. And finally, I decided to go for carving. If I wasn’t so detail-oriented, a # 9910 tip would be all I needed, but I just had to get into my details, so I went and bought #105.
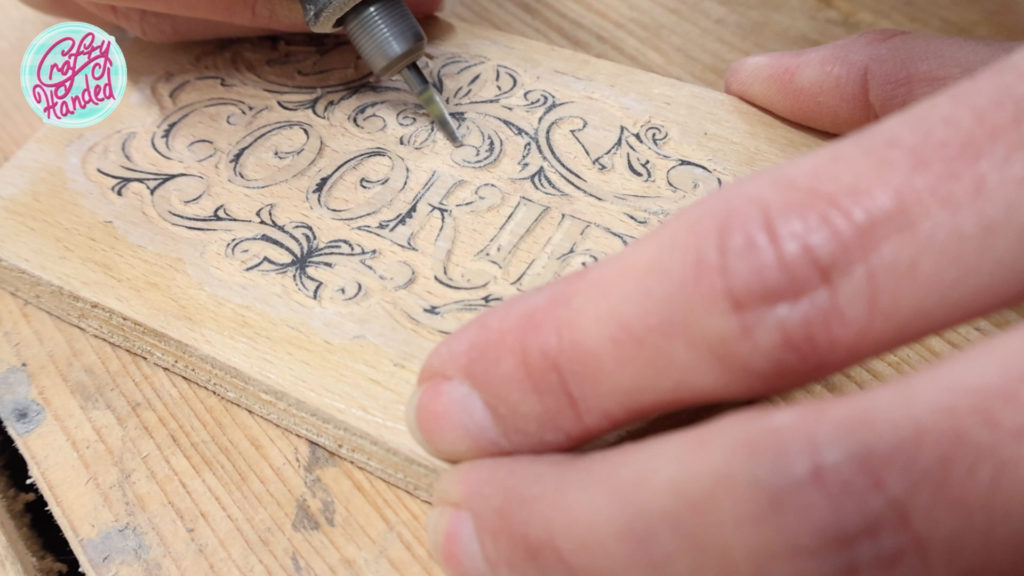
I wasn’t planning on spending a whole day on perfect carving, and it wouldn’t even fit the shabby style of the project. So, I must say I was pretty happy with such an outcome.
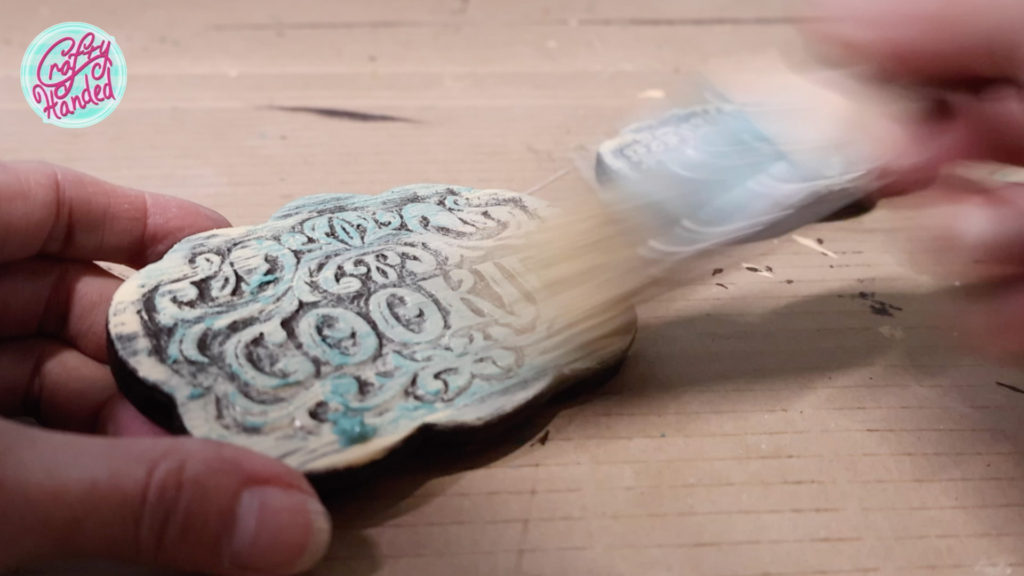
I finished the plaques by painting them dark brown and then dry brushing them with cream and my aqua blue. I also scuffed the edges a bit and deepened the shadows with dark wax.
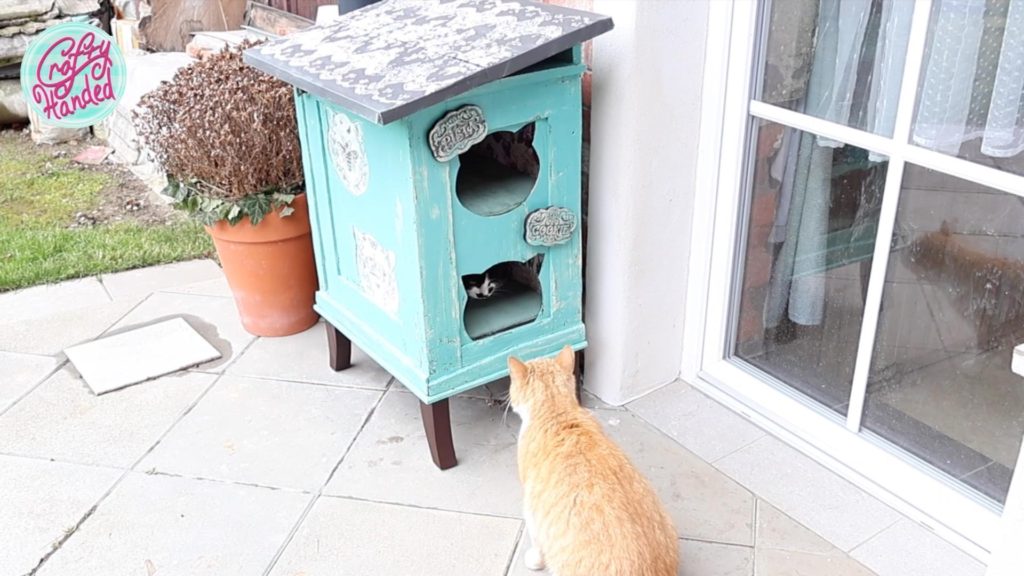
Reveal of the Kitty Cat Winter Retreat
There it is, another little quick project gone wild. I am still going to mute the stencil on the roof, but I better put it out for the babies to use, or else I will be removing the padding and making summer cushions instead.
So, will the kitties move in? Or will I have to switch the name tags? Or will I need to build an extra floor?
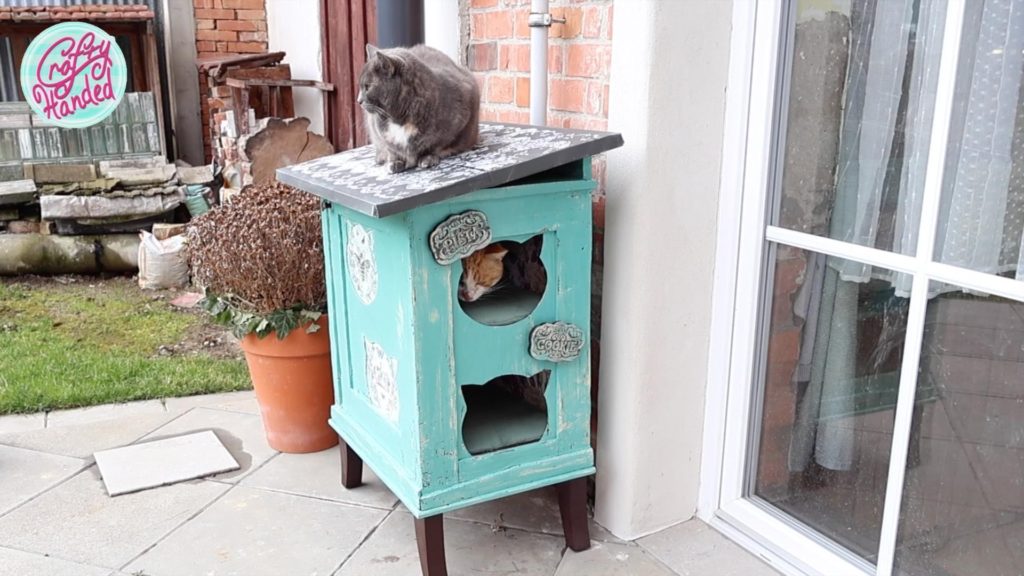
I hope you enjoyed accompanying me on my crazy Kitty Cat Winter Retreat project and maybe got inspired to create a cathouse of your own. If you like my projects or videos, please like, share, and subscribe it all helps.
For visual guidance watch the detailed video on my YouTube channel …
If you’d like me to have better mornings, please Buy Me a Coffee.
Or if you like what I do and would like to support me, please become my Patron.
Kitty Cat Winter Retreat videos
More Woodworking Projects
-
Kitty Cat Winter Retreat
What about some “tropical” Kitty Cat Winter Retreat for my outdoor kitties to ease their winter?? Quick project gone wild.
-
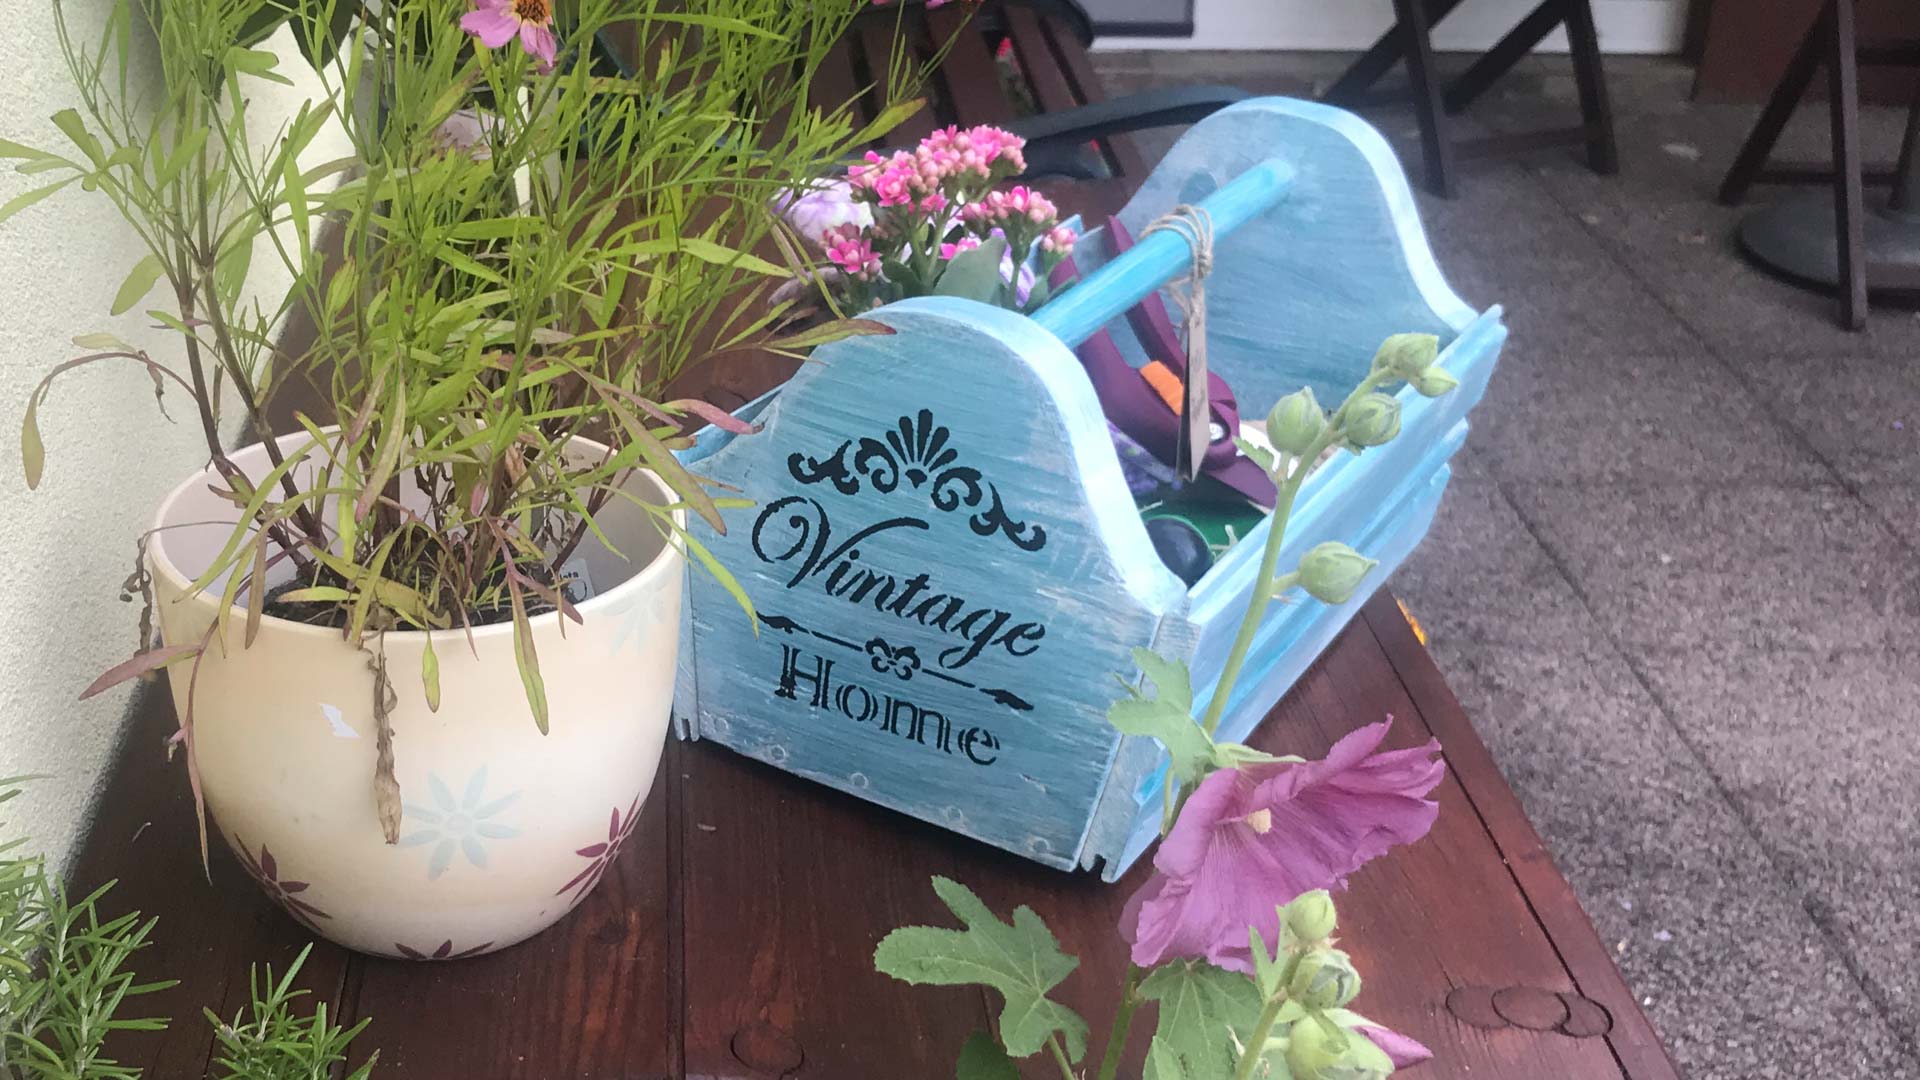
Scrap Wood Toolbox
I decided to use some of my pet scrap wood for a toolbox/ garden box/ gift box…and you are welcome to join me for my quick DIM (Do It Myself 🙂
-
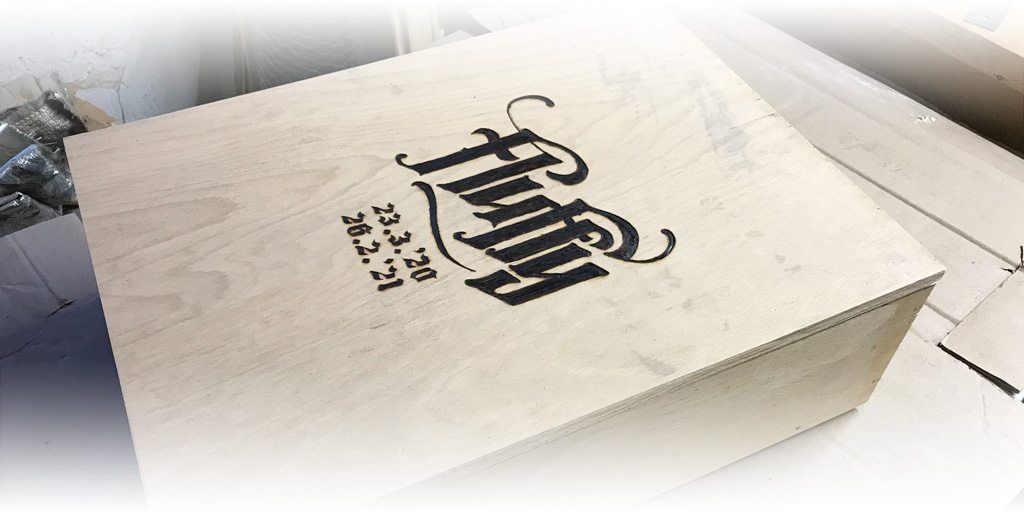
Wood Casket Inscription
…In his memory I have decided to decorate the lid of the box with his name inscription…