

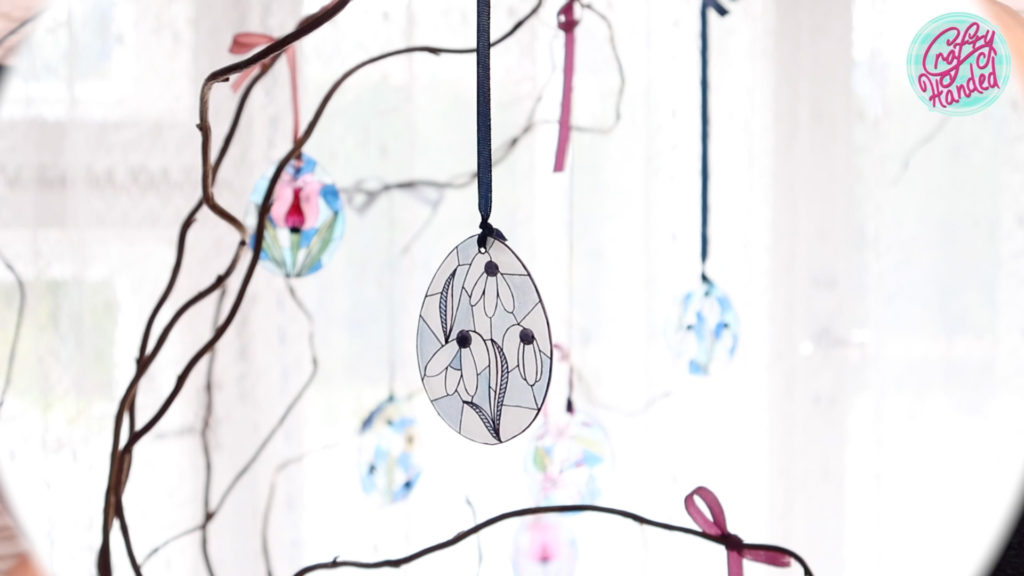
Stained Glass Easter Eggs
I had this Stained Glass Easter Eggs Ornaments idea in my head for quite a few years. And finally it shaped up enough to create them. Without glass and eggs! The main ingredient we will need, is a crafting shrink plastic. I will use both frosted and clear ones to show you the difference.
MAR 11, 2024 >
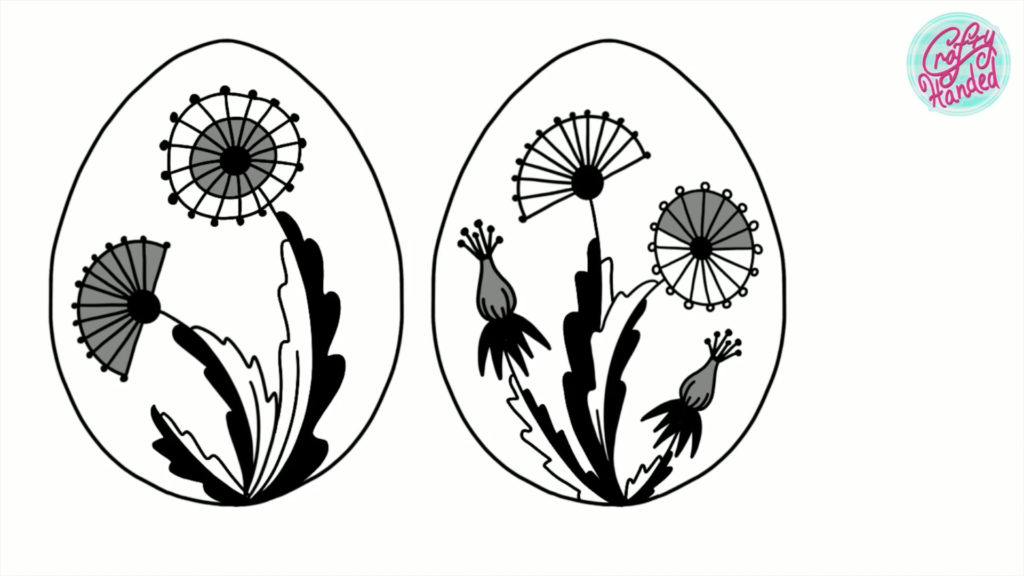
First I sketched my spring ornament designs on paper and then finished them on my iPad. I drew some tulips, daffodils, snowdrops, dandelions, apple blossoms, and even birds. You will be able to download the files from my Patreon account.
Depending on the brand of the plastic, you will need to scale up your design because it will shrink down. Be careful so you don’t end up with egg thumbnails :). My frosted shrink plastic is from Sizzix and it shrinks by about 40%, and my clear one is from dpCrafts and shrinks by 60%! That means your design needs to be about twice as big as you want the final size to be.
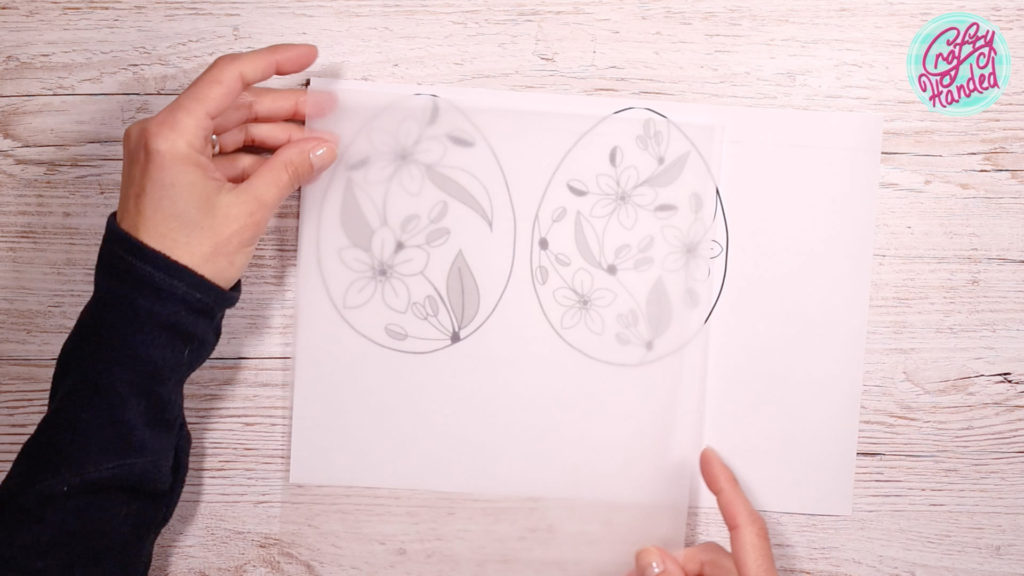
I printed my designs on plain paper and placed the foil on top with the frosted side up.
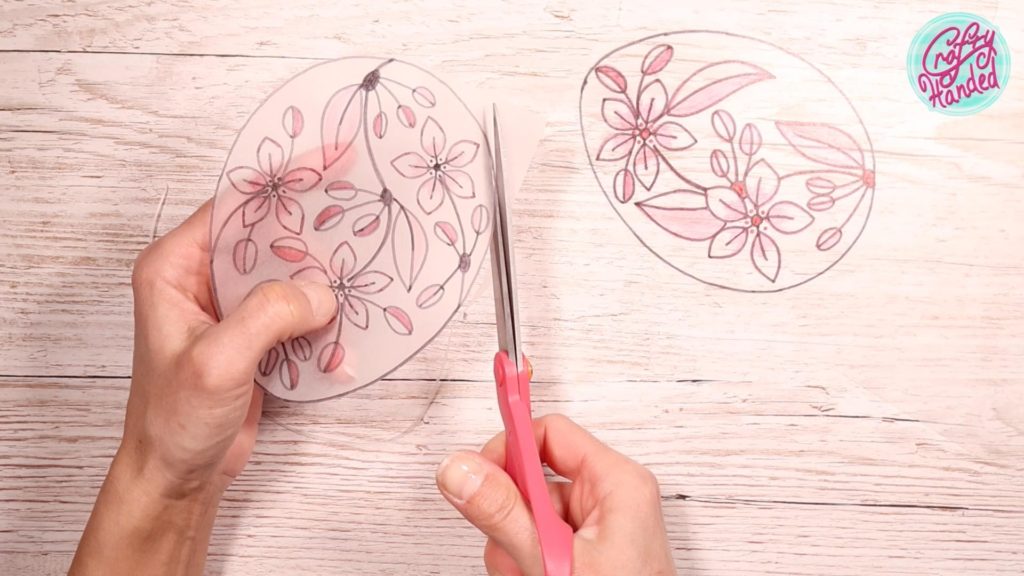
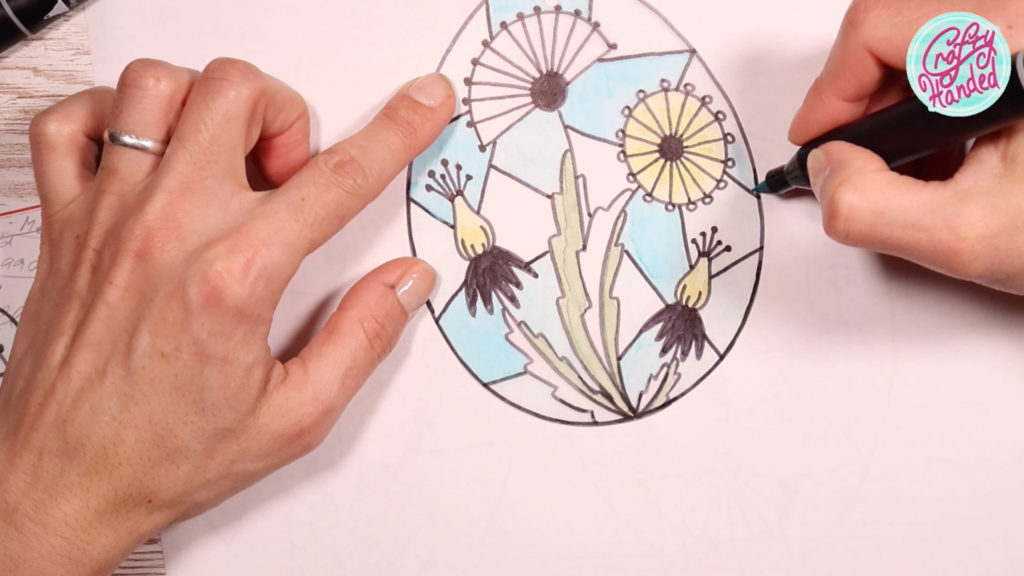
I am using cheap alcohol markers. In the beginning, I was unsure about the colors. The first idea was to do kind of a monochromatic drawing, so I started with the pinks and apple blossoms. I think the point is to draw on the frosted side to take advantage of it. You’ll get a frosty look, and it is also easier to draw on it because the surface has a soft texture. The marker was acting almost like a watercolor on the plastic.

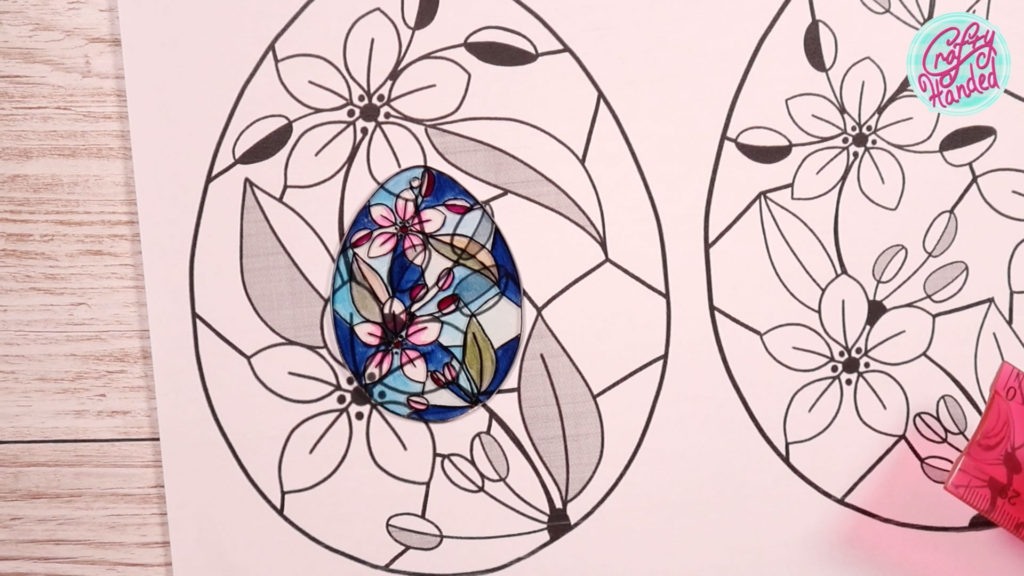
Then, I outlined the design in black. When I was done I cut the shapes out with my scissor.
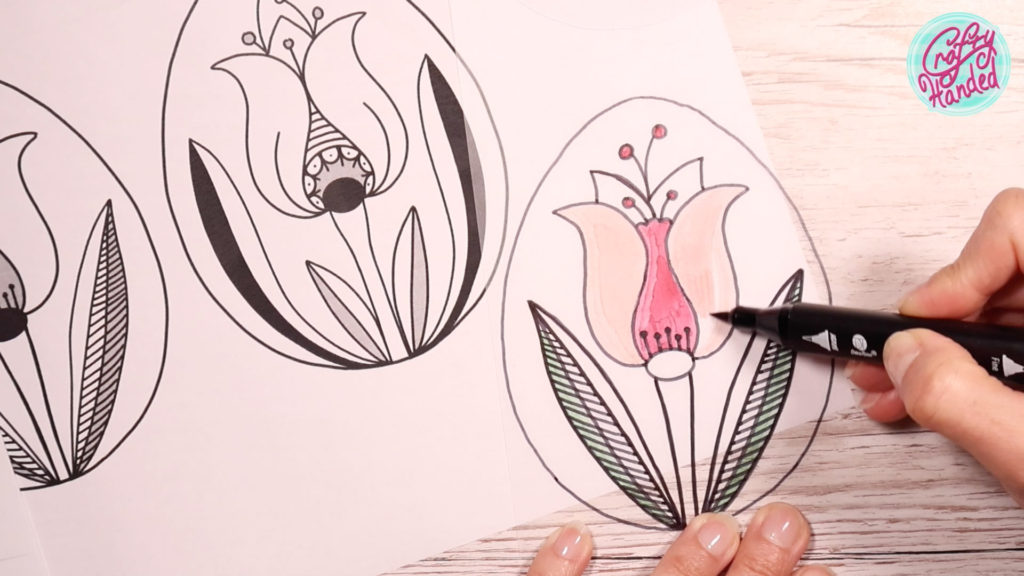
When I was looking at it though, it seemed a bit bland, so I drew the tulips with more color to them. Also note, that the colors will change when the foil shrinks, you will see.
Also avoid drawing colors over the black because the inks will smudge together.
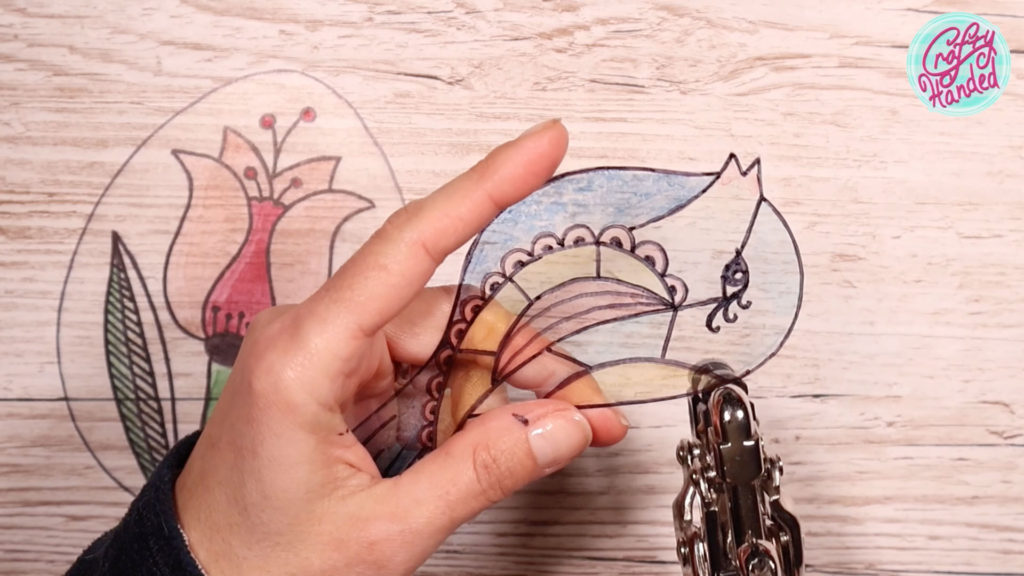
To get the true stained glass look I decided to get some clear shrink plastic, too. I found a different brand and gave it a try. It is completely see through and slick from both sides. I’ve heard you can slightly rough it up with a fine sandpaper before drawing, but I didn’t try that.
I also divided the background to get a more stained glass look. You might be thinking the collors are quite faint, but on the clear foil they will brighten up nicely after shrinking.
When you are done tracing and colouring your designs remember you need to punch holes for hanging if you want to before shrinking. You can use a hole punch like crop-a-dile or a craft knife. Again, the hole will shrink so don’t be afraid to make it twice as big as you need it and put it twice the distance from the edge.
Beware that if you try to punch the hole after shrinking, there is a danger of shattering your ornament and wasting your work.
Don’t worry. The drawing doesn’t need to be perfect because the lines will tighten up when shrinking.

And it is time for shrinking! You can use an oven or a heat gun. I am using the oven so I can set the temperature and heat it evenly.
Both of my foils require 300°F (150°C) for about 3 minutes.
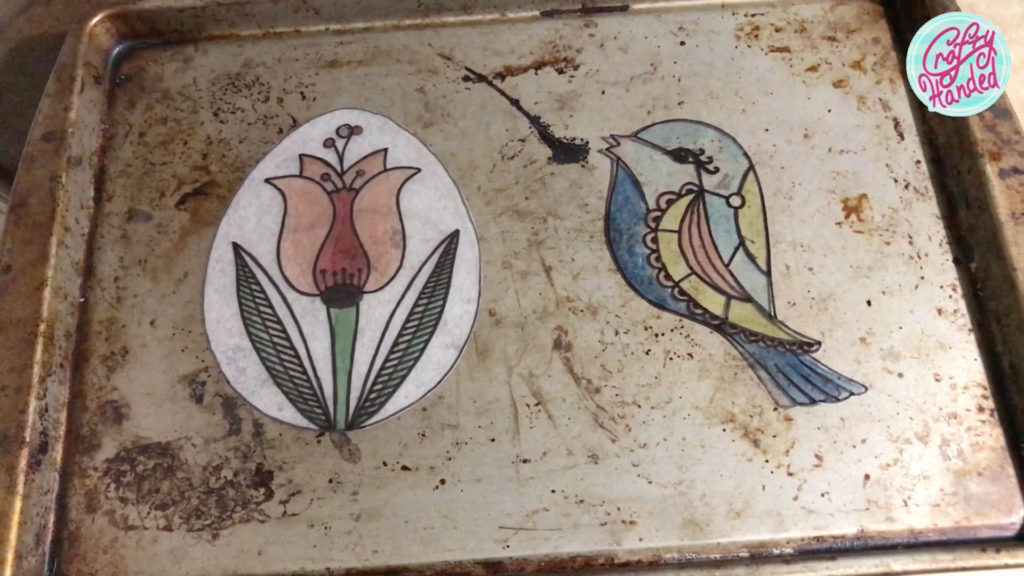
So after 3 minutes in the oven I pulled them out let them cool down and here they are.
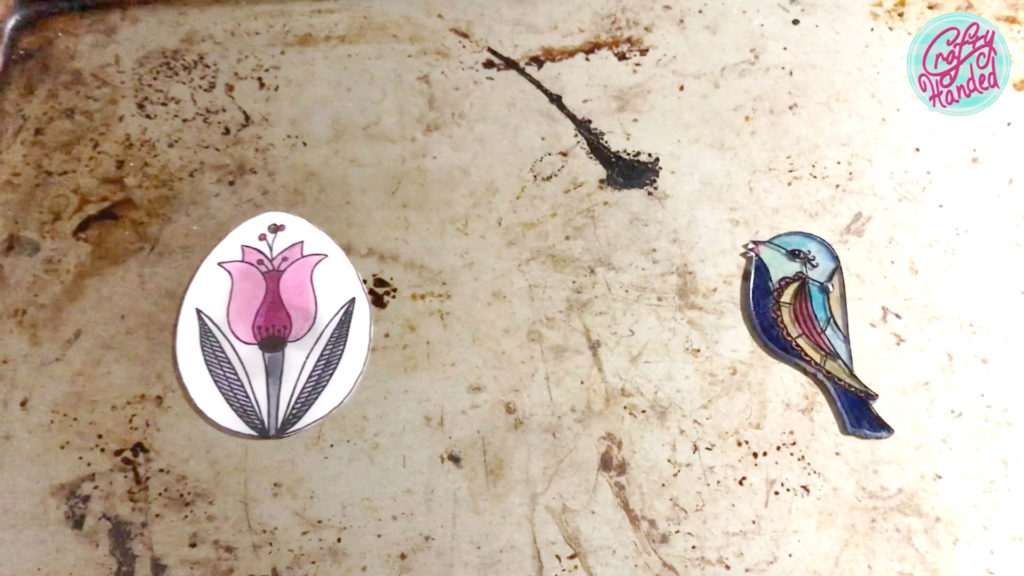
The frosted ones got about 40% smaller, but the clear ones were about 60% smaller which is more than I expected. So, from 6 and 3/8 of an inch big designs, I got only about 2 and 9/16 of an inch small ornaments. (162mm)(65mm) So keep that in mind when drawing.
They say the plastic doesn’t stick to your baking sheet. Well, mine kind of did. It popped off when cooled, but it left a mark on the back side of the ornaments. Which on the clear foil was quite visible. So, I tried putting it on baking paper, and it was much better. I guess a silicone mat would work, too.
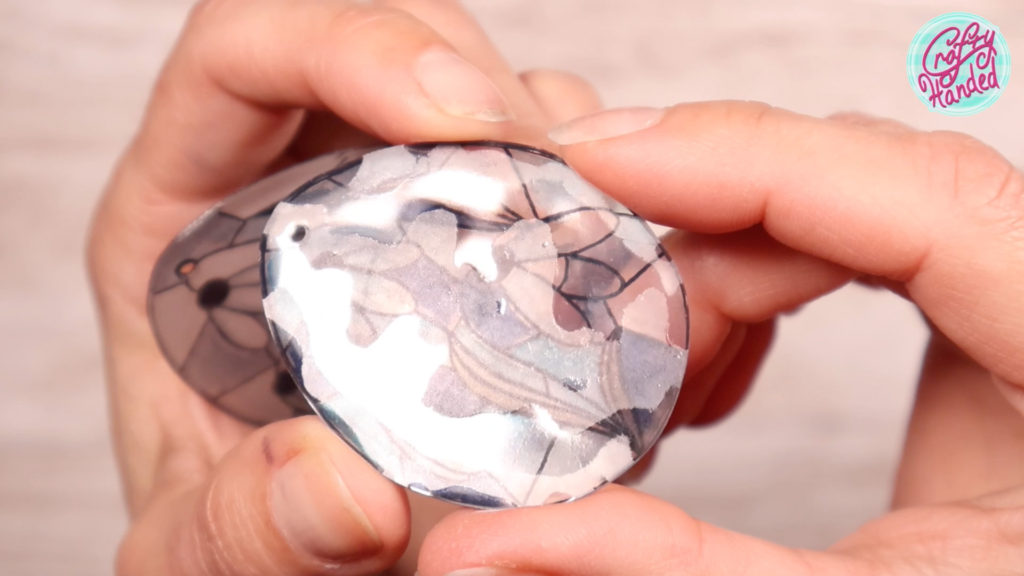
I must say, I was very disappointed with what the frosted plastic did with the colors. The pigments reacted with it and became very dull and discolored. Also, the clear foil got about 1/8″ thick, and the frosted one got close to 1/16.
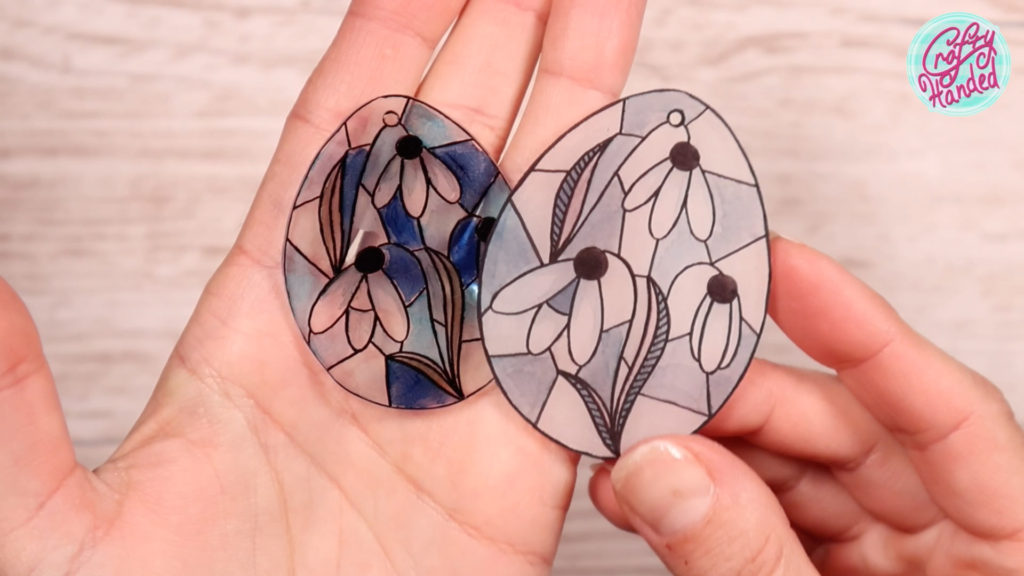
So, that is my experiment with Stained Glass Easter Eggs decorations. I like the clear ones better, if only for the colors. And the little birds came out just lovely.
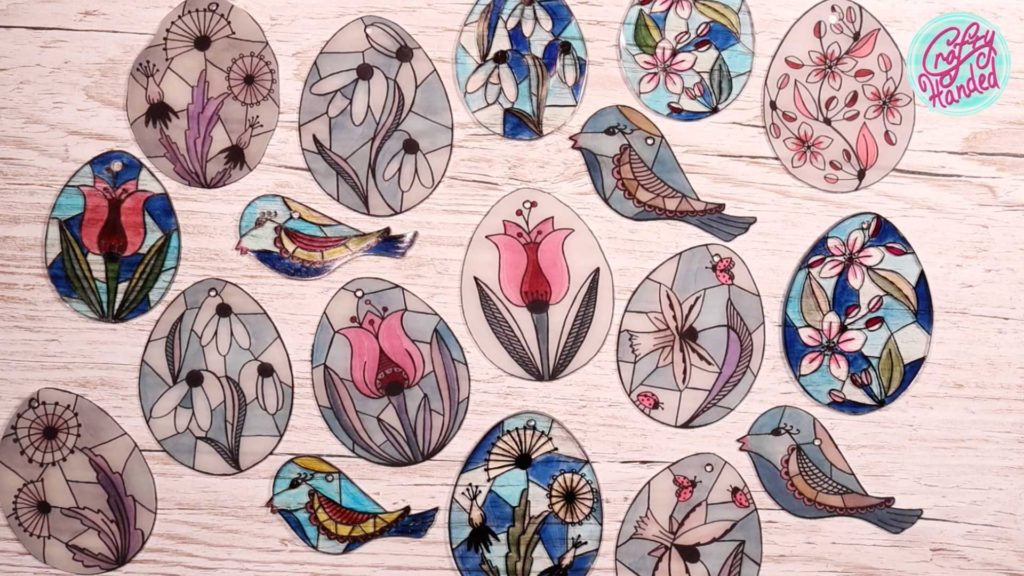
Now we can tie some silk ribbons to them, so we can hang them in a window or on a willow branch.
If you want to see the whole process, don’t miss my video on my YouTube channel …And if you like what I do and would like to support me, please become my Patron. Or if you just want to make me keep going, you can always Buy me a Coffee 😉
If you are enjoying my videos, please like, share, and subscribe. You know that always helps. Thank you for watching!
More Easter Posts
-
Stained Glass Easter Eggs
Let’s do an easy Easter decorating project. Faux stained glass Easter egg ornaments – No glass and eggs needed :), but shrink plastic and markers…
-
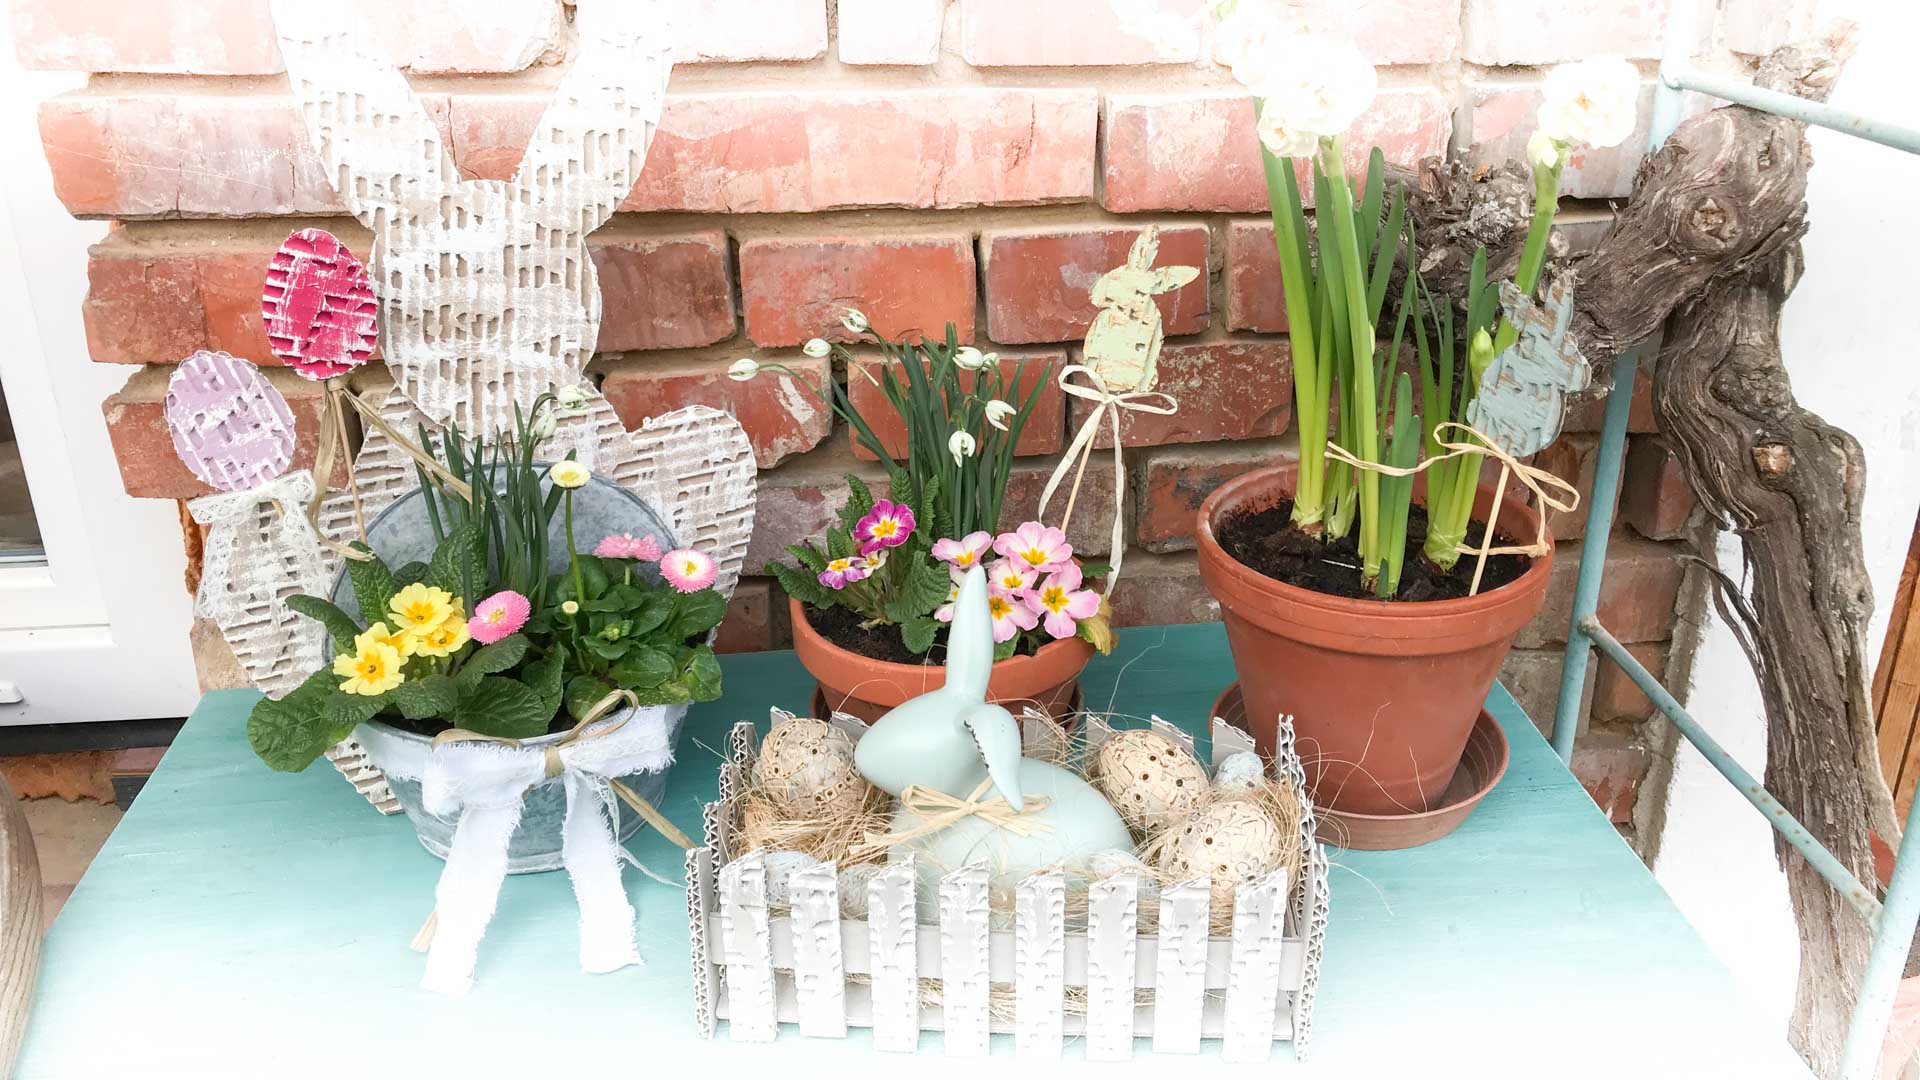
Rustic Corrugated Cardboard Easter Decorations
Easy way to make rustic Easter decorations on budget from corrugated cardboard boxes.
-
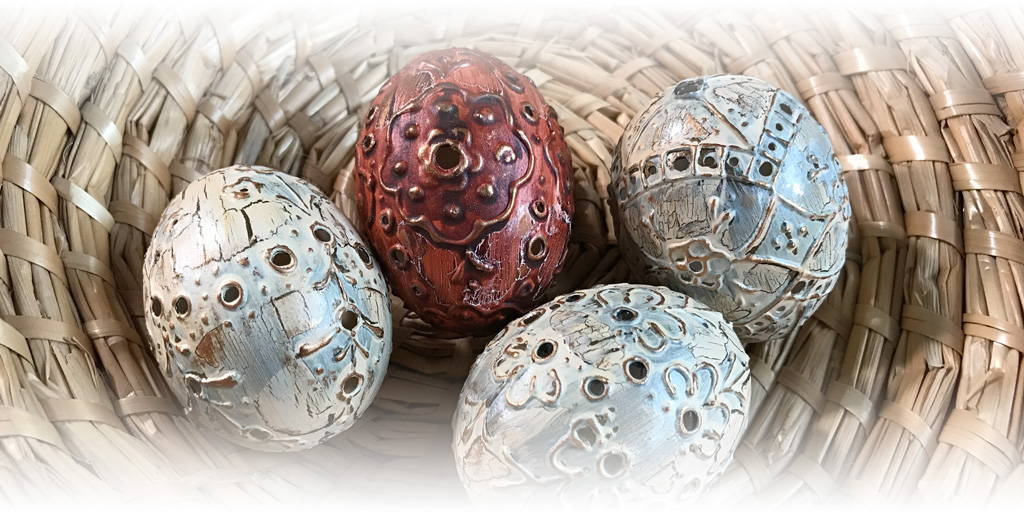
Madeira Easter Eggs
I was aching to try some new ways of decorating the easter eggs. And this time I’ve decided to do “Madeira Eggs” with my twist on it.