

Fruit Crate TO Herb Box Makeover
As you might know, I often put the cart before the horse. So this time, I bought some pretty potted herbs, looking at them later thinking, Where do I put them? And then I found this little fruit crate in a local food store that I thought might be cute with a bit of help. And started turning a Fruit Crate into Herb box.
AUG 23, 2023 >
What I used:
- Annie Sloan Chalk Paints (Old White, Country Grey, French Linen, Provence)
- Borma Wachs Clearcoat – Invisible Touch in Matte
- Stencil(s)
- paint brush
- sponge/sponge brush
- fruit crate or other wooden box
- clay pots with saucers
- potted herbs
Fruit Crate Makeover
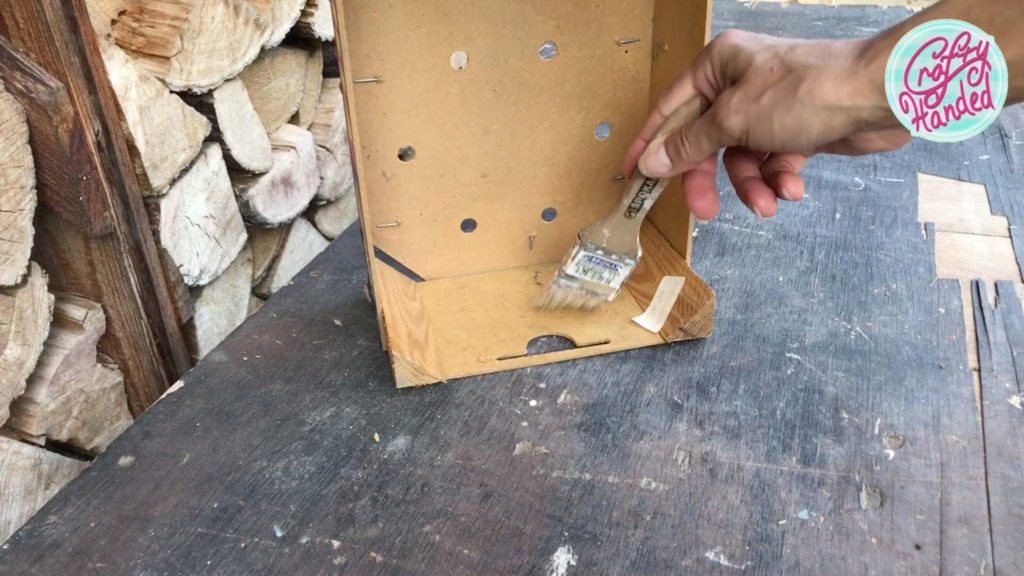
Fruit Crate Cleaning
Of course, I had to start with cleaning the fruit crate of dust, dirt, and peeling labels. I brushed off the loose dirt with a paintbrush and wiped the crate off with a damp cloth. I left the large labels on, expecting to cover them with the paint.
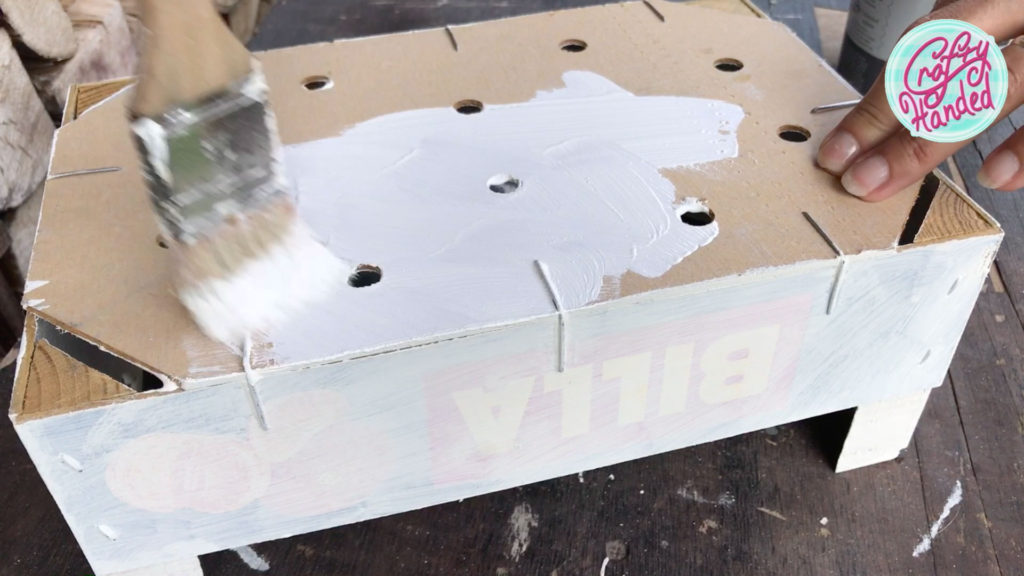
Painting the Fruit Crate
Then I painted the whole fruit crate inside and out with a coat of Old White chalk paint, but it wasn’t enough. The dark parts of the box were still showing through. So, after proper drying, I gave it a second coat.
After my fruit crate was all white and dry, I decided to continue with the chalk paint in the color Country Grey. I am using the dry brush technique. If it is your first-time dry brushing, you might want to try it on some scrap pieces first.
Tip: Dab a little paint on your brush, offload it on a piece of paper or a paint cup like me, and gently start smearing it over the surface. Less is more this time, so start with a light hand and build it up slowly. To achieve depth and a more natural look, I am dry-brushing the inner corners and around the edges a little more than the middle areas.
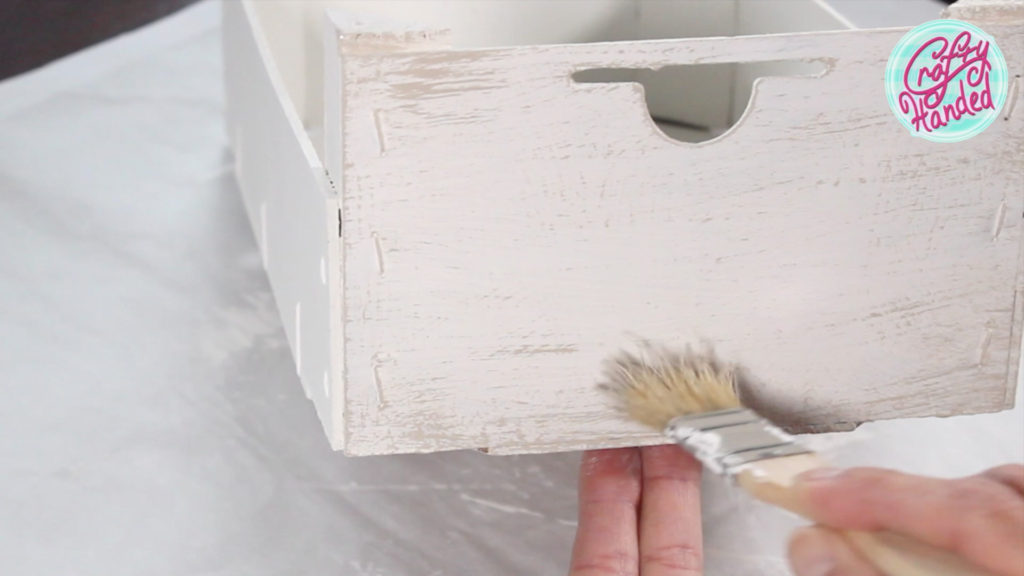
I like dry brushing because it brings out all the intentional imperfections. It highlights all the little bumps and brushstrokes of the base paint and creates a beautiful vintage look.
Stenciling
I knew I wanted to decorate my new Herb box with some stencils. You can buy all kinds of stencils online, but I didn’t have time to wait for the shipping or search for something that would match what I had in mind, so I cut my own on my old Silhouette Cameo 3 cutting machine.
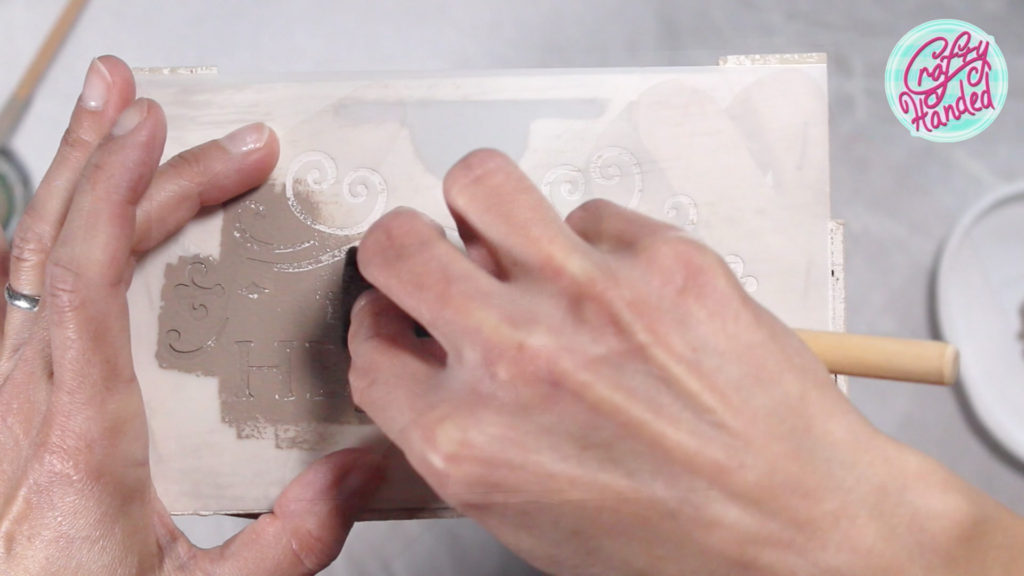
For the actual stencilling I am using French Linen chalk paint and a little sponge brush.
There are few techniques for stenciling, and it is easy to mess it up if the paint bleeds under the stencil. However, I have a great fix for that. But I will leave that for another post.
Let’s pretend it all works great this time 🙂
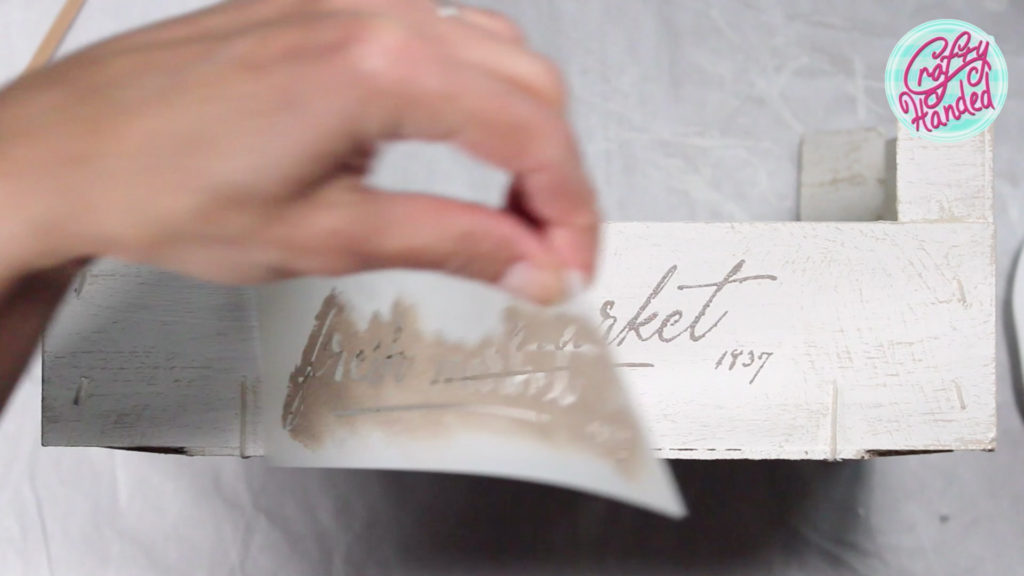
I am going for the shabby look, so I don’t need my stencil with super sharp edges. I’m dabbing the paint through the stencil carefully, holding it firmly in place.
When I had the paint everywhere I needed, I carefully lifted the stencil UP, trying to prevent smudging.
Protective Coat
I know my Herb box might get a little splash of water from time to time, so I am using a protective top coat over the whole box. The invisible touch in Matte from BPS.
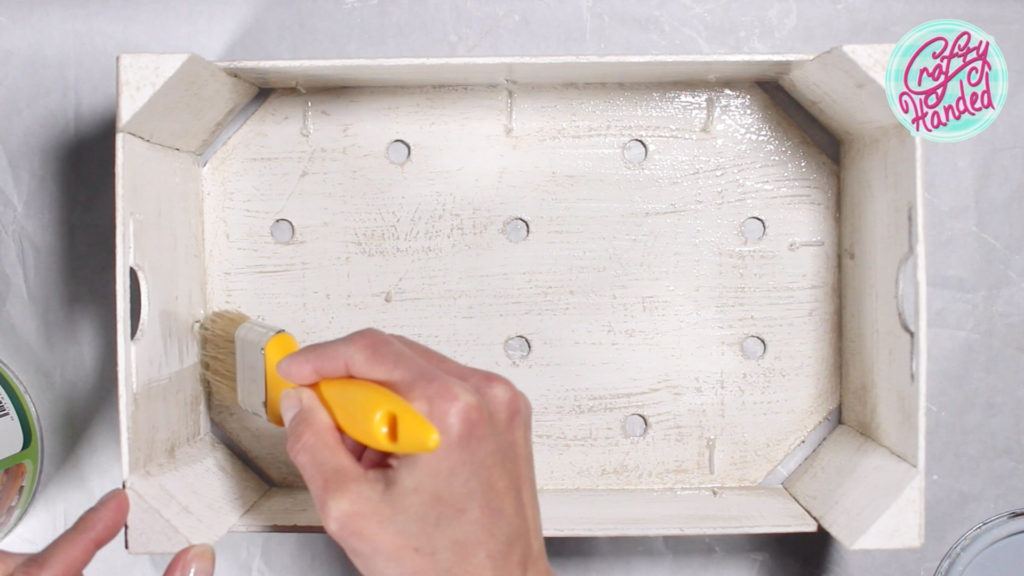
Of course, you can use another topcoat suitable for chalk paints or even wax if you like. Anything that will protect the chalk paint.
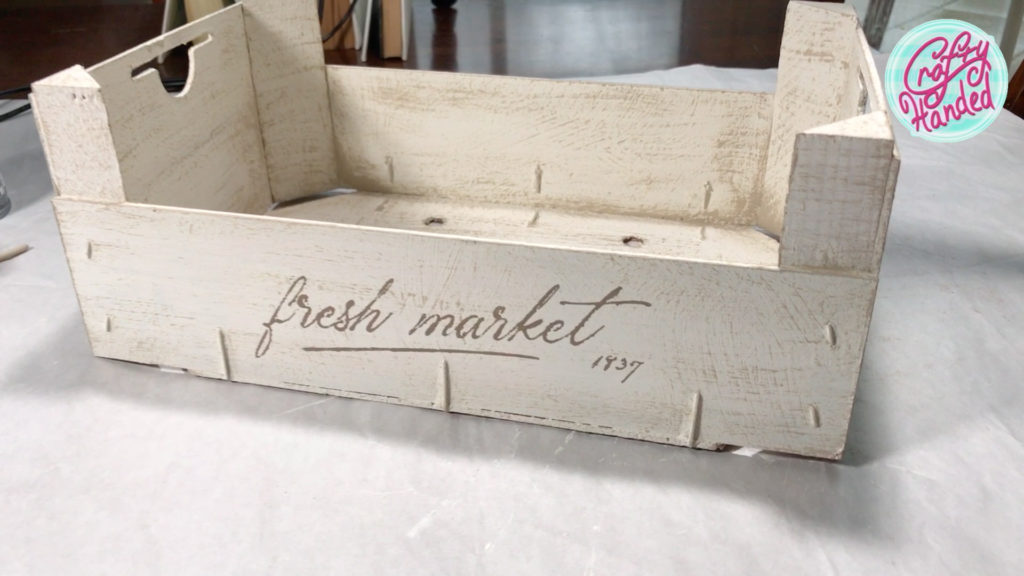
And my Fruit Crate Makeover is done. I love how the Herb Box came out! Exactly what I was hoping for. But wait a minute! I can’t put the herbs in planting plastic pots in there!
Planting Pots Makeover
I found a few spare small clay pots in my shed, so I decided to give them a quick makeover.
Again, using Annie Sloan chalk paints, this time in Old white, Provence, and French linen. And I am just playing around with thin paint, soaking it as deep in a pot as it goes. The clay pots are quite thirsty, so you might need more water than you are used to. I was trying to blend the paints together and create a washed or even a bit drippy look in some places. When I am happy with it, I dry-brushed some white over it here and there.
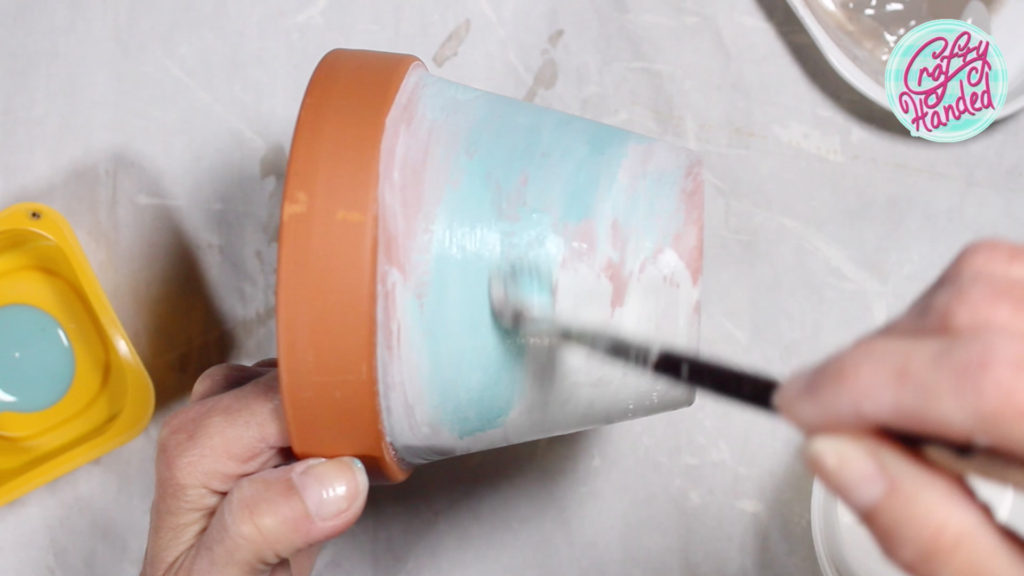
I was thinking for a while about what to do with the top edge, and I decided to use French Linen to match the Herb box. Also, I think it is a good idea to paint the inside edge so you can’t see the red clay above the soil.
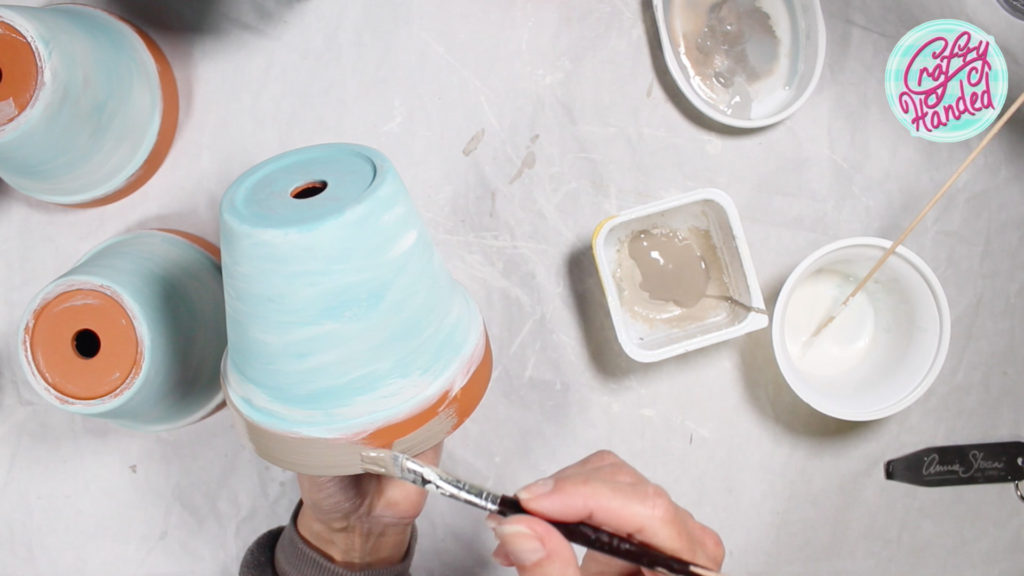
To give it a little patina look, I watered down the Old white with French Linen and did kind of a whitewash over the edge. Or you can use a dry brush if you prefer that look. After the paint dried, I sealed the pot with the topcoat, too.
And here it is, my complete Herb box with fresh potted herbs. It matches my house so well! I hope you enjoyed my little Fruit Crate Makeover and it inspired you for your own. Let me know in the comments!
Watch my detailed video on my YouTube channel …Or if you like what I do and would like to support me, please become my Patron.
More Up Cycling posts
-
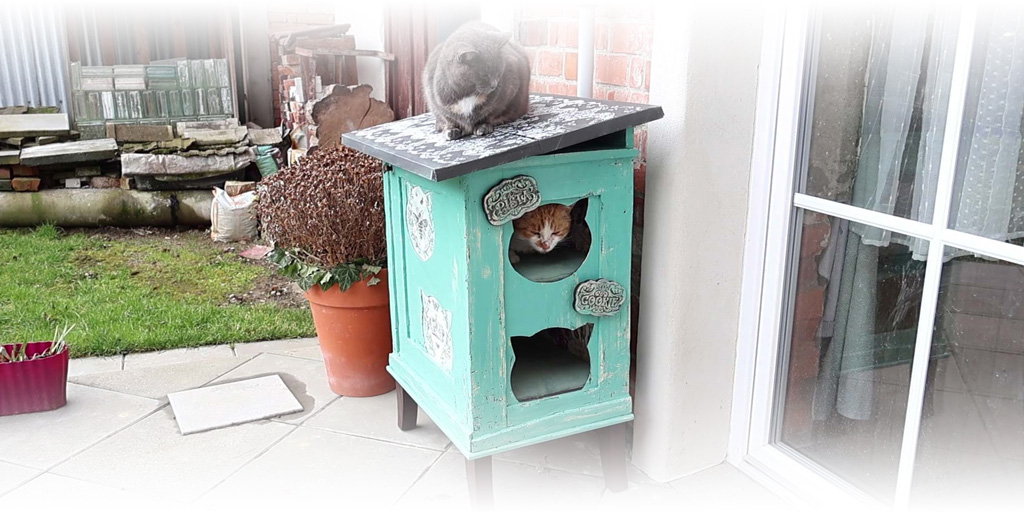
Kitty Cat Winter Retreat
What about some “tropical” Kitty Cat Winter Retreat for my outdoor kitties to ease their winter?? Quick project gone wild.
-
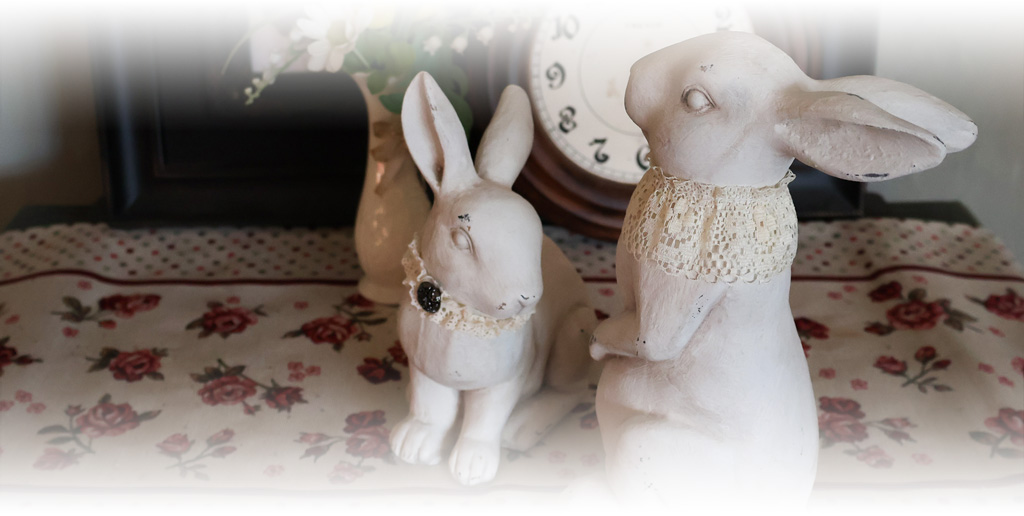
Upscaled Easter Bunnies
I always wanted to get these beautiful vintage Upscale Easter Bunny statues from expensive stores so I flipped some cheap ones!
-
Fruit Crate TO Herb Box Makeover
…I found a little fruit crate in a local food store that I thought might be cute with a bit of help. And I started turning a Fruit Crate into Herb box.