

Rustic Corrugated Cardboard Easter Decorations
Easter is just around the corner, and I have some more ways for you to decorate without spending too much money! As my Corrugated Cardboard Christmas Ornaments were so successful, I have decided to create a set of easy Easter Rustic Corrugated Cardboard Decorations in the same fun distressed style.
MAR 6, 2023 >
It is so simple, quick, and low-cost!
Are you ready to utilize those old cardboard boxes you probably have laying around? Let’s do some more of my rustic corrugated cardboard decorations this time for Easter! I have three fun projects for you, but let’s warm up with the easiest one!
1. Plant Pot Sticks
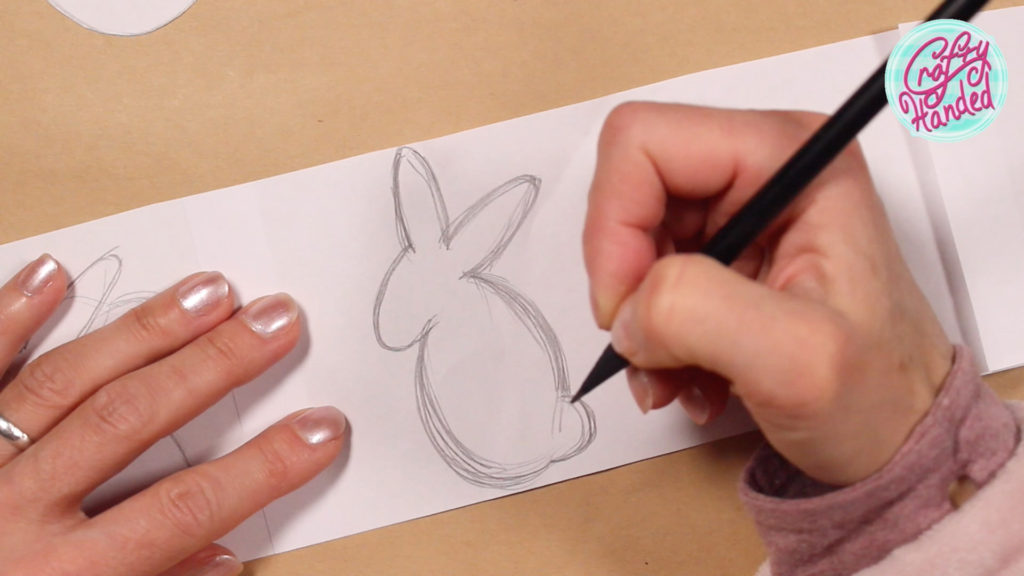
First, sketch your Easter shapes on a piece of paper. An egg is a very simple ornament to start with. I also sketched some cute bunnies and simple flowers. I think somewhere around 3-3,5″ is a good size for a plant pot stick ornament. When you are happy, cut the shapes out with scissors, so you can easily transfer them to your cardboard.
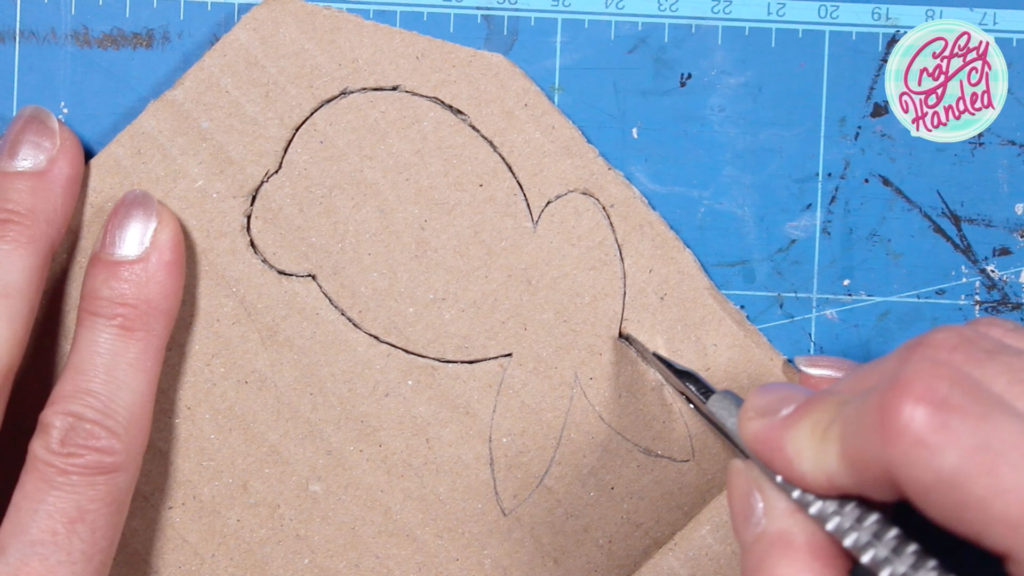
I like to use double corrugated cardboard. It is sturdy, and we can distress it from both sides. But if you don’t have one, no worries! You can cut the same shape twice from a single corrugated cardboard and glue them together later. So cut them out with a craft knife. Use a sharp blade but be very careful! You don’t want to end your project before you have some fun! If you are having trouble cutting through. You might want to flip your cardboard and finish cutting from the backside.
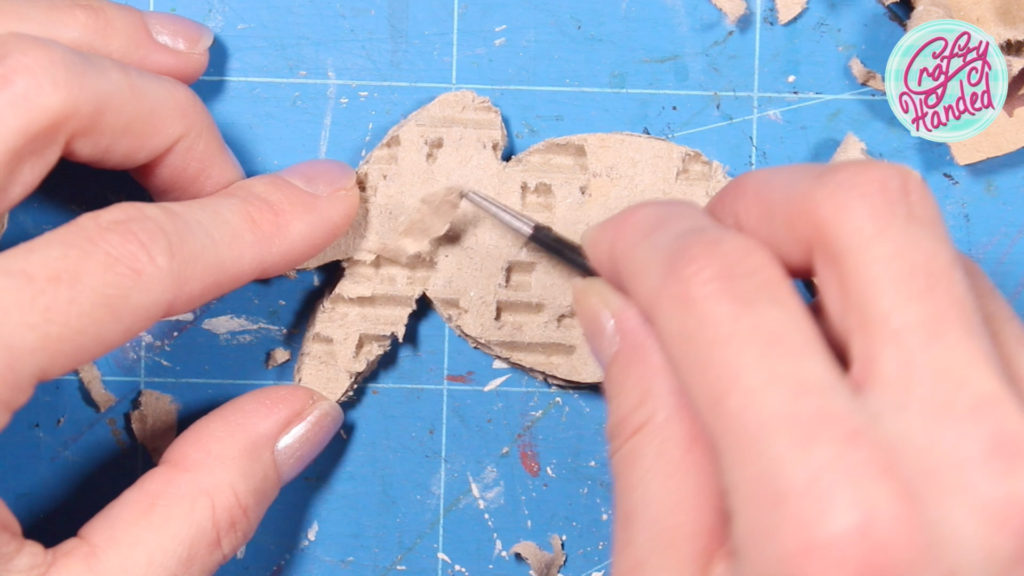
And now to the fun part :). Start peeling off the top layer of your corrugated cardboard decoration randomly. First, around the edges, then go deeper into your ornaments. Tear off as little or as much as you like. Depending on your taste for distressing. Distress both sides unless you have a single corrugated cardboard, then only distress one side.
Now we’ll need some wood or bamboo skewers. I’m sure you have some in your kitchen drawer. The ones with pointy ends are the best because they are easier to pierce into your ornaments.
Three Different Color Combinations
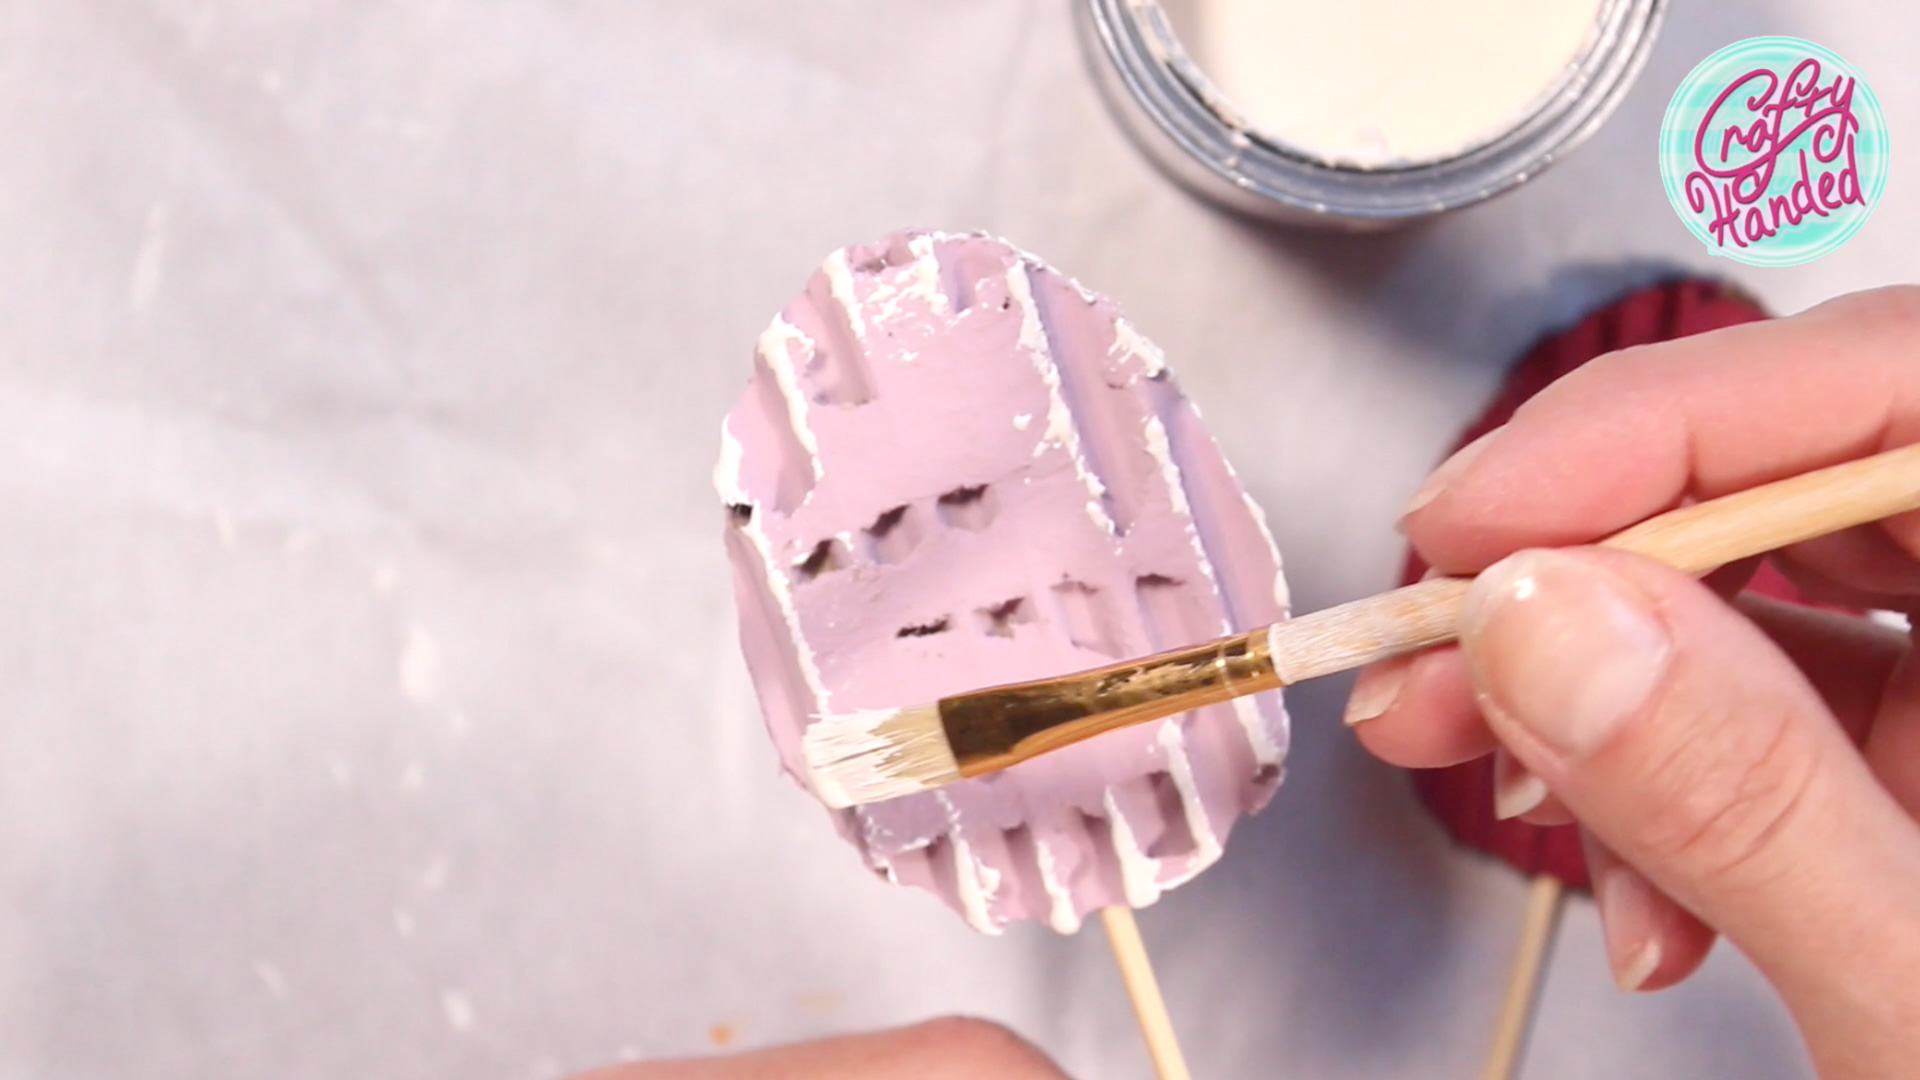
Start by picking your favorite colors. I am using Annie Sloan chalk pants. They have great coverage and dry lightning fast. Oh, and always remember to stir your paints before painting! I paint my shapes completely, everywhere I can get. Front and back, and let them dry. Again if you are working with a single corrugated cardboard, paint the distressed side only. Usually, when I get to the last ornament, the first ones are already dry, and I can continue working on them again.
- I chose Henrietta, Burgundy, and Capri Pink for my eggs. So for the first combination, I am using white chalk paint as a highlight. Dab the paint around the edges, and then lightly brush over the corrugation here and there, leaving the base color showing.
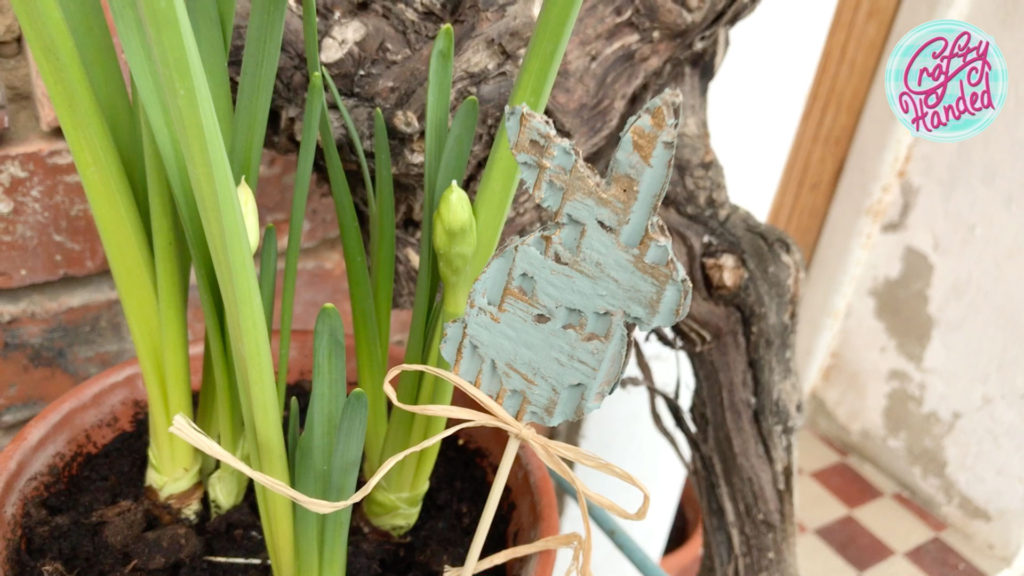
- For my little bunnies, I chose chalk paint in the colors Duck Egg Blue and Lem Lem green. These shades seem to go wonderfully with gold Rust-oleum furniture paint. (That one always needs very thorough stirring.) Highlight edges and spots like on the previous shapes. I just love this combination! And the little bunnies just came out so cute!

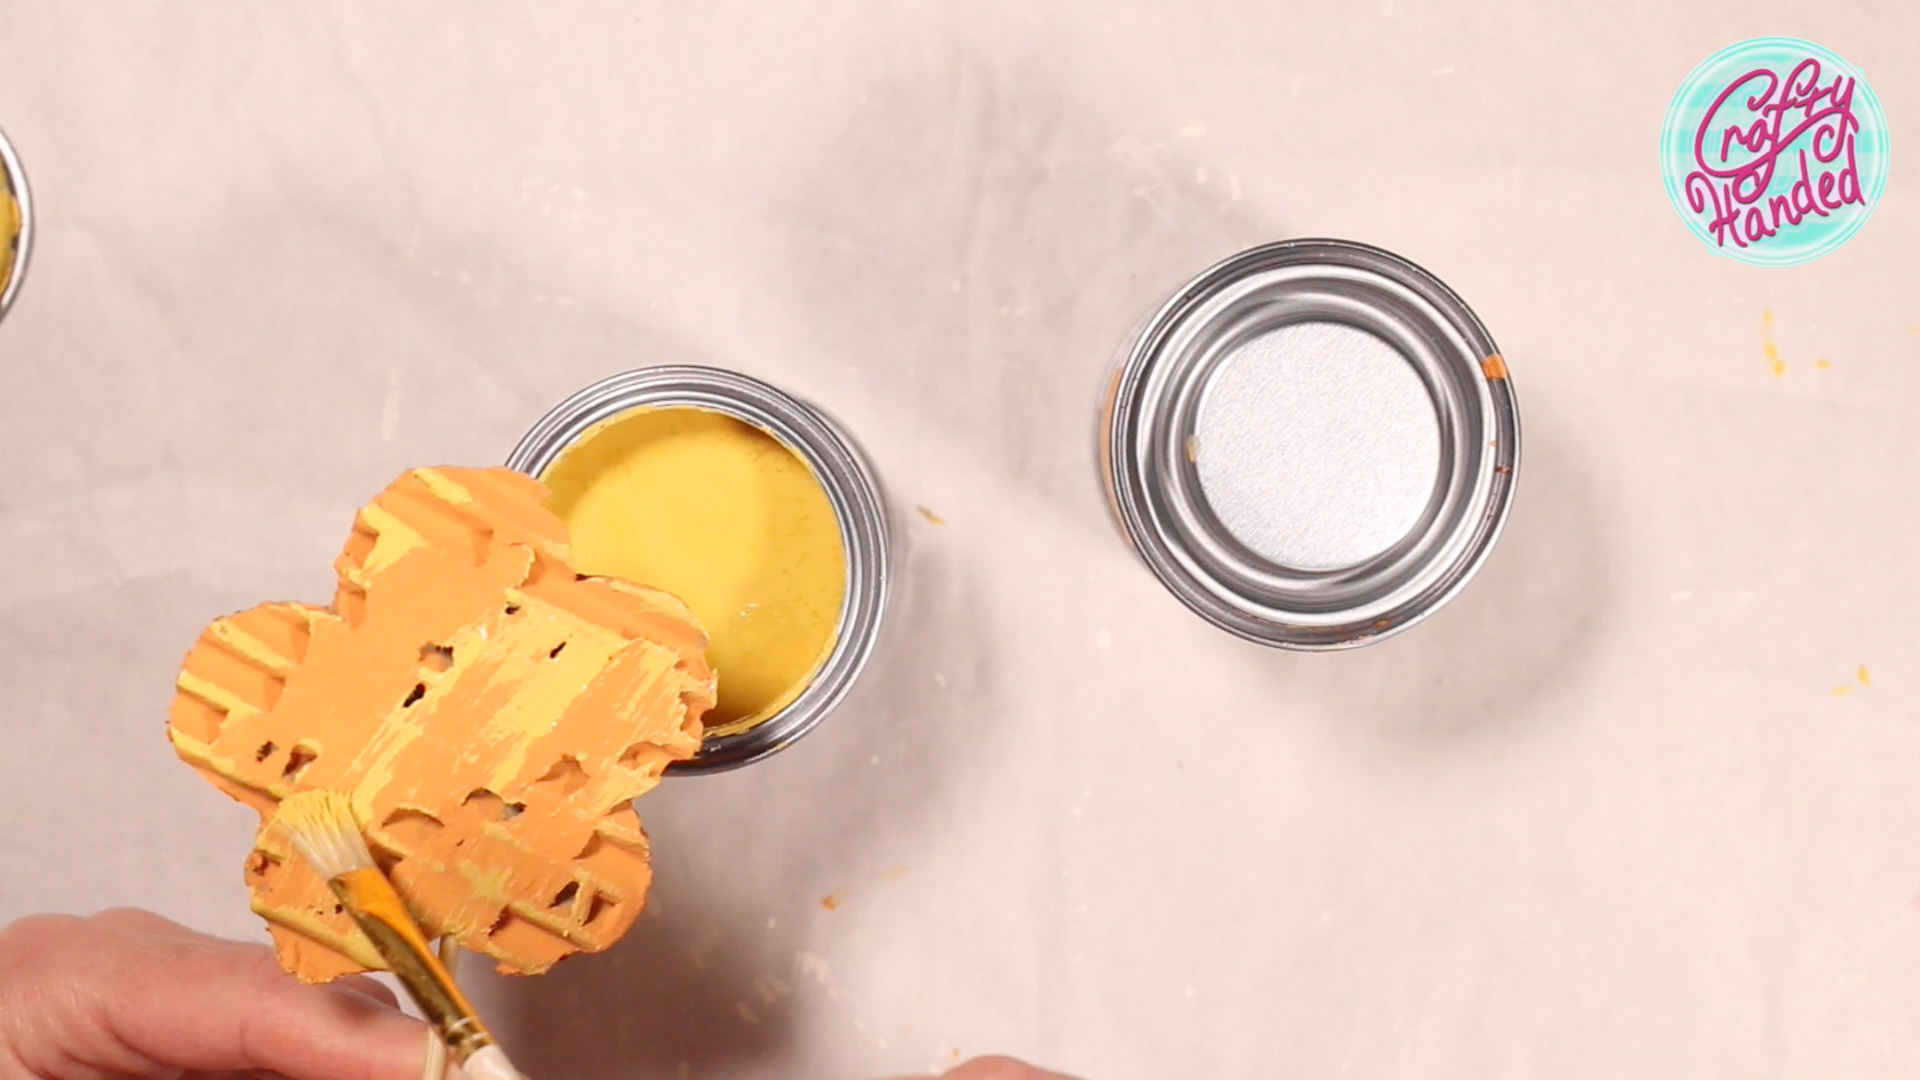
- As for my spring flowers, I chose Barcelona Orange and Tilton yellow. And I switched the colors for the highlights. This is something for those who like brighter and more colorful things.
The last touch is to add a little bow under the ornament. You can use raffia, jute, lace, twine, a shred of cloth, or anything you like. And they are ready to stick in your spring flower pot! Aren’t they cute?? I think the bunnies are my favorite! And the big one is coming next!
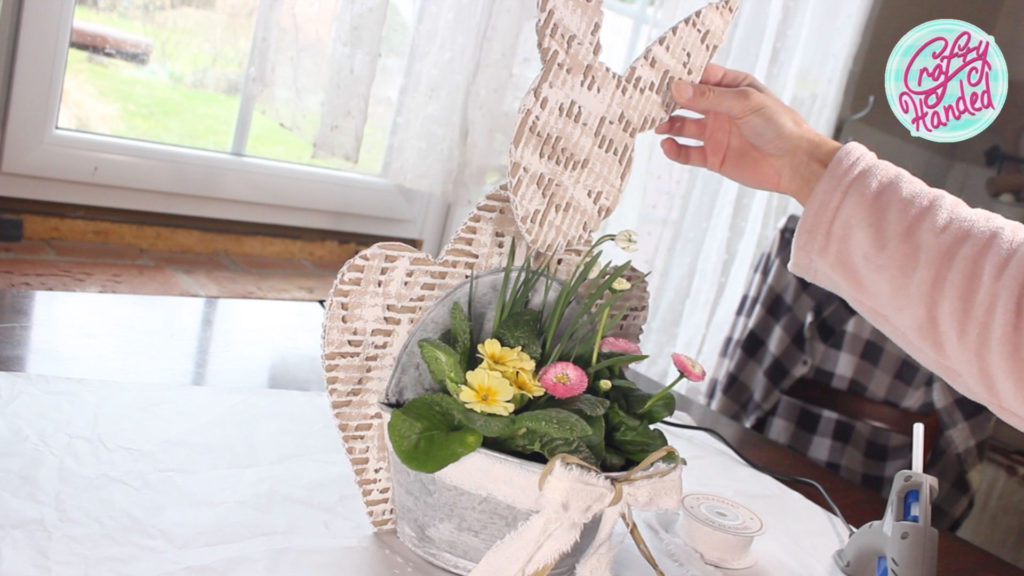
2. Bunny Planter Cardboard Decoration
This might be a sizeable corrugated cardboard decoration depending on the planter you choose. So consider the size of your planter and available corrugated cardboard.
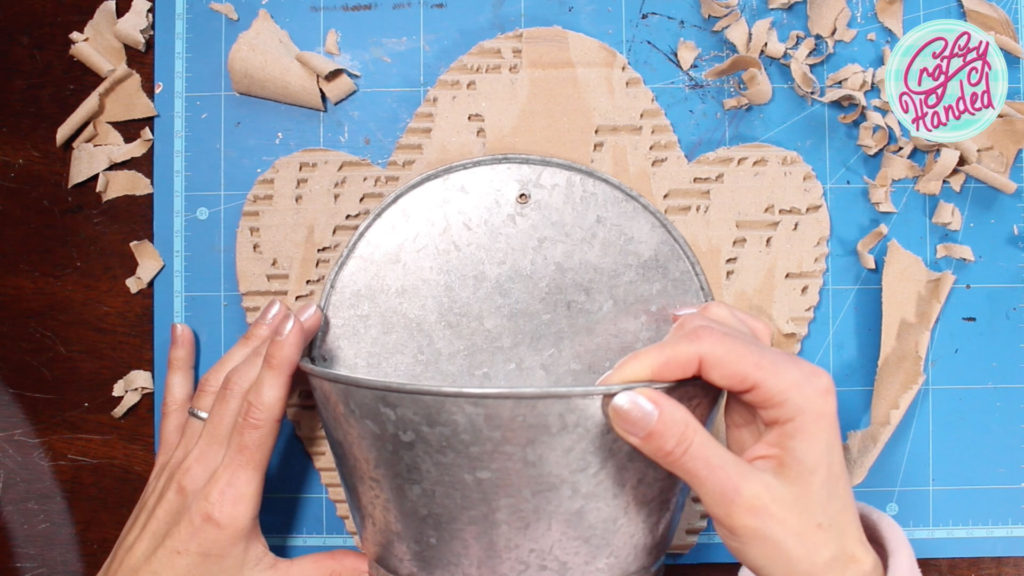
I found these very inexpensive galvanized steal wall-hanging planters on sale. I really like them for this project because they have one flat side to attach to the bunny, and the size is just right. But you can try the square planter, even a round pot, or a basket if you want. Then you might want to experiment with bending the bunny around a bit or using a ribbon to tie the flowerpot to its waist.
Preparing the Cardboard Bunny
So depending on the size and shape of your planter, sketch your bunny first on plain paper to find the shape you like. I sketched mine so the bunny would be sitting upright behind the planter. Then transfer the drawing onto the cardboard and carefully cut it out. I decided to do the head separately, which is also handy if your cardboard is not big enough for the whole bunny.
I distressed the body from both sides, leaving out the spot that will lay against the planter and where the head attaches. For painting, I am using Annie Sloan’s white chalk paint… but any white paint might do – just try it on a scrap piece first.
Dressing up the Planter
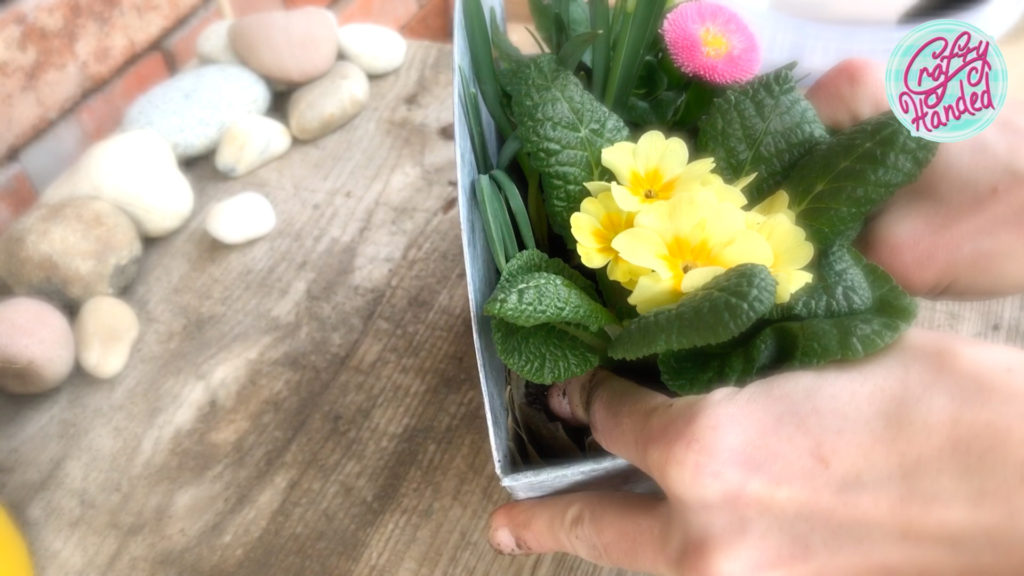
It is a good idea to plant your spring flowers into your planter first, so you can get the dirty job out of your way before messing up your freshly painted cardboard. Some of my favorite spring flowers are primrose and snowdrops, so I am putting those into my planter.
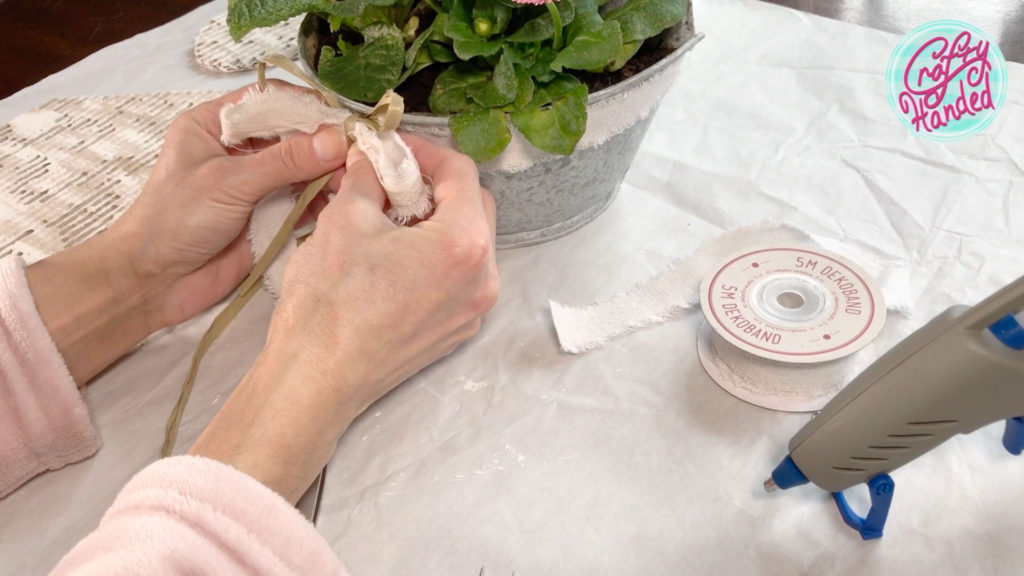
I also wanted to decorate the planter with a shabby bow. So I ran the ribbon around the top of the pot, hot-gluing it along the way. And then, I glued the bow to the front. I used a canvas ribbon, lace, and raffia for it.
Corrugated Cardboard Decoration Assembly
When your planter is ready, and your bunny is painted and dry, it is time to put it all together! Put the glue on the back side of the planter and quickly attach the body to it, pressing it gently for a while. I am using my low-temperature glue gun for it. And since the head is separate, you can tilt it any way you like.

Isn’t he gorgeous? And there are so many ways to modify him. Just change the shape and colors, or the pot and flowers!
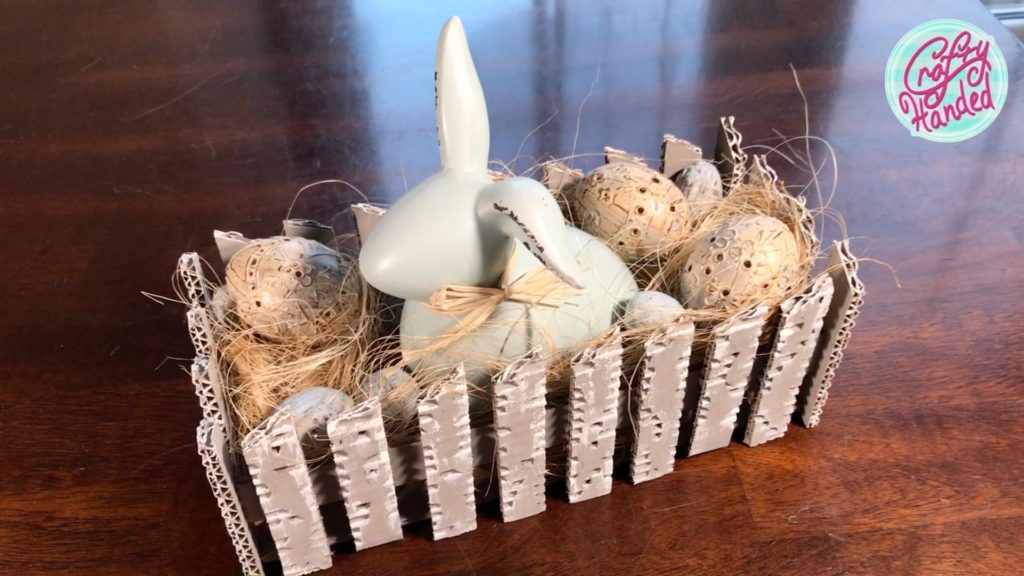
3. Corrugated Cardboard Tray/Basket Decoration
So last but not least of our corrugated cardboard decorations is a table decorative tray slash basket. Mine measures 10″ by 4″ and is 4″ high. Of course, you can adjust any dimensions to fit your needs. It might be easier to follow my video tutorial with this one.
Basic Construction
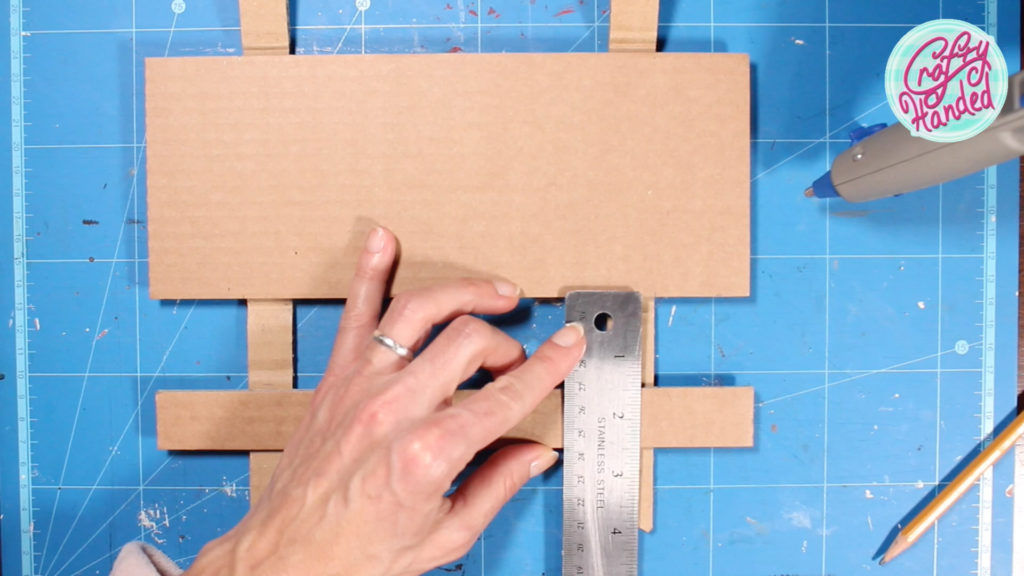
From a sturdy thin double corrugated cardboard, cut the base measuring 10″x4″. Then cut four crossbars, two measuring 10″x3/4″ and two measuring 4″x3/4″.
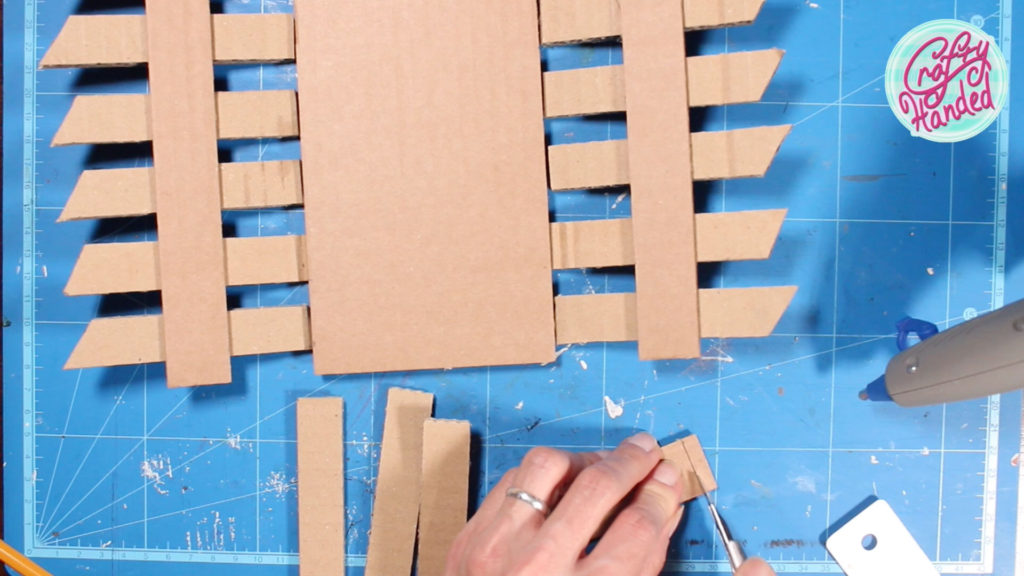
Now from our usual double corrugated cardboard, we will need to cut twenty 4″x3/4″ pickets. Watch the direction of the corrugation because it will impact the final look. Let’s slant one end of each of our twenty pickets. We will also need two 12 1/2″x3/4″ long pieces. We will place them about 1 9/16″ from each end of the baseboard, and bend them, so they fit around the baseboard, then hot glue them in place. Now we can attach the two long crossbars, each across the side about 1 1/2″ from the baseboard.
After that, we can glue six short pickets evenly spaced on each crossbar.
Now for the two short ends, we actually need to shorten the 4″ crossbars by twice the thickness of the crossbar. In my case by 1/4″ so we can glue it between the long crossbars at each end.
And the last thing for our construction. Evenly add four short pickets at each end, and we are done! Almost.
Finishing
Of course, we can’t go without some distressing, can we? Now that we have the whole piece in front of us, we can see how much surface we want to “ruin”. When you are happy with your distressing, it is time to paint!

I chose Annie Sloan French Linen chalk paint to unify the whole tray inside out. After you paint the base, it might start warping, so weigh it down gently across the whole width while drying. Once it’s all dry, let’s dry-brush it with White again.

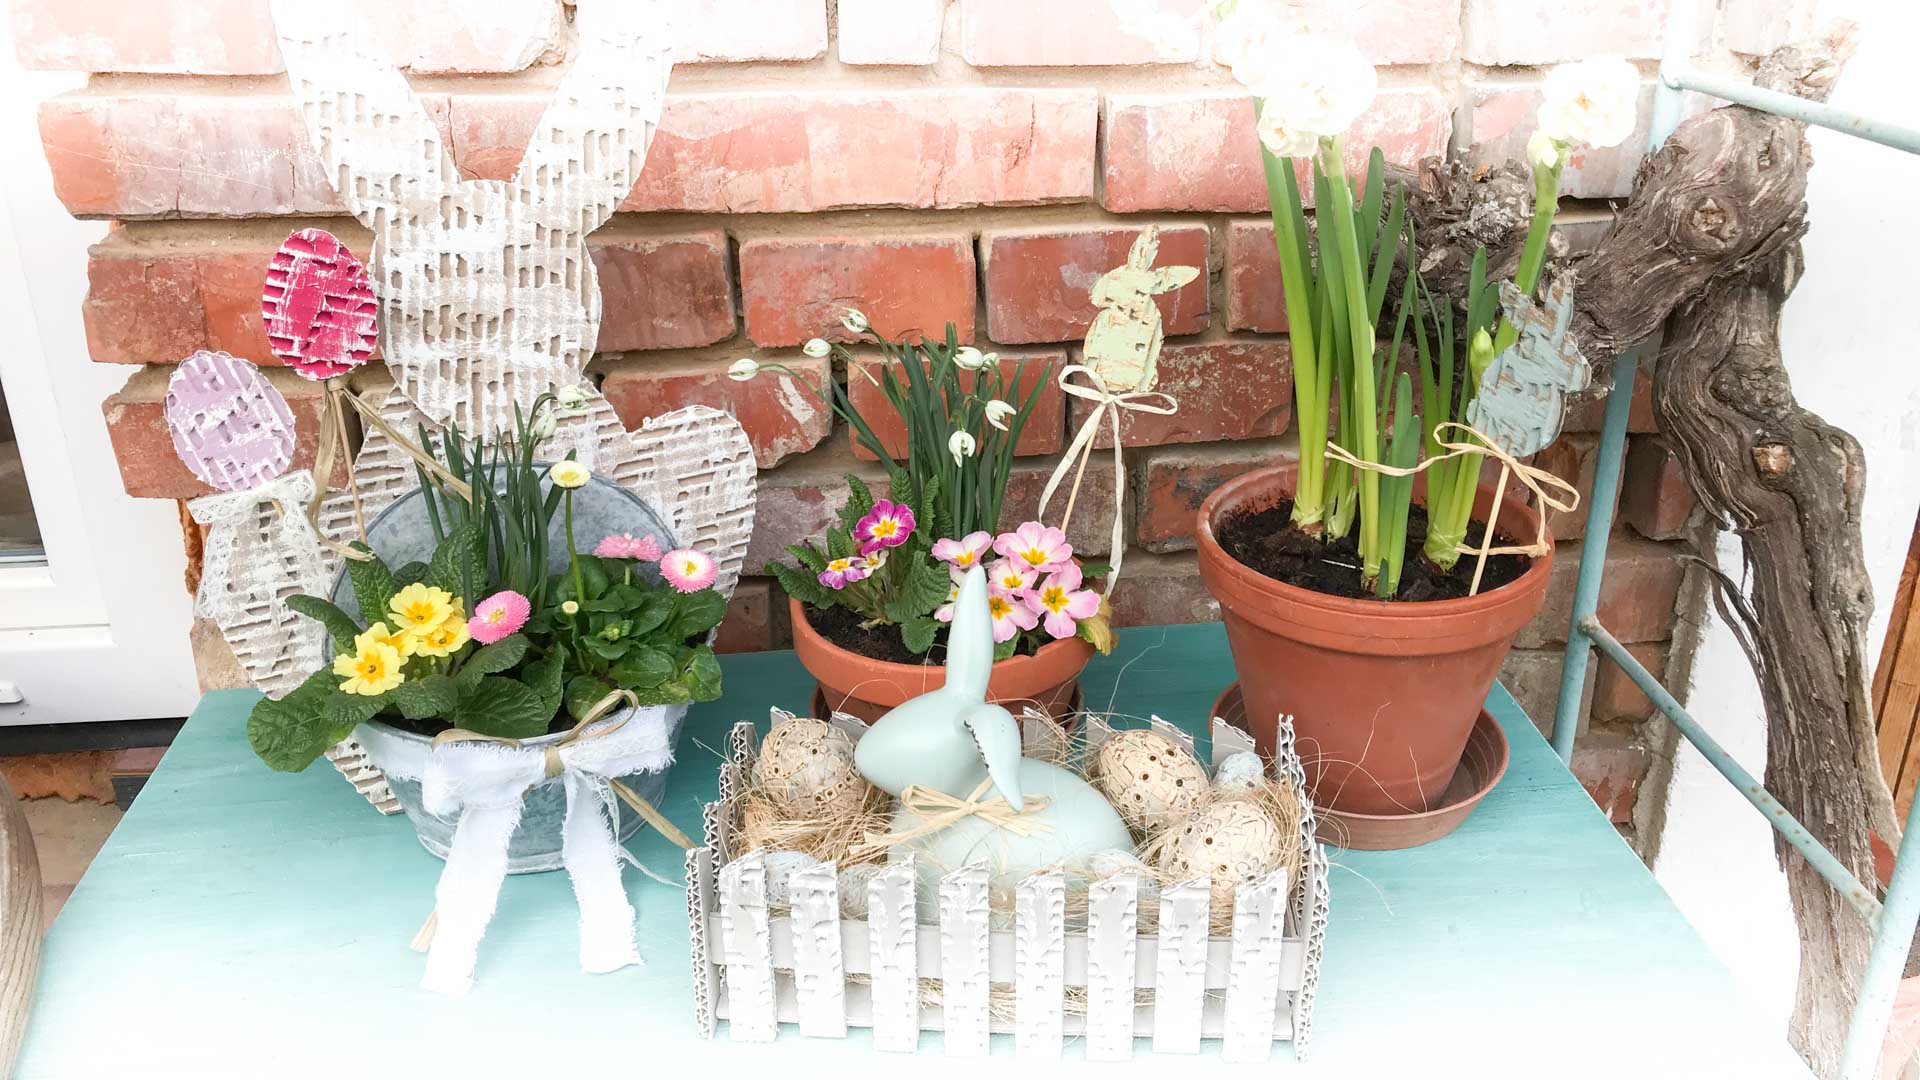
And we are ready to arrange our Easter decorations in it! Fill our corrugated cardboard tray with some Raffia, Coir Fibre, or simple hay. Put some centerpiece in it. It can be a spring primrose in a little pot, an easter bunny or a hen, and some Easter eggs. If you like my Madeira Easter eggs, please check them out.
I love these simple and very inexpensive corrugated cardboard decorations. They fit my house and my wallet too. I hope you enjoyed my tutorial and got inspired to create your own versions. I would love to see them!
Watch my full tutorial on my Crafty Handed YouTube channel …Or if you like what I do and would like to support me, please become my Patron.
More Easter Posts
-
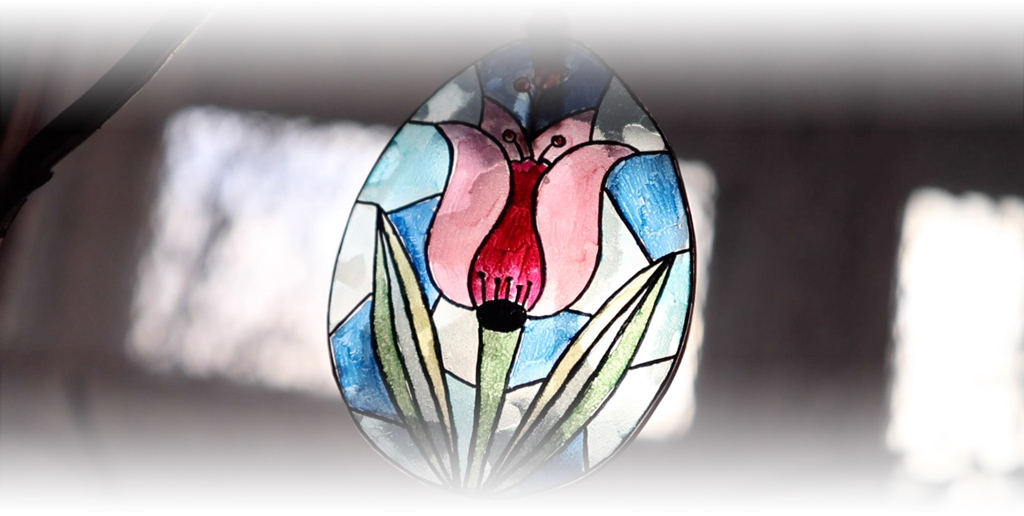
Stained Glass Easter Eggs
Let’s do an easy Easter decorating project. Faux stained glass Easter egg ornaments – No glass and eggs needed :), but shrink plastic and markers…
-
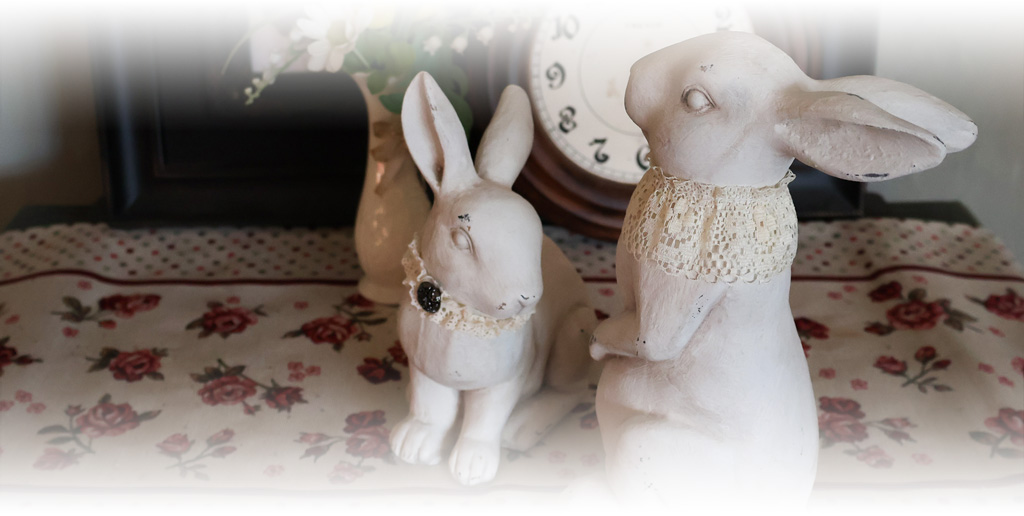
Upscaled Easter Bunnies
I always wanted to get these beautiful vintage Upscale Easter Bunny statues from expensive stores so I flipped some cheap ones!
-
Rustic Corrugated Cardboard Easter Decorations
Easy way to make rustic Easter decorations on budget from corrugated cardboard boxes.