Christmas Gnome Tags Tutorial
I know it’s a bit late but think of it like it is really early THIS year :). Somehow I got delayed by Christmas, and suddenly it became a new year… It might be the first Christmas Gnome Tags tutorial of 2022!
JAN 10, 2022 >
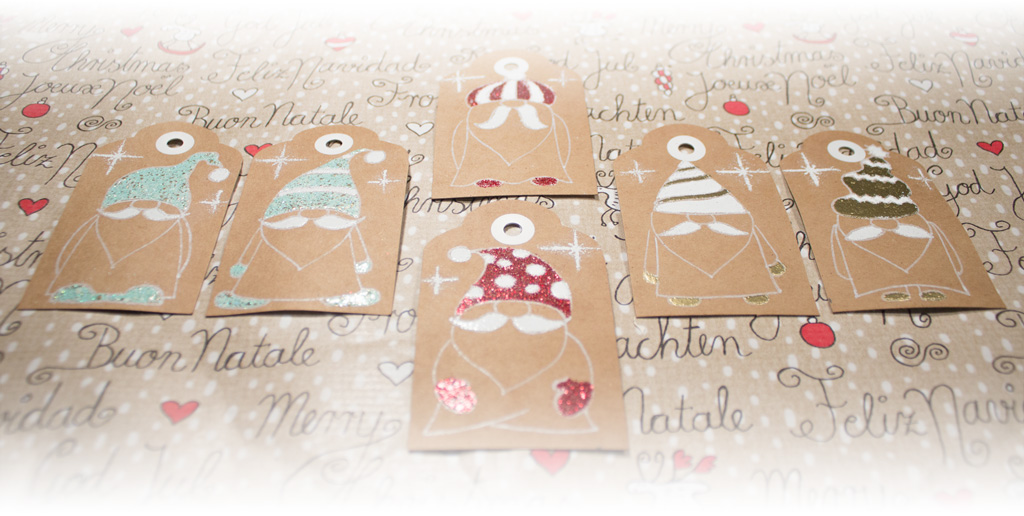
I like to always add something special to each gift. Sometimes it is a little decoration, sometimes a handmade pendant, and this year (last year) I decided to hand-make the name tags. “This” year, I think, more than ever, was filled with gnomes on every corner. And as I don’t have any in my house, they inspired me for my gift tags.
Sketching the Gnomes
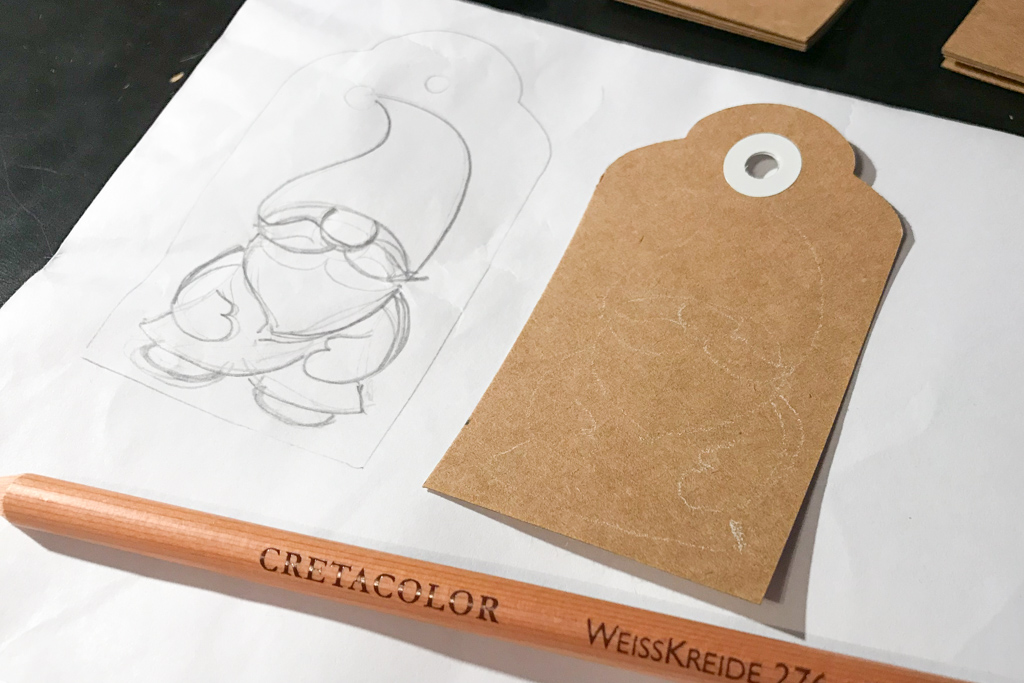
I made some sketches and created about 6 different designs of simple gnomes. I played around with different shapes of hats, and mustaches and I tried on different coats and arms. If you wanted an even cuter look, then I suggest you change the proportions a little. Make the head bigger, starting with the nose somewhere in the middle of the tag. The beard could touch the ground. There are countless ways to draw the gnomes.

Outlining the Gnomes on the Tags
I simplified the drawings of the gnomes so the outlines would be clear and easy to fill with embossing powders. I drew the outlines with my white Pilot permanent ink marker. It has liquid ink in it, and has to be shaken well before every use.
Filling with Embossing Powder
I used only 2 colors of embossing powder on each tag to not overembellish it. Always white with a complimentary color… glittery red, gold, mint chip… you could do silver, green, pink or any other color you like.
Decorating Christmas Gnome Tags
I filled in the empty spots stamping white stars around. You could use snowflake stamps or just make some dots as falling snow….
Name Tags
On the back side, I glued slightly smaller name tags cut from cream-colored card stock. It is a good idea to write the names before gluing (if you know them ahead) so you don’t have to be worried about messing up the tags.
What You Need For the Christmas Gnome Tags
Supplies
Kraft paper, cream card stock, white Pilot permanent ink marker EF, Emboss Dual Pen II by Efco, Embossing powders: white from Zing, gold, and glittery red from Papermania and Mint Chip from Ranger, heat gun, Scissors/paper cutter, hole punch, small star or snowflake stamp, white pigment/embossing ink, Tim Holtz Distress Tea Dye Ink, blender (makeup sponge)
Self-Evident
pencil, eraser, ruler, your favorite pen for writing names, and a cup of hot punch
Optional
tag punch, corner punch, hole reinforcers, spoon for scooping out the powders, small brush for dusting off, tweezers for holding the tag without burning your fingers with a heat gun or getting them in a glue :), bone folder for burnishing
If you’d like to watch a complete Christmas Gnome Tags Tutorial on my CraftyHanded Youtube Chanel, click on the link below.
