

Rustic Corrugated Cardboard Christmas Ornaments
Years ago, I was looking for a way to decorate my Christmas without spending too much money. I always have piles and piles of cardboard boxes around, so I wanted to use them. But after I cut out the shapes, they looked too plain, too childish. And as I prefer a distressed look, peeling off the top paper layer seemed like a great way to take the corrugated cardboard ornaments to another level.
DEC 6, 2022 >
It is so simple, quick and low-cost!
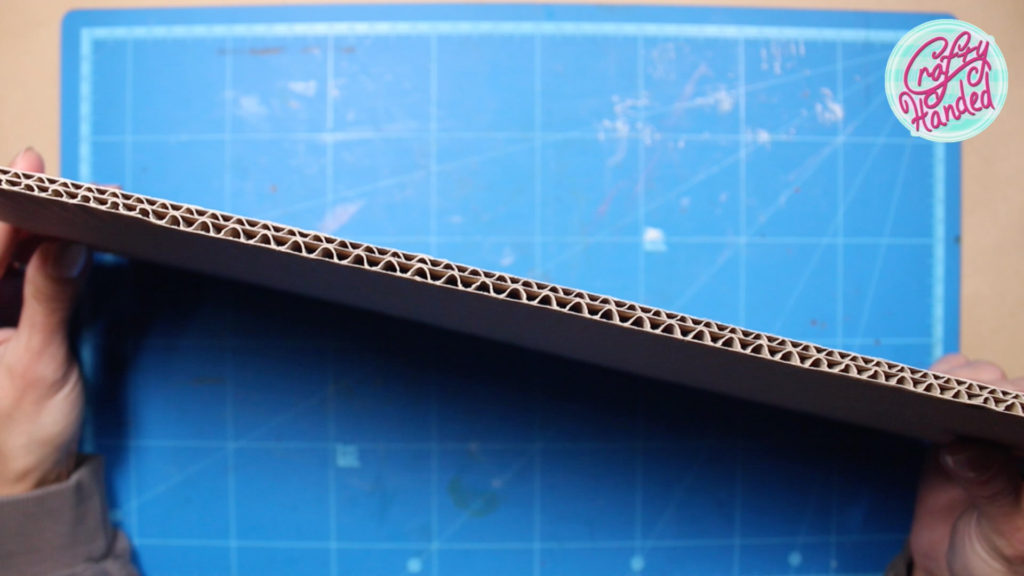
I like to use double corrugated cardboard for this. It is sturdier, and you can distress it from both sides if you need to!
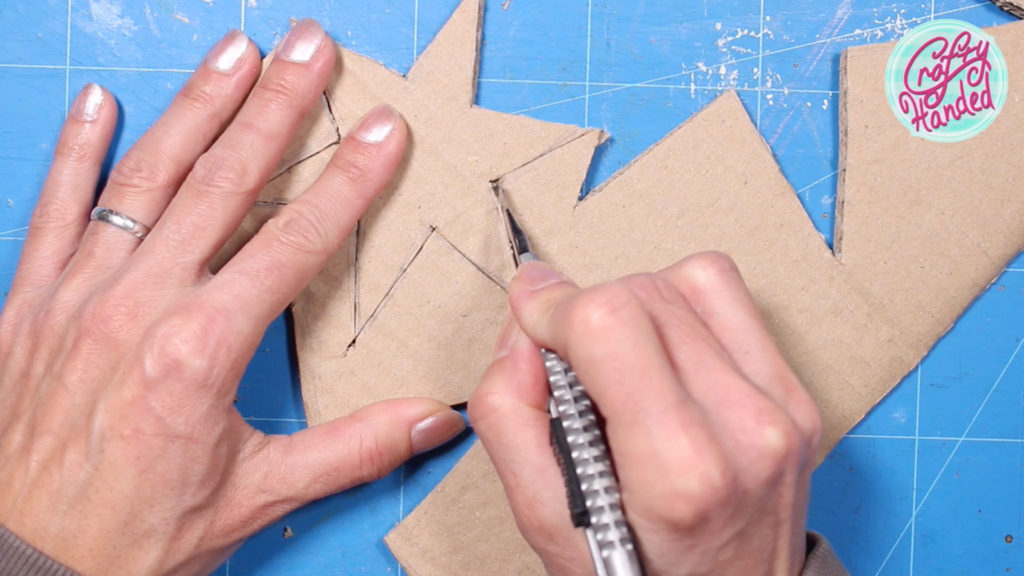
Draw your shapes on the cardboard. Don’t worry much about the pencil lines, because we will distress and paint the shapes later. Stars are basic and very effective Christmas ornaments. But you could also draw bells, circles for baubles or snowballs, icicles, birds, stockings, canes, trees, all kinds of shapes you feel brave enough to cut. Cut out your shapes, preferably using the craft/hobby knife. Thick cardboard is almost impossible to cut with scissors, besides, you would squish the edges too much. Use a fresh sharp blade, take your time and be very careful not to cut yourself!
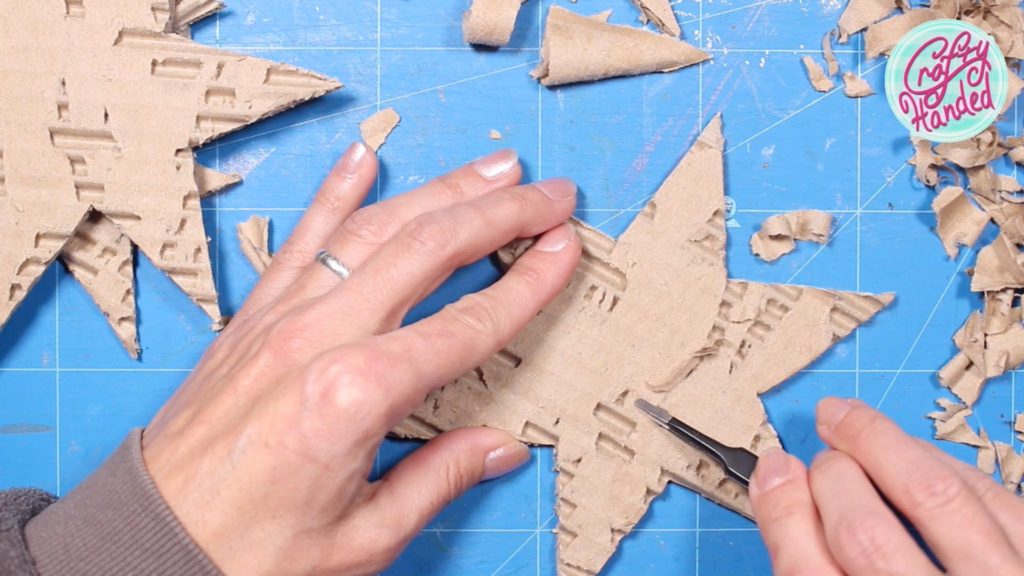
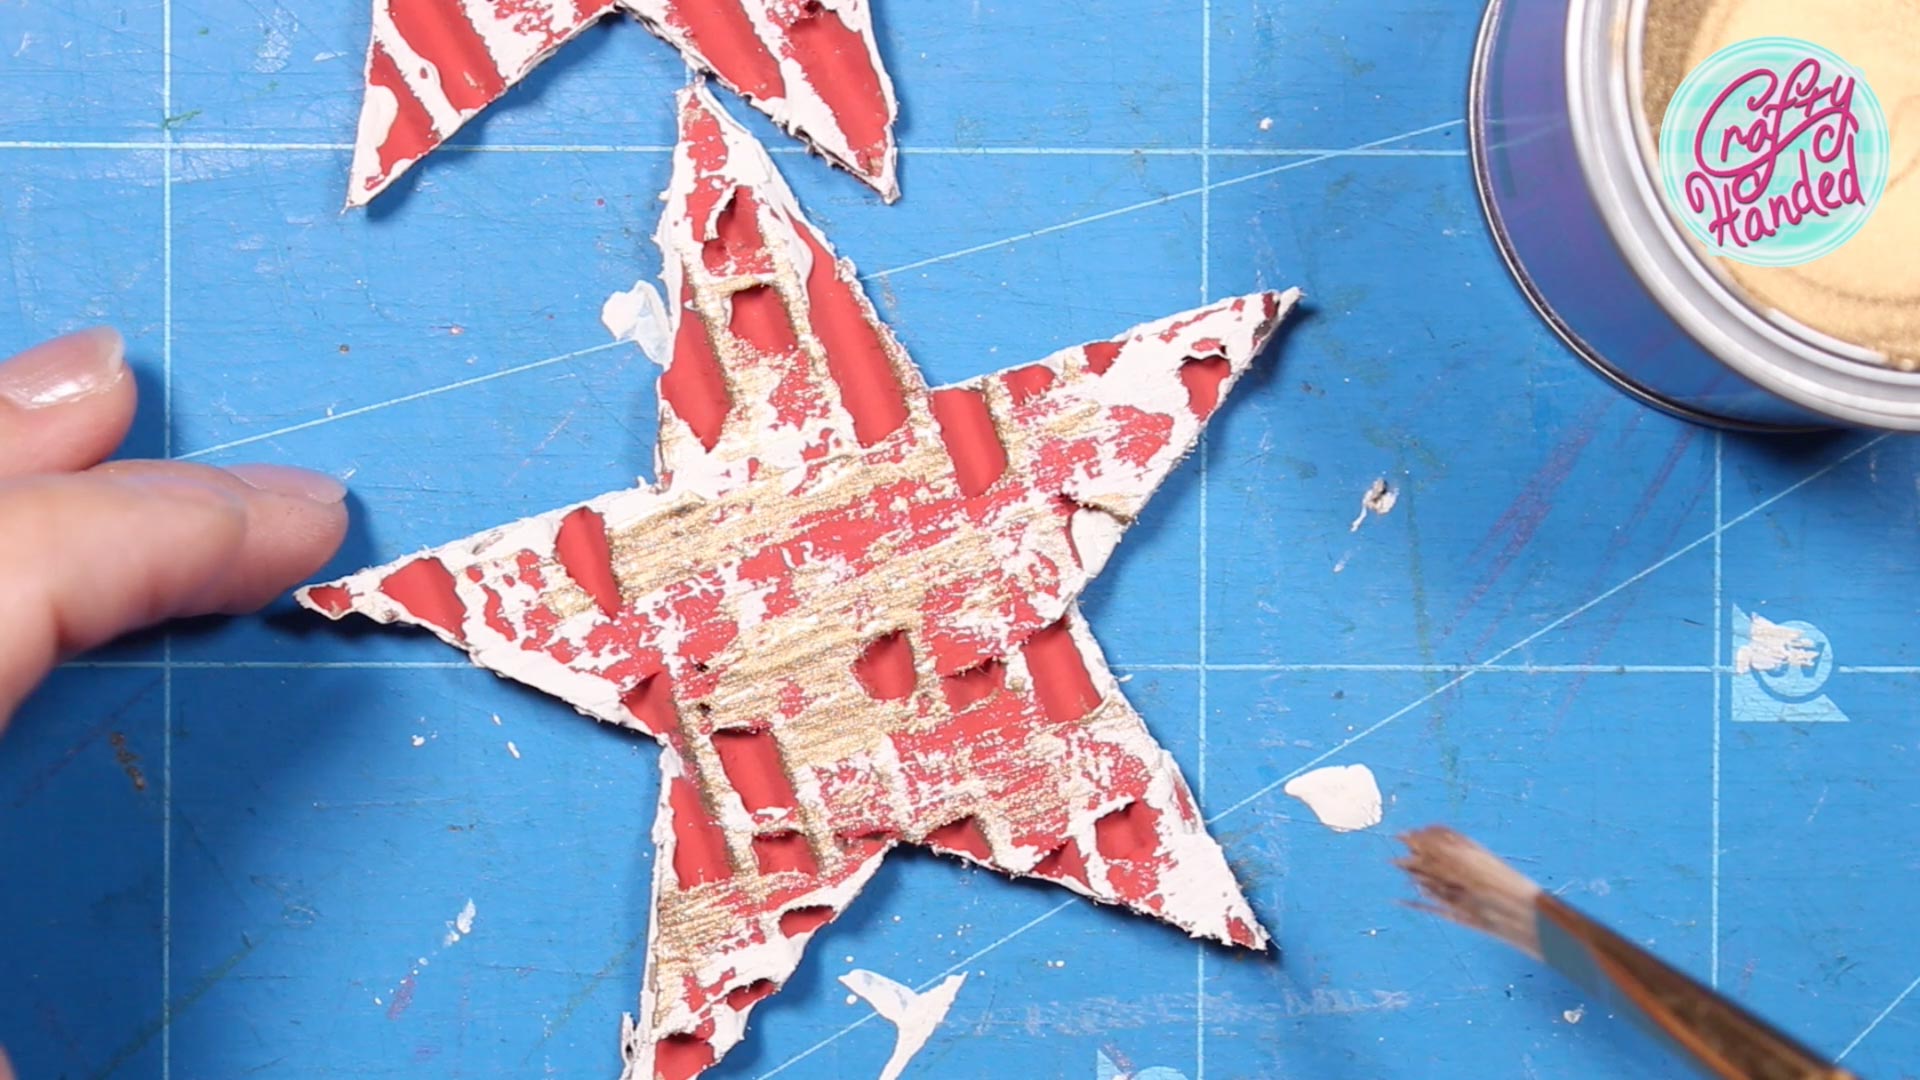
When you have your shapes cut, start picking at the edges. Slowly peel pieces of the top layer from the cardboard to reveal the corrugated core. Tear the paper in the direction perpendicular to the ridges. Simply across the lines. You can use tweezers to help you to get where you need to, even in the middle of the shape. Tear off as much of the top layer as you desire, but leave some in place to get the distressed look. I leave almost half of the surface covered. If your shape is going to be visible from both sides, distress its backside in the same fashion.
Select your color combination
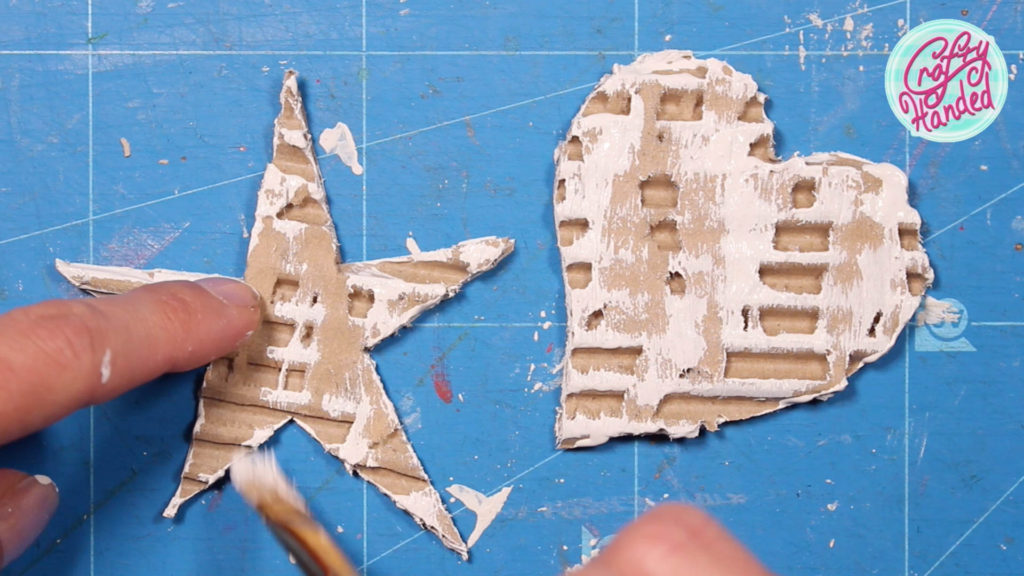
- The simplest one is the raw look of white on natural. I like to use my chalk paints for this. Dip your brush in white paint and first run it around the edge of your shape. If your paint is too runny, offload it on a scrap piece of paper and then dry-brush across the corrugation and paper shreds left behind. Leave parts unpainted to see the natural brown cardboard.
- Traditional Red & White with Gold highlights combination. First, paint the whole shape with red “chalk” paint. Chalk paint dries very fast, so you can proceed to the next color almost immediately. When the red is dry, drybrush the shapes with white paint first around the edges, then randomly across the corrugated surface. Let dry again, then use gold paint or even a gilding wax and highlight some areas.
- Romantic Pink & White with Silver. Same as the previous process. Only paint the shape first with pink paint and then highlight it with silver instead of gold.

For more durability, spray the decorations with a mat top coat.
3 Ways to Use the Rustic Corrugated Cardboard Ornaments
- Decorating a Pallet Christmas Tree
- Log Angel
- Stary Garland
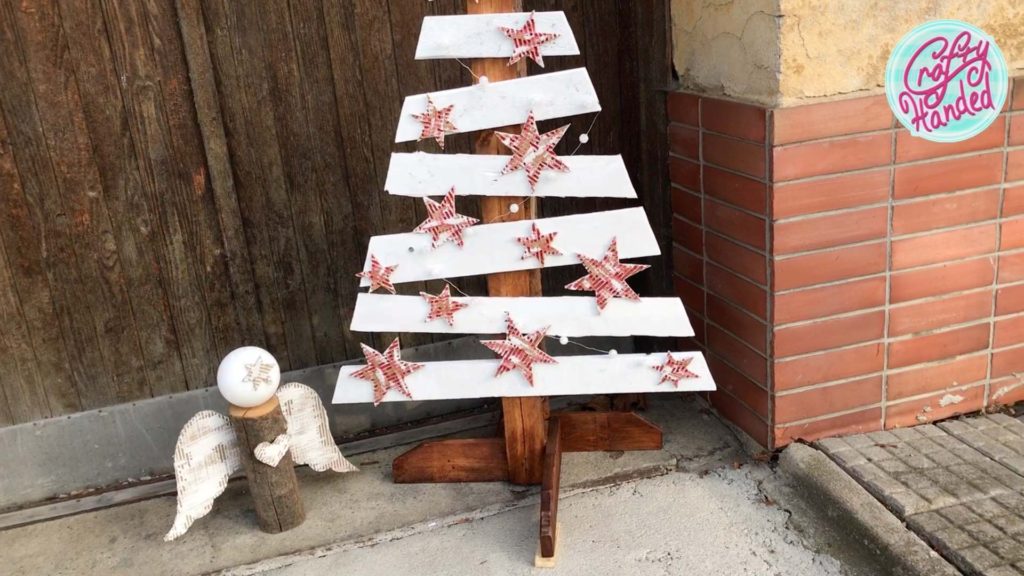
Pallet Christmas Tree
I got inspired by the rustic wood boards/pallet trees on the internet, but I didn’t want it too plain and natural. That seemed too rough for my taste.
Building Process
First, I cut off the part of the pallet with the 2 boards connected with the wood blocks, which I used as a trunk. Then I took scrap boards I found laying around my woodshed and randomly nailed them to the trunk. Then I drew the tree shape on it and cut off the excess boards with a jigsaw. In the end, I screwed the 4 foot-long boards around the bottom woodblock to make a stable tree base.
Finishing the Tree
Afterward, I cleaned up the too-rough edges with 80-grit sandpaper. I stained the trunk and the base brown and then painted the rest with white chalk paint. I cut out a star from a scrap of 1/2″ plywood for the top. I also painted it with white chalk paint and then experimented with distressed gold leafing.
Decorating
And then I remembered my corrugated cardboard ornaments. Those seemed perfect for the rustic feel of my pallet tree. I used the star ornaments in the traditional Red, White, and Gold combination and hot glued them right on. I threw a cheap string of lights on it, and done!
Log Angels
I’ve had one forever, so I decided to make him a friend this year.
You will need a straight piece of a log around 4″ in diameter and about 12″ long (or whatever size you like! This is the size I get as firewood.), 4″ polystyrene ball, corrugated cardboard, white paint, a craft knife, and hot glue.
Corrugated Cardboard Parts
Play around with wing shapes on plain paper first. Then transfer them to your cardboard. To get a symmetrical set of wings, mirror one wing left and right. Cut out the wings in one piece, a small star, and a heart from your corrugated cardboard. Distress the wings from both sides, front, and back. You can distress the star and the heart just from the front side. Dry brush with white chalk paint.
Assembling the Angel
Stand the log upright and hot glue the polystyrene ball on the top end. (Painting the polystyrene ball with white chalk paint is optional – unless your ball is blue or something) Hot glue the wings from the back side of the log. Glue the star on the forehead and a heart on the front of the log. And your sweet angel decoration is done.

Stary Garland
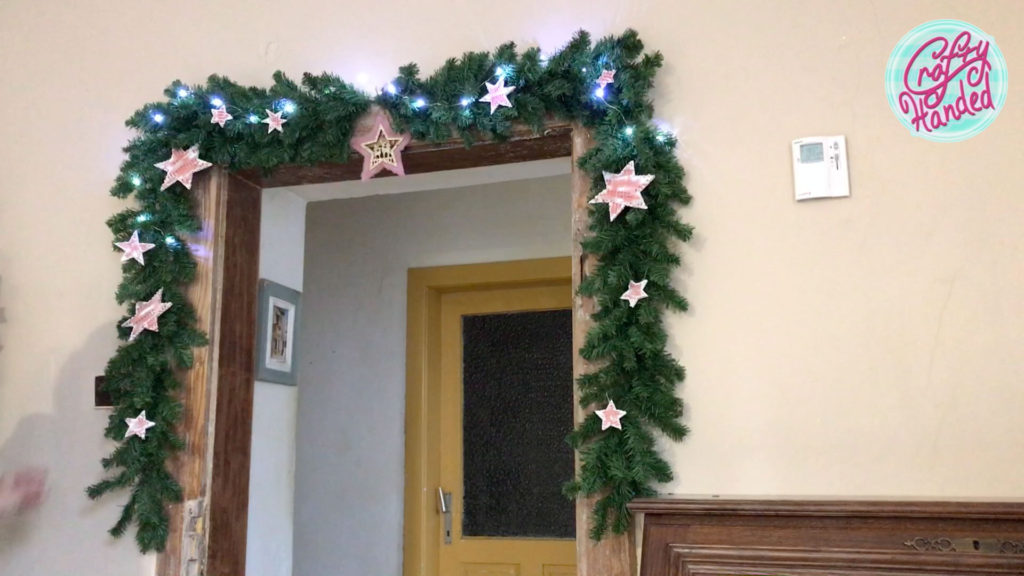
Last year I have bought a nice garland on sale and decided to put it over my doorway to decorate the plain wall. I didn’t have anything on hand to decorate it with, though. Hey, what about some corrugated cardboard ornaments? I found some tossed boxes in a drive-through, and I had my stars cut, painted Pink, White, and Silver, and hung in a few hours. I think they fit my distressed raw wood doorframe nicely.
Watch my quick video on my YouTube channel …Or if you like what I do and would like to support me, please become my Patron.
More Christmasy Posts
-
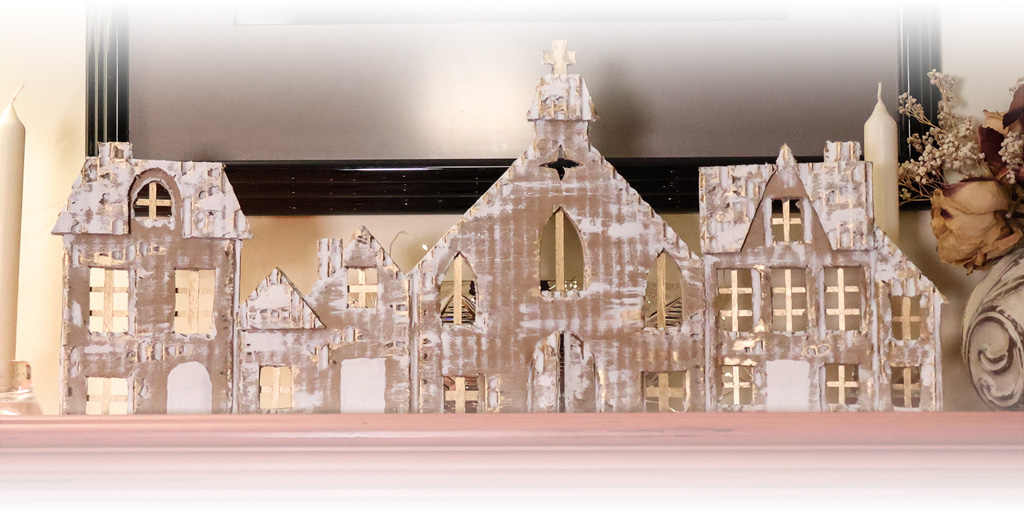
Rustic Cardboard Christmas Villages
Easy and impressive way to make rustic Christmas Villages on budget from corrugated cardboard boxes.
-
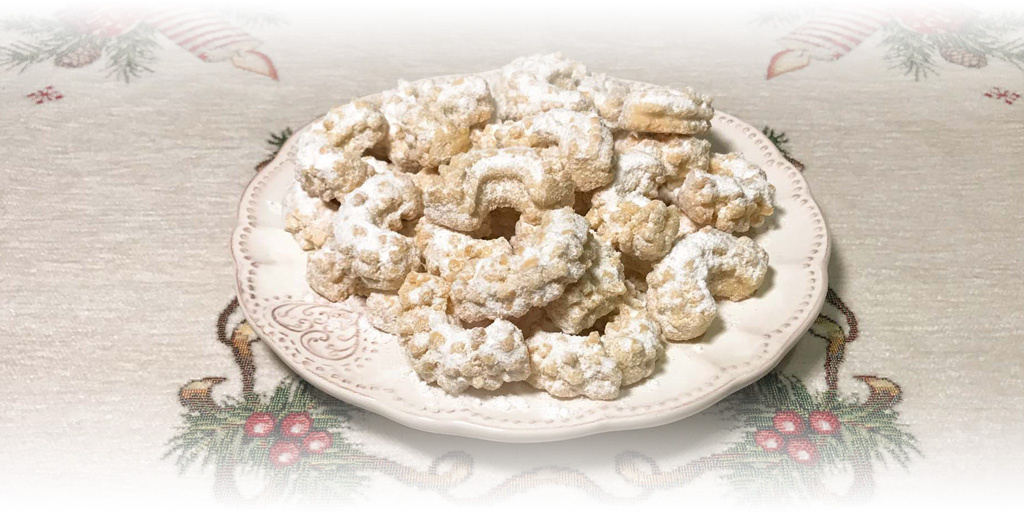
Brenda’s Vanilla Crescents
Here is another SIMPLE and AMAZING last-minute holiday cookie recipe. Vanilla Crescents to amaze your guests, who will not know when to stop nibbling on your cookies 🙂
-
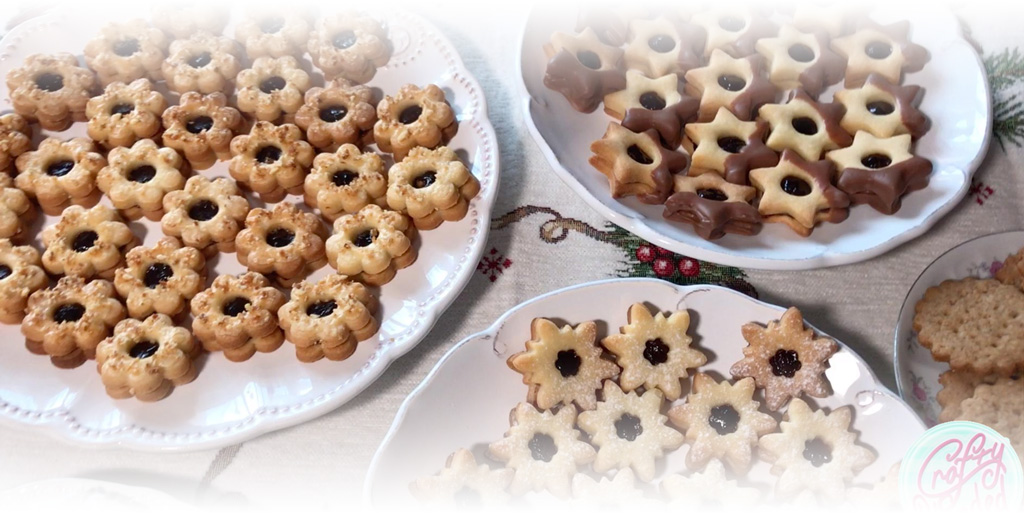
Last-minute Christmas Linzer Cookies 3in1
Here is one simple, last minute Christmas Linzer cookie recipe. And I will show you 3 different looks you can make out of one dough batch!