

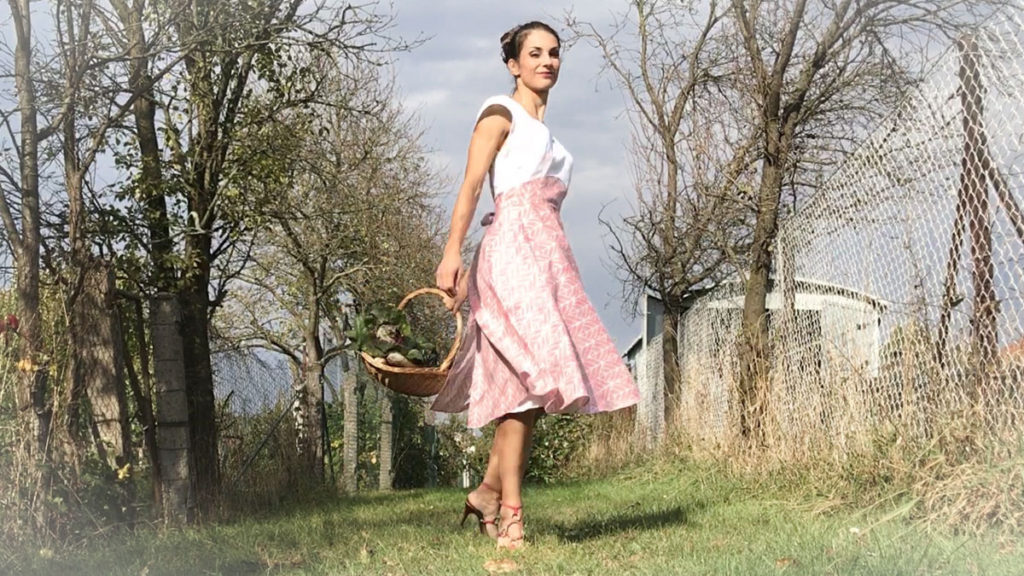
Walkaway Dress Backwards
I started planning this backwards Walkaway Dress / Saturday Morning Dress shortly after I finished my first Walkaway dress in January. And it took me only half a year to finish it! I knew I should have used Christmas fabrics instead of summery ones…
NOV 20, 2023 >
I must say I didn’t spend half a year actually making the dress. I was just being constantly interrupted by thousands of other things.
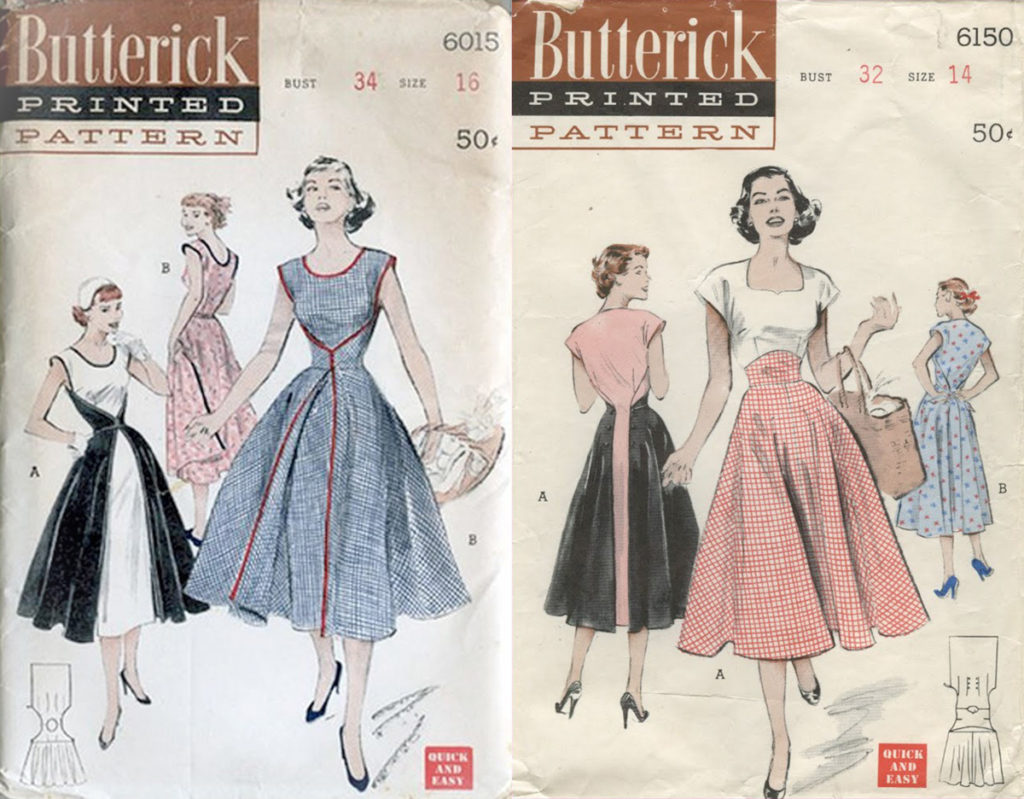
Getting the original Butterick 6150 pattern was quite impossible, and I really didn’t want to risk the Butterick 6212 reprint. So, I decided to use the free GBSB Walkaway Dress download pattern instead. And make a few “minor” adjustments. I am using a half-circle skirt, switching the back and front pieces, adjusting the darts, and adding the midriff and ties… And I made a video again, so check it out if you don’t like to read!
Getting the Sewing Supplies
I have visited all the local fabric stores again, and you know why? Because I couldn’t find a WHITE fabric! All the white cotton I could find was so thin you could actually count the flowers on my bra. Which I don’t really wear, but that’s not here nor there. Finally, in about the sixth store, I was able to find a heavier blend of 97% cotton and 3% elastane. It was not perfect, but it was not see-through, so I grabbed it. No more wasted time on white fabric!
As for the skirt, I really like the red gingham fabric, but I didn’t want my skirt to look like I salvaged a tablecloth. So I grabbed the second pink pattern, 100% cotton fabric I could find.
Having the fabrics in my hand, I visited a few Notion Stores to find the best bias tape. I got way too much of the only white one I could find, some lightweight fusible interfacing and matching thread. Also, get some hook and eye closure for the back panel. You could use a piece of elastic instead.
Preparations
I prepped – hand-washed my fabric in warm water to shrink it, air-dried it, and ironed it straight.
And before we jump into the brief pattern adjusting, make yourself bodice and skirt pattern blocks so you know where your darts go, and you don’t have to guess. Draft an easy half-circle skirt pattern, which you can find all over the internet. And please test fit your pattern blocks before applying them to other projects. You’ll save yourself a ton of nerve-breaking moments, unlike me.
The Walkaway Dress Pattern
The next issue was the Butterick 6150 pattern. I had no idea how difficult it is to find original vintage patterns! Especially when you are looking for a particular one. And I didn’t want to risk the Butterick 6212 reprint. But I still have the free Walkaway dress GBSB pattern! So why not use that? It’s basically the same dress, right? Just backwards? With a few minor adjustments.
Pattern Redrafting
I spent the whole ‘week-and’ week and week fiddling with this pattern, so I won’t bore you with all my scribbling. Just a few key points, if you are following in my tracks. Basically, what I am doing is flipping the Walkaway Dress pattern backwards.
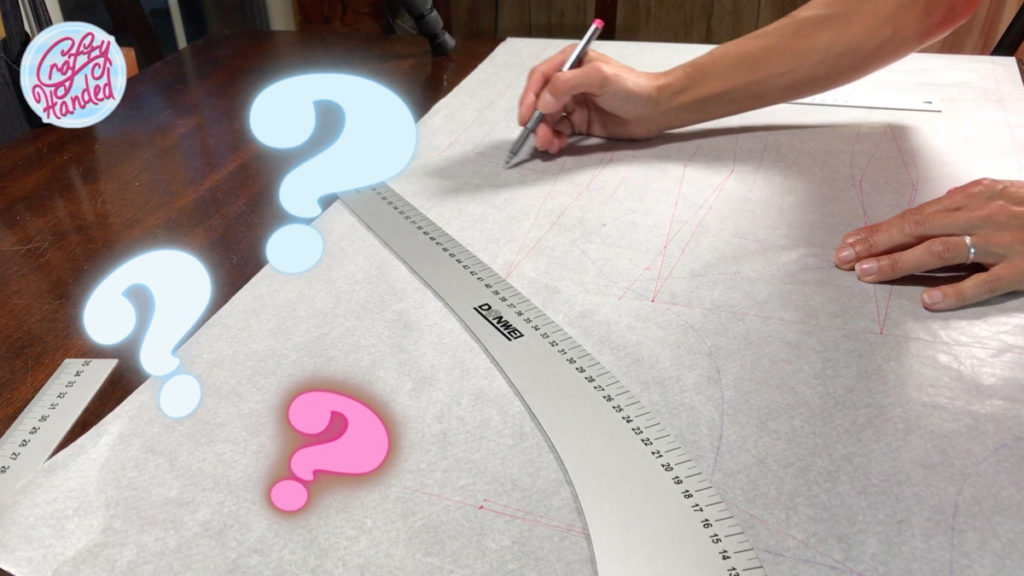
After you’ve downloaded the free pattern, printed it out, and carefully taped it all together, lay a piece of pattern paper over it and trace your closest size. You really don’t want to mess up all this hard work you just did. Besides, you might need to use it again… and again.
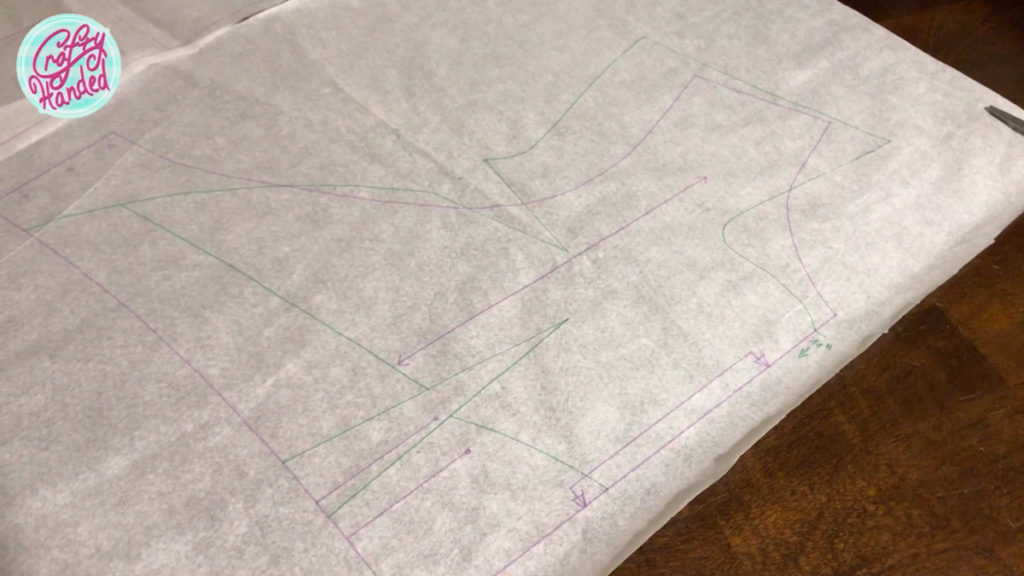
- This time, I used the half-circle skirt and adjusted its length to 27″ plus 2″ hem
- I am using the front panel for the back, copying the darts and neckline from the pattern blocks, extending the wing sleeves, and freehanding the armholes.
- I adapted the back bodice to the front the same way, and freehanded the beautiful sweetheart neckline with its tip about 11″ from my waist
- As for the midriff, I placed the top of the curve just below my sternum and followed along my ribs, sloping it down to the waist. I made sure not to go over my ribs, which would prevent a close fit.
- The neckline facings are easy to make. Just trace the front and back neckline with the shoulder seams and add about 2″ to the width.
- I also added couple of 4″ by 24″ ties for the skirt.
Madness Time
Fabric Cutting
Time to cut the fabric! Finally! I mean, I was supposed to start cutting months and months ago, but somehow, all these pressing life issues and house projects got in the way. And somehow, I didn’t get to it. But it sure helped to keep my kitchen floor clean. You know I have all these little furry kitty friends, so I can’t just put fabric on the floor anytime I want. So, I washed it every time I thought about cutting the fabric 🙂
I started with the skirt on the fold and salvage edges to save some hemming work. Remember, the skirt needs to be smaller than your waist to have a gap in the back.
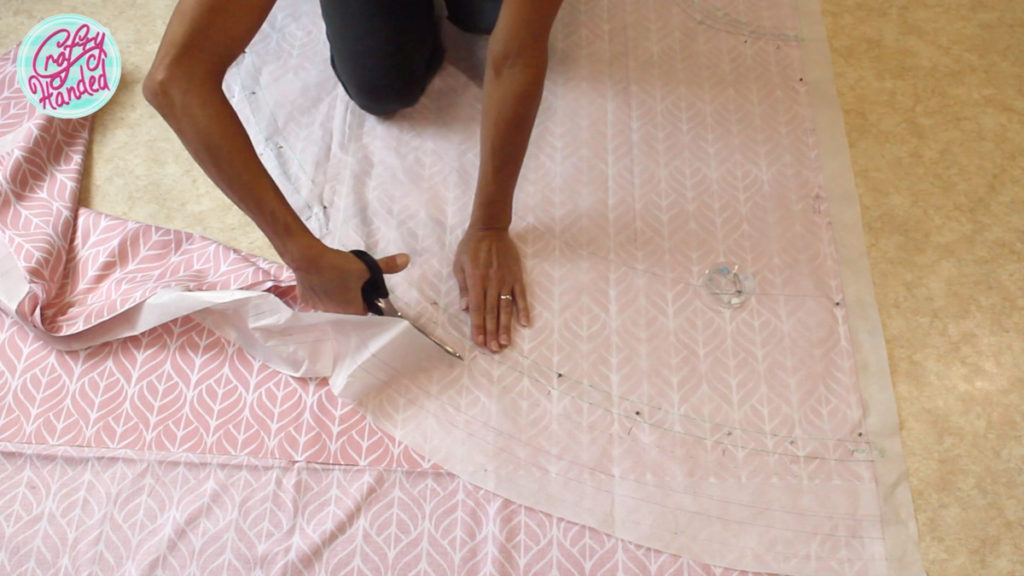
If you have a stretchy fabric like me, remember it needs to stretch from side to side, not top to bottom. Also, all the pieces should be in the same direction so they stretch the same way and don’t pucker. I’m adding a seam allowance everywhere except armholes, which I am planning to finish with the bias tape.
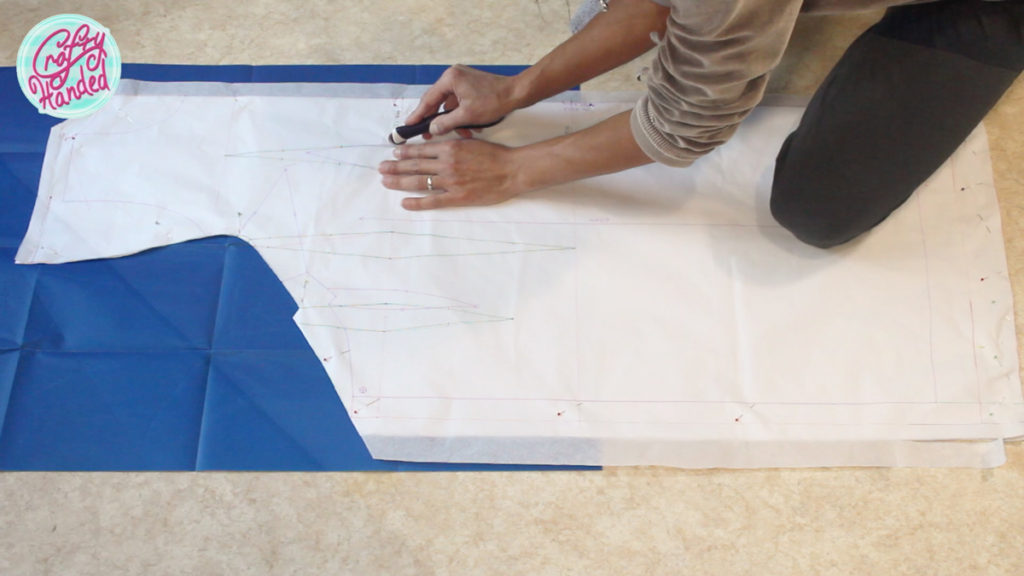
Don’t forget to mark all the darts. I am using the tracing wheel with paper for that.
And a little tip for the shoulder seams. I found out the hard way it is really useful to leave extra seam allowance at the shoulder seams. When you are fitting the garment later, it is much easier to just drop it down in the shoulders to fit all the darts rather than fix all the darts. And if it’s too long, you can always cut it shorter.
Sewing
I sewed all the darts first. If you are not sure about the fit, hand stitch them first for test fitting, as I did. Then, sew them on the machine.
Always start at the wide end of the dart or in the middle and go towards the tip. Then sew the last 3-4 stitches going almost parallel with the edge so the curve is as smooth as possible. It is so hard to get the darts not sticking out, but this and proper ironing helps.
I attached the front bodice and back panel in the shoulders.
I pinned the midriff on the bodice, and when I was happy with its shape and placement, I just decided to topstitch it in place. It was the easiest I could do. Of course, you could cut off the excess bodice underneath, but I didn’t bother.
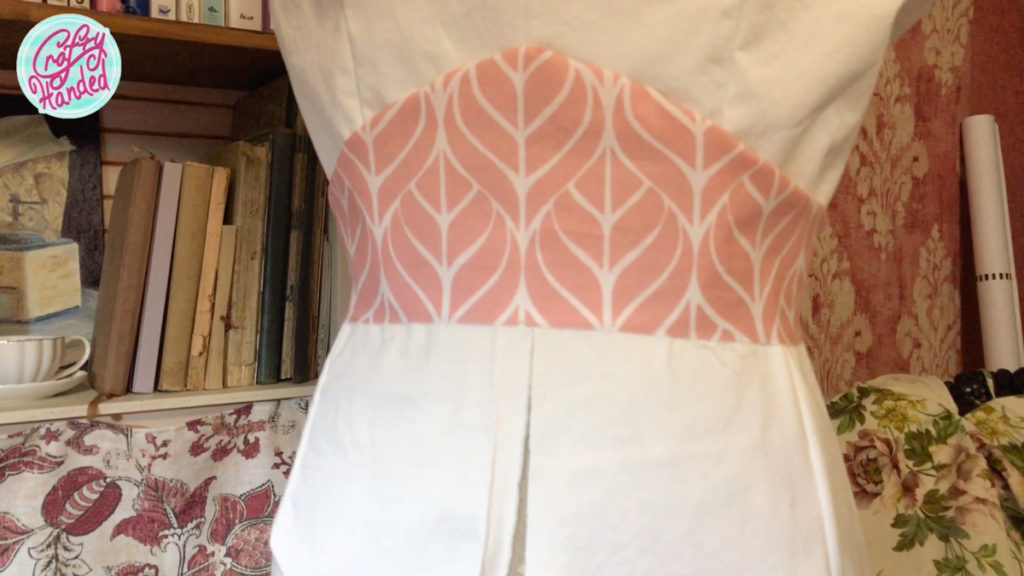
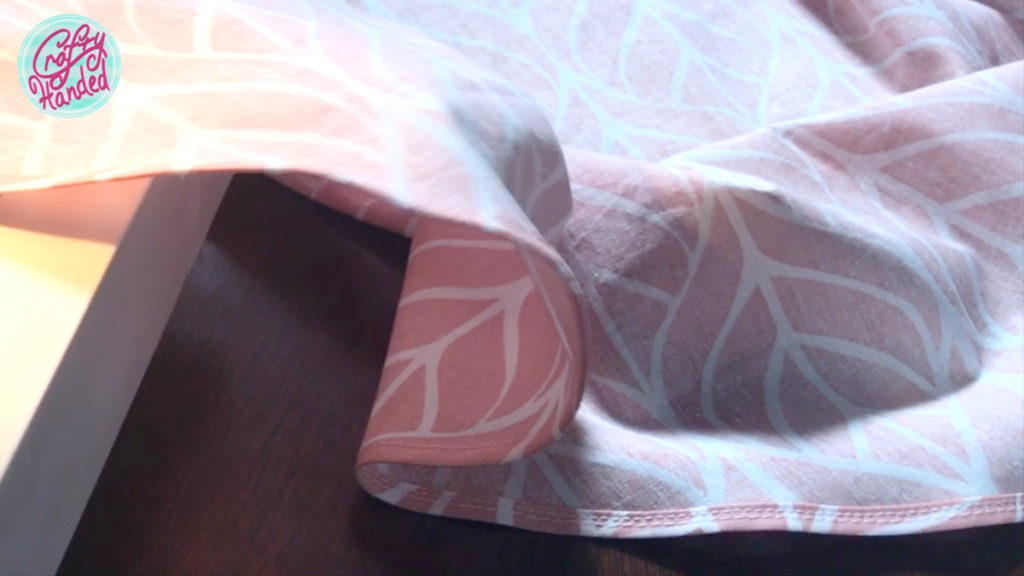
Next, I hemmed the sides of the skirt and attached it to the midriff. Don’t forget to make and align the center and side marks for an even fabric distribution.
The waistline is what makes your circle skirt ruffle right. If the skirt is too flat at some place, it needs to go up in the waist and the other way around. Before you even out the bottom hem!
When I tried the dress on, I started doubting the buttons on the back. Looking at the original pattern booklet again, I noticed the blue dress. That’s it, ties! I sewed them, turned them inside out, ironed them flat, and topstitched them. Before attaching them, though, the bias tape finishing needs to go around the armholes.
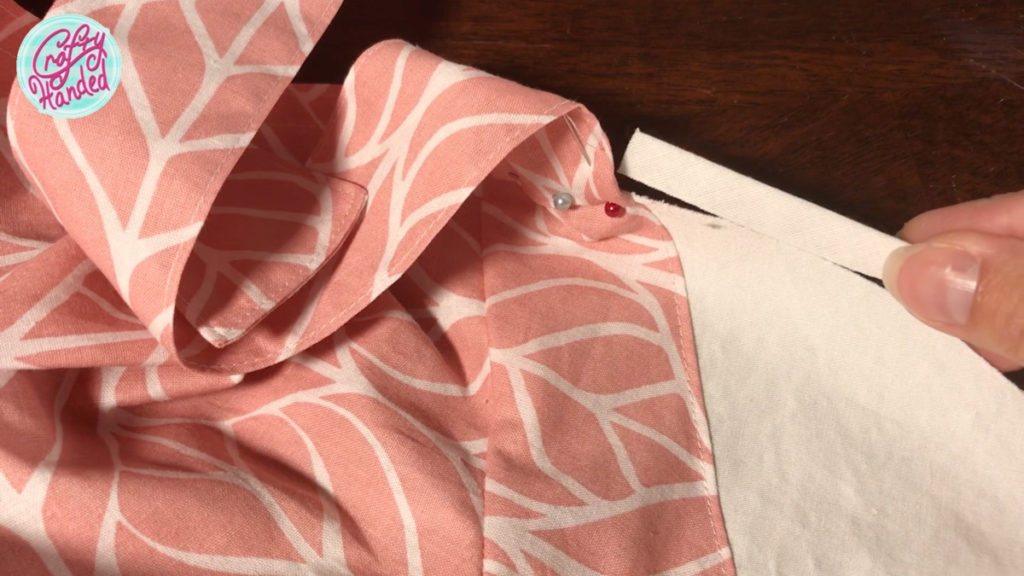
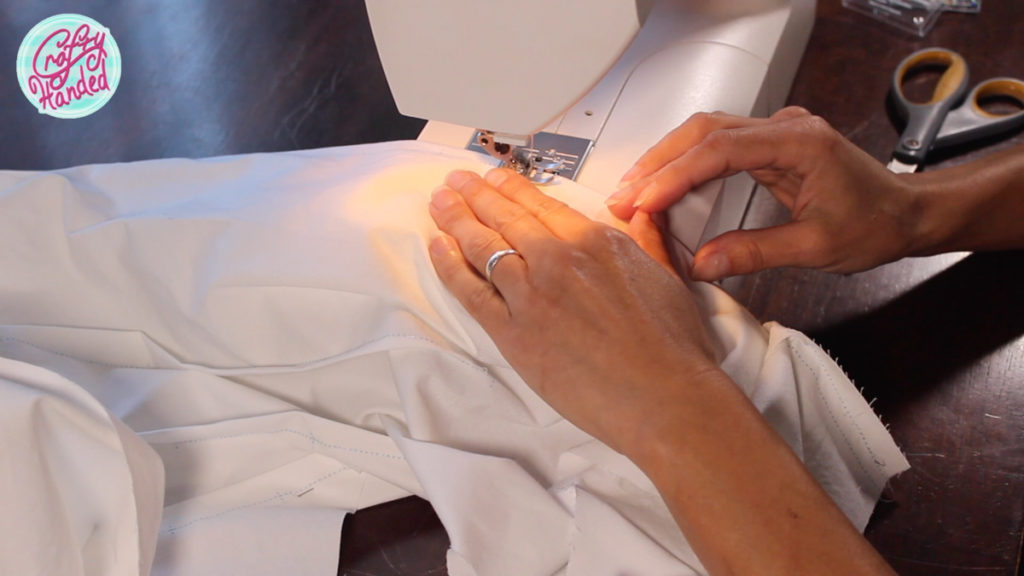
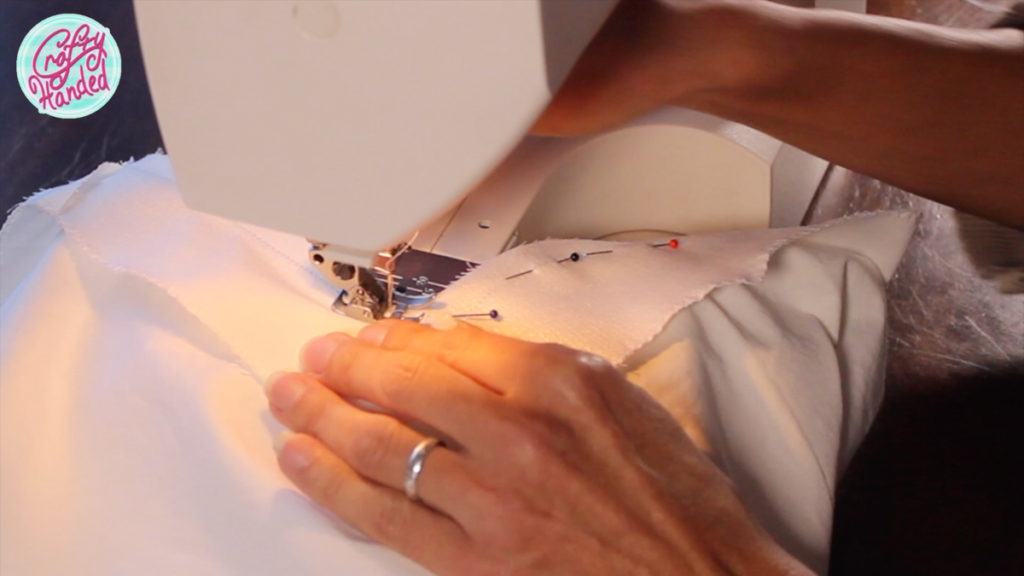
This time I’m using the correct technique to sew the bias tape. Not like with my first Walkaway Dress. First, pin the open bias tape along the edge and then sew it in the crease. Then, wrap the tape around the edge and either topstitch it or use the invisible stitch, like me, to secure it in place. Great Tip on Bias Tape Ending correctly.

Neckline Facing
Now, the scary part…
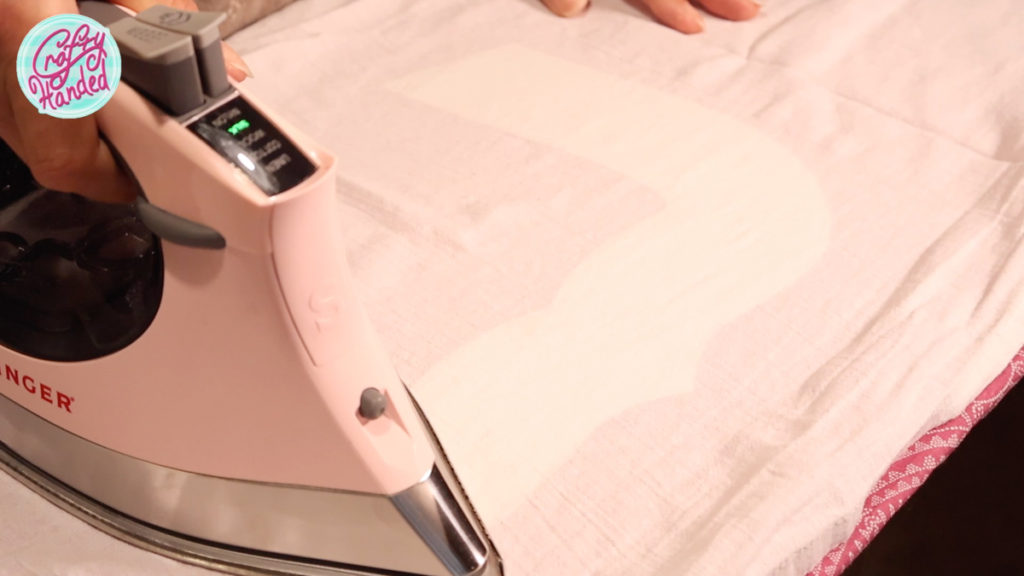
I pressed a slightly smaller lightweight interfacing on the back of the facings. I matched the shoulder seams with the dress and sewed the front and back facing together. Press the seams open.
Before attaching the facing, I run the zigzag stitch around the outer edge to prevent fraying.
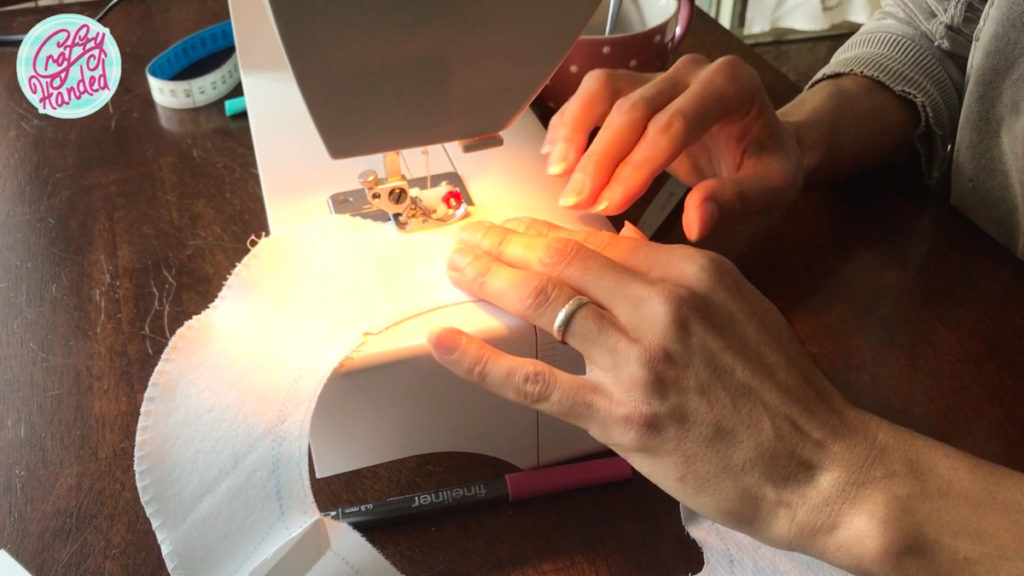
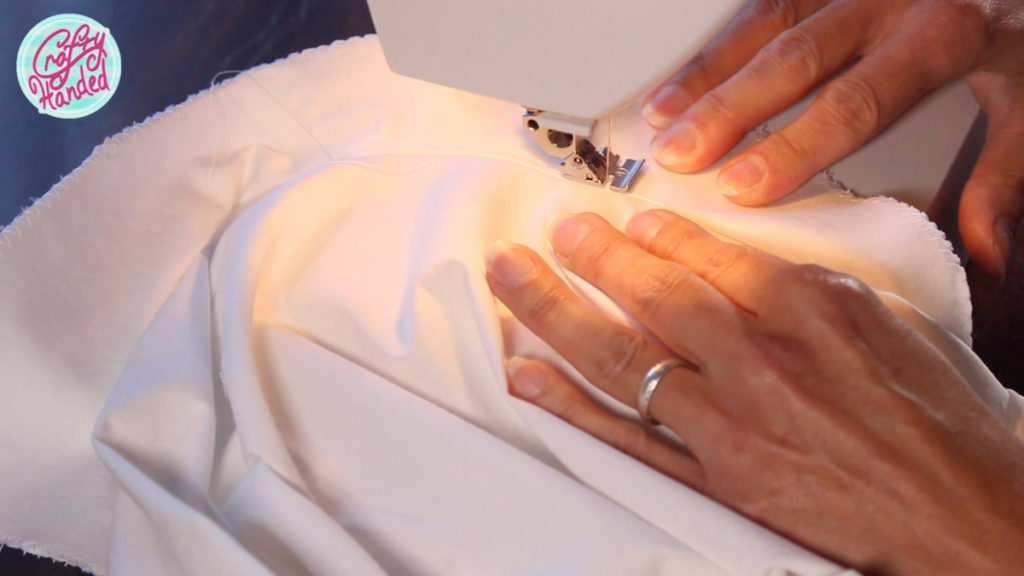
Then I pinned the facing to the dress neckline right sides together and sewed them around the edge. Very slowly, paying extra attention to the curves and the tip.
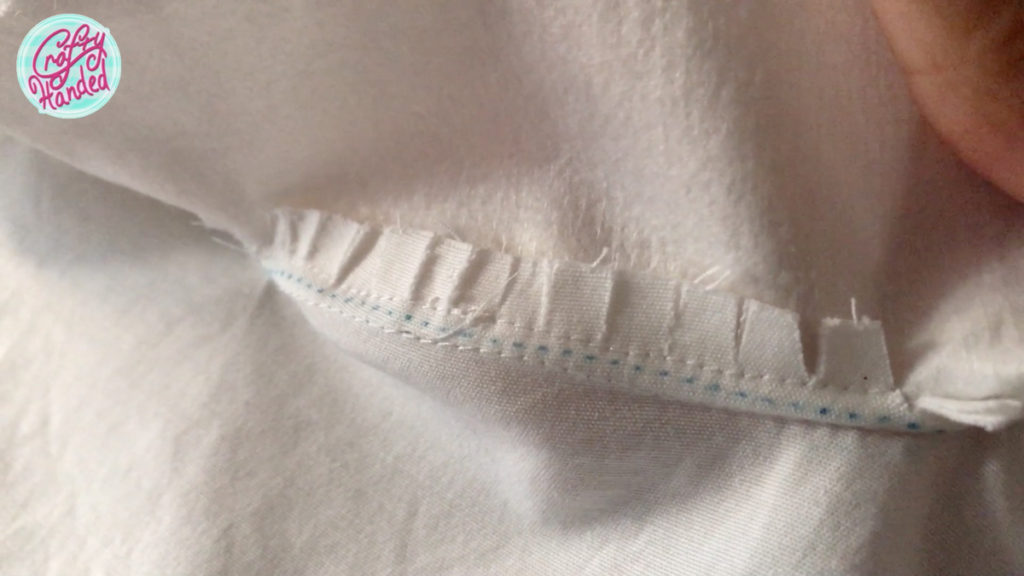
The inner edge of the neckline needs to be snipped in the curves almost to the seam so it can be turned inside out without pulling and puckering.
I think the trickiest part was the understitching. The facing needs to be stitched to the seam allowance so it stays folded back. Unfortunately, the snips tend to lump under the sewing foot while sewing, so watch out for that and go very slowly.
Finishing
And now it’s easy peasy. Let’s just finish the last unfinished seams. Which is to hem the sides of the back panel and finish the hemline on the skirt. And remember to check the waistline and adjust the ruffles before cutting off any uneven hemline.
You might need to adjust the length of the back panel, so it is not longer than the skirt itself, before the hemming. And we are done!
See my Walkaway dress for Grandma’s skirt hemming technique!
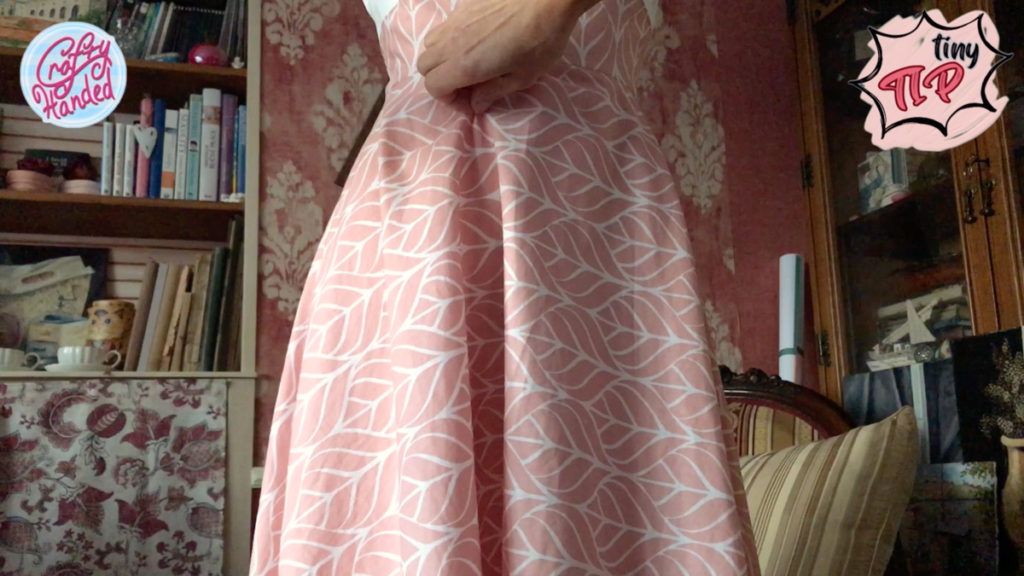
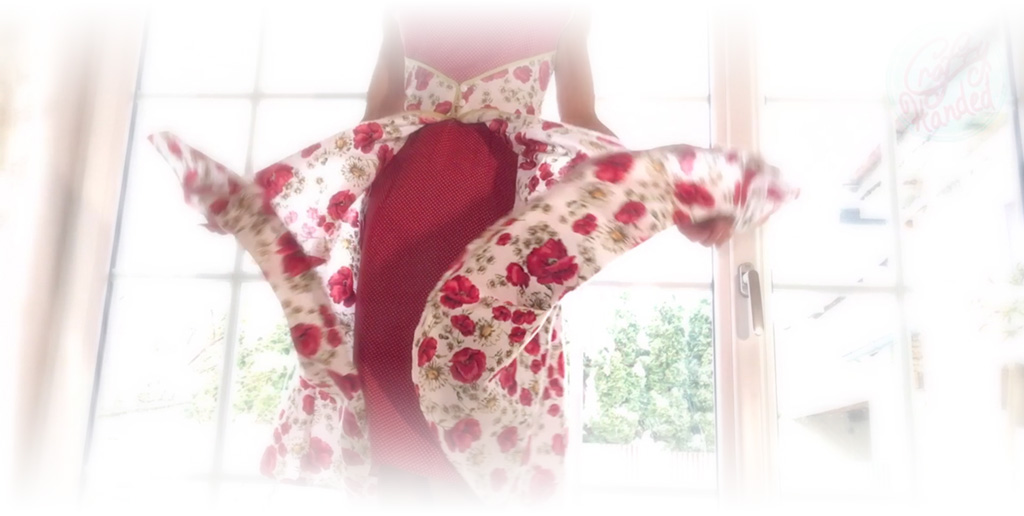
Reveal
Well, after months of light work, the dress was done. I know I am not a professional seamstress. This is only my third dress, but still, it fits quite nicely, considering my lack of professional knowledge.
Somehow, this dress seemed easier than the Walkaway dress, even though it also took half a year to complete. But that was mostly because of the outside influences.
You are invited to watch my Walkaway Dress Backwards video on my CraftyHanded YouTube channel …Or if you like what I do and would like to support me, please become my Patron
More Sewing Posts
-
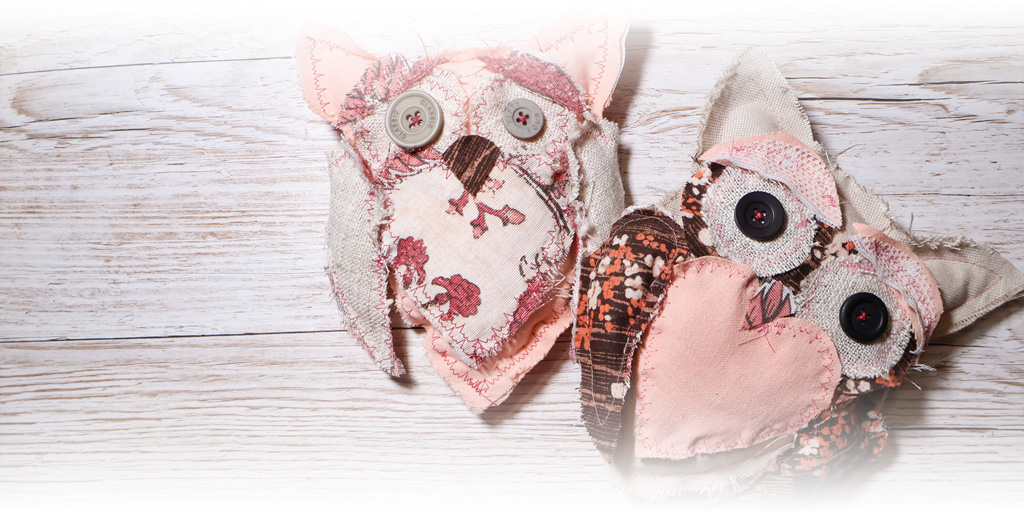
Valentine’s Love Owls
Let’s make an adorable last minute Valentine’s Love Owls gift. And you can write your love message on their heart!
-
Walkaway Dress Backwards
It took me only half a year to finish this backwards Walkaway Dress/ Saturday Morning Dress. I knew I should have used Christmas fabrics instead of summery ones…
-
Valentine’s Walkaway Dress (Challenge)
Just before Christmas, the Walkaway Dress Challenge popped up on my YouTube, and I decided to make one lovely Valentine’s Walkaway dress!