

Scrap Wood Toolbox
I decided to use some of my pet scrap wood for a toolbox/ garden box/ gift box. If you like a cottage, shabby chic decor, if you have some scrap wood and a few basic tools you can make your own whatever box with me. You are welcome to join me for my quick DIM (Do It Myself) Scrap Wood Toolbox project in my little workshop!
JUN 14, 2023 >
What I used and what you can use instead if you don’t have the same tools:
- carpenters square (anything else you have what you know has right angle, sheet of paper?)
- measuring tape (ruler)
- pencil
- carpet knife (scissors)
- chop saw (jig saw or you could use a hand saw if you have a lot of time and patience)
- sandpaper 60 and 80-grit
- clamp
- jig saw (or a hand saw)
- butterfly bit (a large wood drill bit)
- drill press (drill)
- drill + small drill bit for the nails (Optional. You could just nail the box together and hope the wood won’t split)
- hammer
- nails (the size depends on the wood you are using)
- paint, stencils for decorating
Scrap Wood Toolbox Construction
I will not measure much today because I am using scrap wood, trying to waste as little as possible.
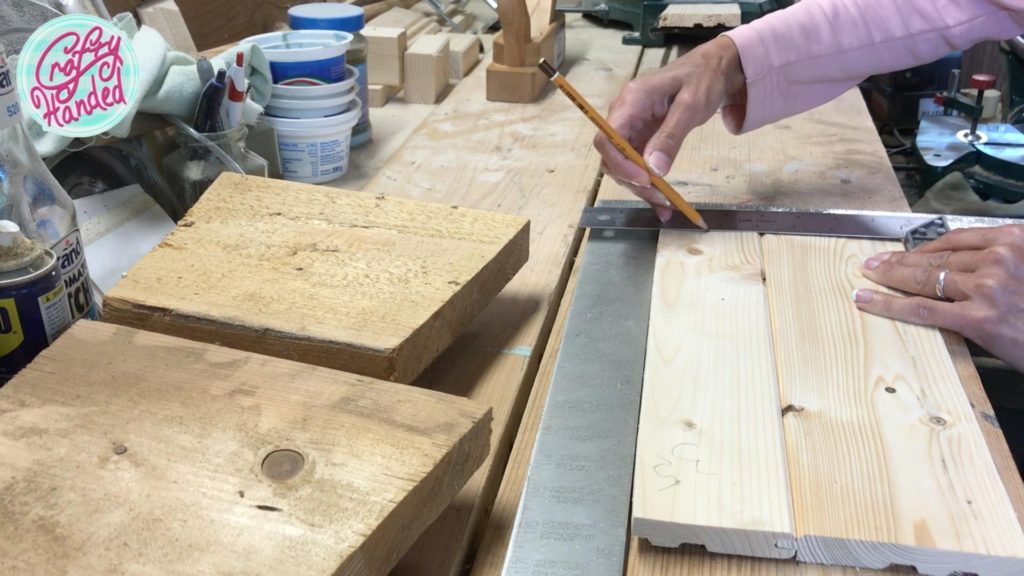
Tool Box Sides
Let’s start with making the sides of the box first. I am using the whole length of my short ends, just squaring the ends off. And, of course, making both the same length.
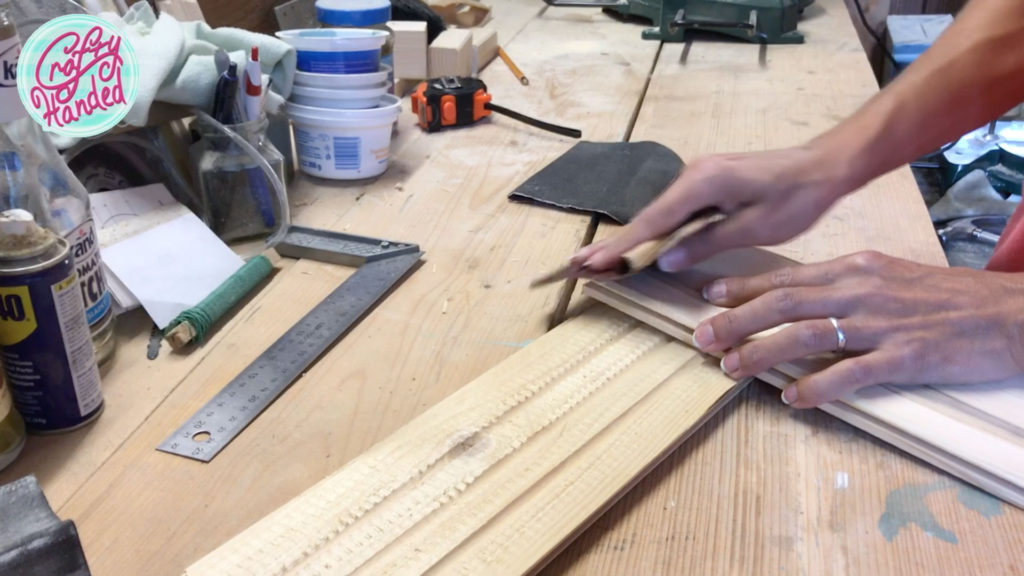
To clean up the fuzzy edges because my saw blade is not very fine, I am using 80 and 60-grit sandpaper. It is a good idea to sand away from yourself in the fiber direction to eliminate uncontrolled edge chipping, even though I’m a big fan of the worn and shabby look. I also lightly sand the sides, to take off any splinters.
Tool Box Bottom
The scraps I have, are also different widths, so I combined a couple to get the right width for the box bottom and adjusted the length so it would fit between the ends. Of course if you don’t find a match between your bottom width and the end width, you will need to cut one of them to size.
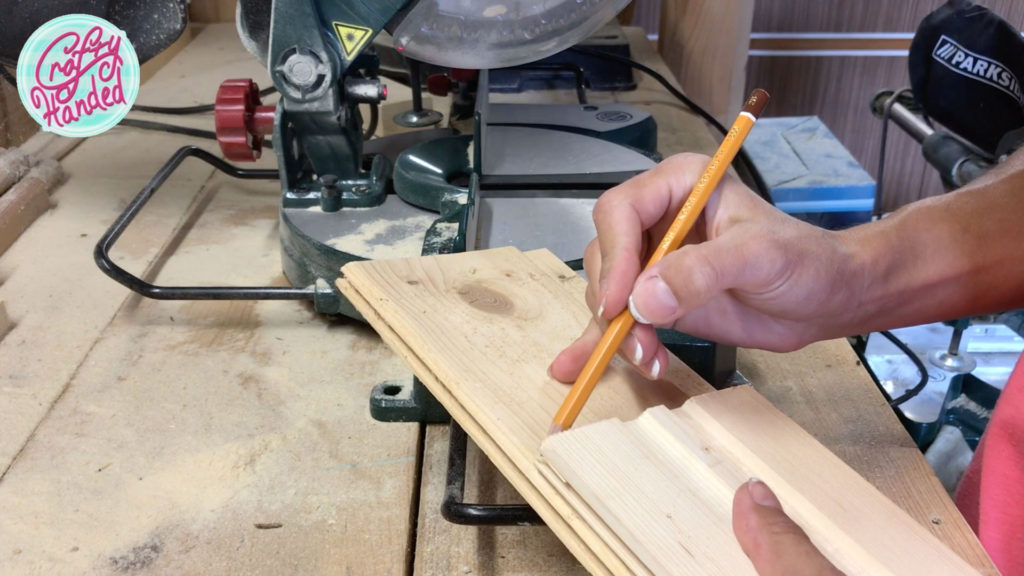
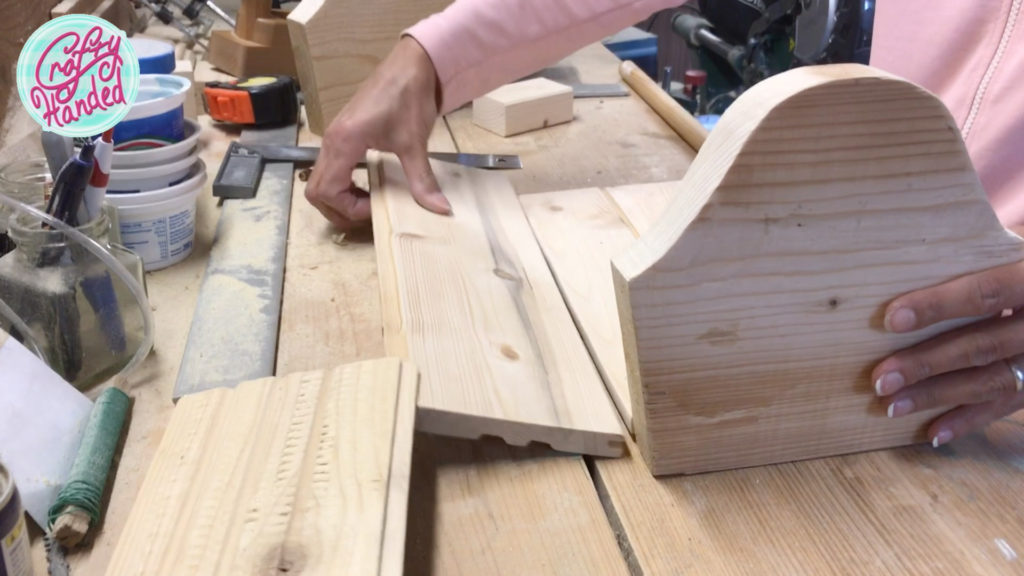
Tool Box Ends
For those I found some scraps that were already cut at an inspiring angle! What a great luck. I did like the angled ends, but to make things a bit more difficult, I’ve decided to make a curved top.
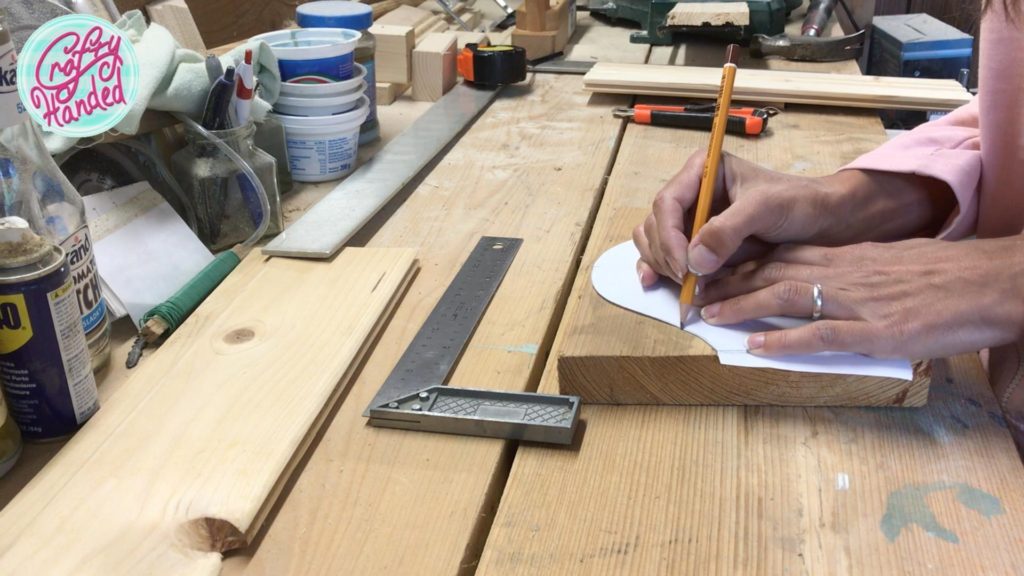
First, I drew a template on a piece of paper, folded in half. I marked the center of my wood piece to align with the center of the paper template. I traced the angled sides and then just freehanded the curve. I cut it out with a carpet knife because the scissors were somewhere in the kitchen. And then transferred the shape to my wood.
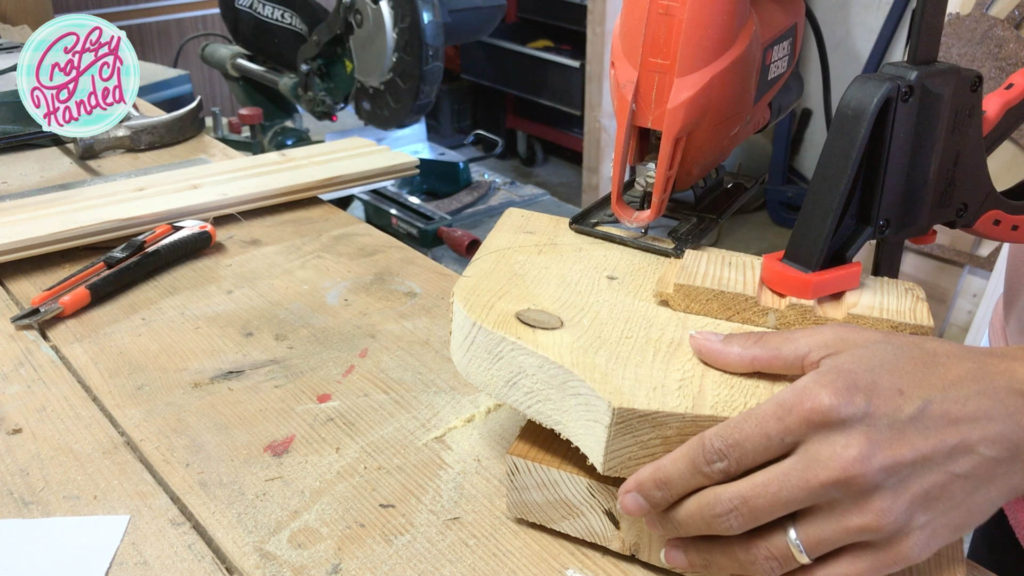
I prepared a “fancy” cutting rig. A couple important things to NOTE. Have the piece you are cutting above the table high enough so you don’t hit it with the jigsaw. Second, use a piece of scrap wood between the clamp and the wood you are cutting so you don’t damage it.

And, of course, use the proper eye protection, a respirator, and cut with care.
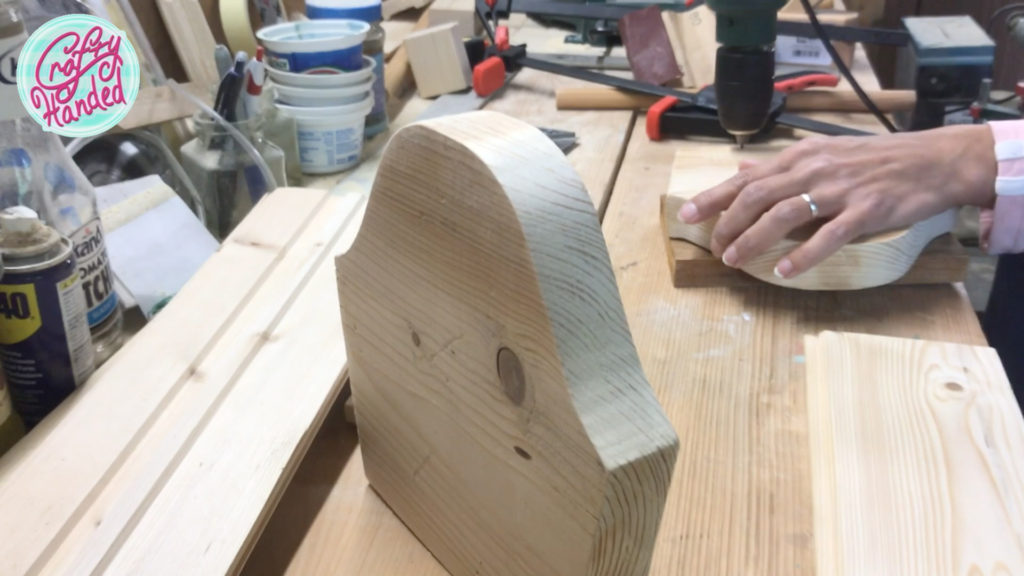
After cutting the first half of the curve, I decided to flip the wood upside down because it would be too tricky to start the cut on top of the curve. I traced my template on the other side and cut the other half of the curve.
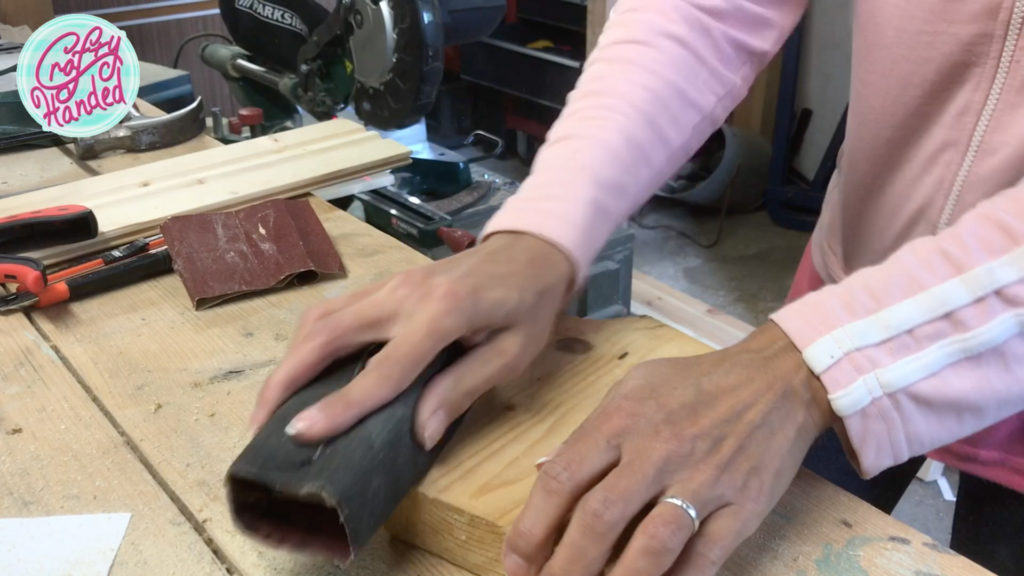
I cleaned up the edges again with the 80-grit sandpaper, and because one side of my board was way too rough, I decided to take the fuzz off with the 60-grit sandpaper wrapped around a handy wood block. It worked great but you could also use an electric sander if you want.
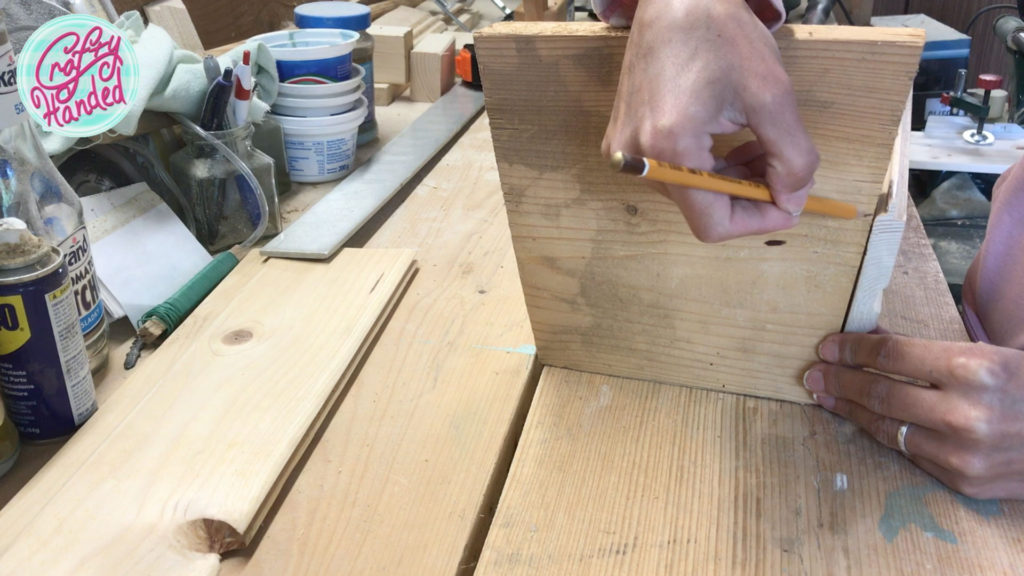
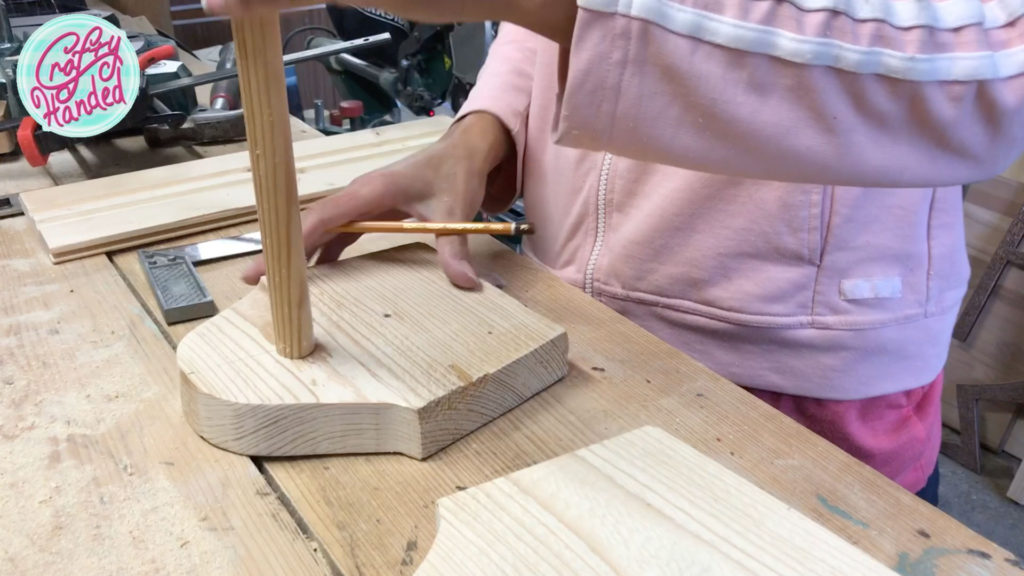
I made two identical pieces, and it was time to mark the handle, so I refreshed the top center mark.
Wood Toolbox Handle
I was lucky to find a long enough piece of a round dowel in my pet piles. I placed it on one of the ends to see where the best spot for the handle would be. And I marked it. On both ends equally, of course.
I put the ends on the outside of my box bottom and the sides over the ends to measure the length of the dowel. The dowel will not go all the way through, even though it could if you secure it with glue or a nail. Mine will be closed between the ends, just about halfway in. I mark the length from the center to the center of each end. And cut it to length on my chop saw. Of course, I clean up the cut edges with sandpaper.
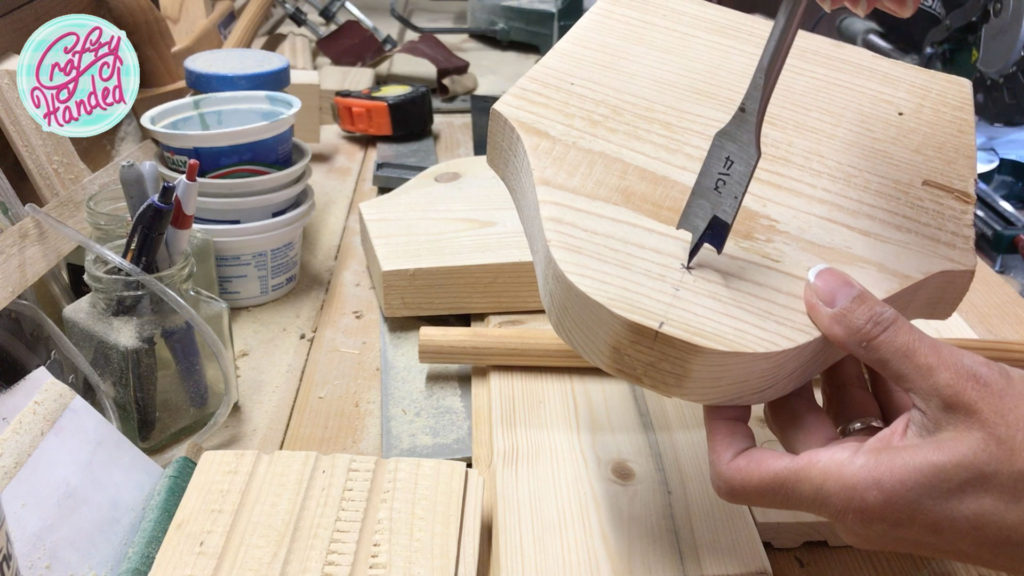
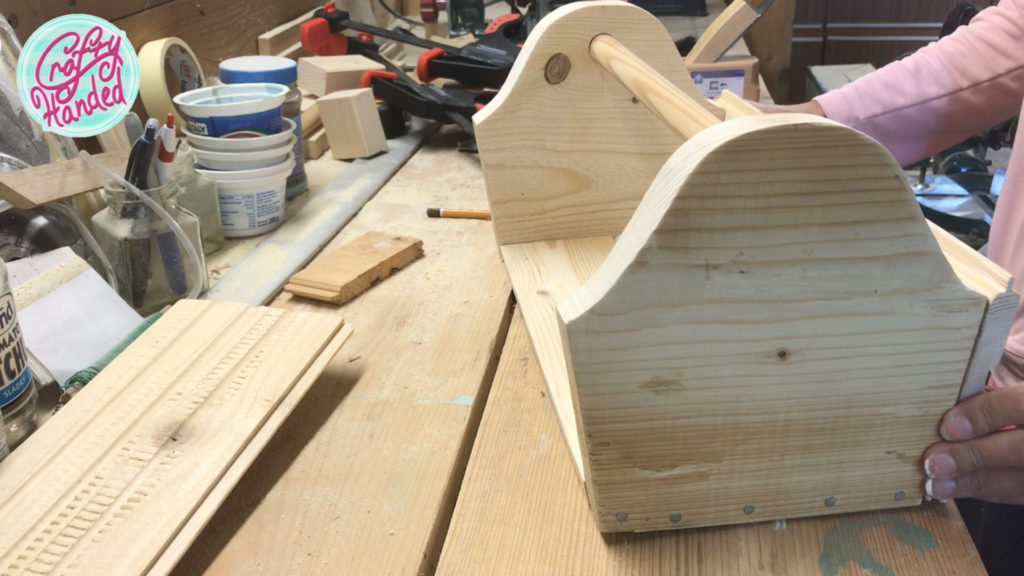
Wood Toolbox Assembly
I chose the closest size of my butterfly bits, just slightly larger than the dowel. And I will use it in my hand press to make the handle sockets in both ends. I mark the desired depth with masking tape to not drill the holes too deep.
I also predrilled the holes for the nails I’m using to attach the bottom, so I would eliminate the possible wood splitting. I’ll get the nails ready halfway in, so they are waiting there for me.
I am gluing the bottom pieces together so they would hold better. Then after placing the handle into the predrilled sockets, I close the bottom piece between the ends and nail it together.
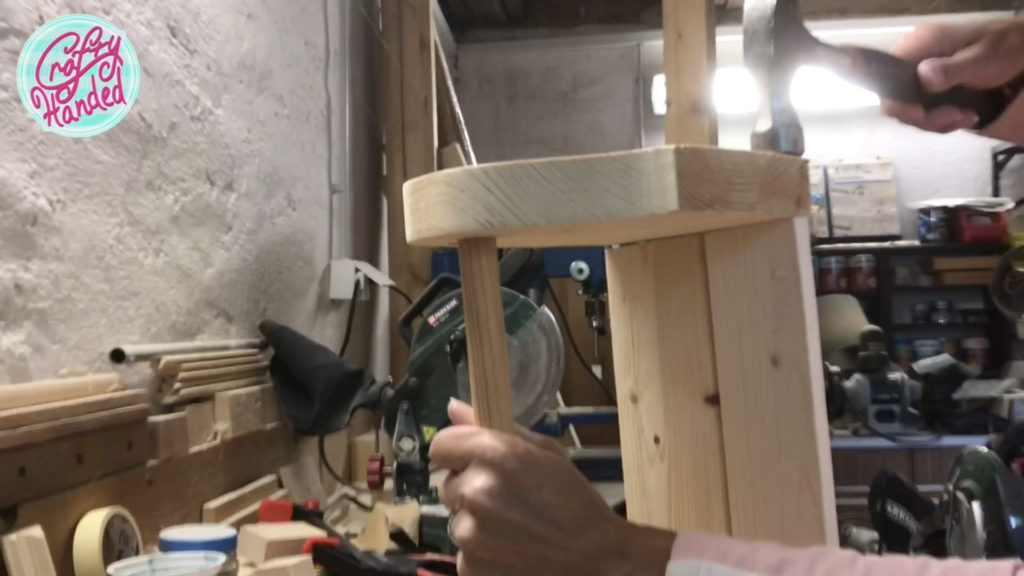
And now the sides. I just nailed them down. My sideboards are from a soft pine, so I am going on the assumption the nails will go in like butter and the wood will not split.
Final Finish
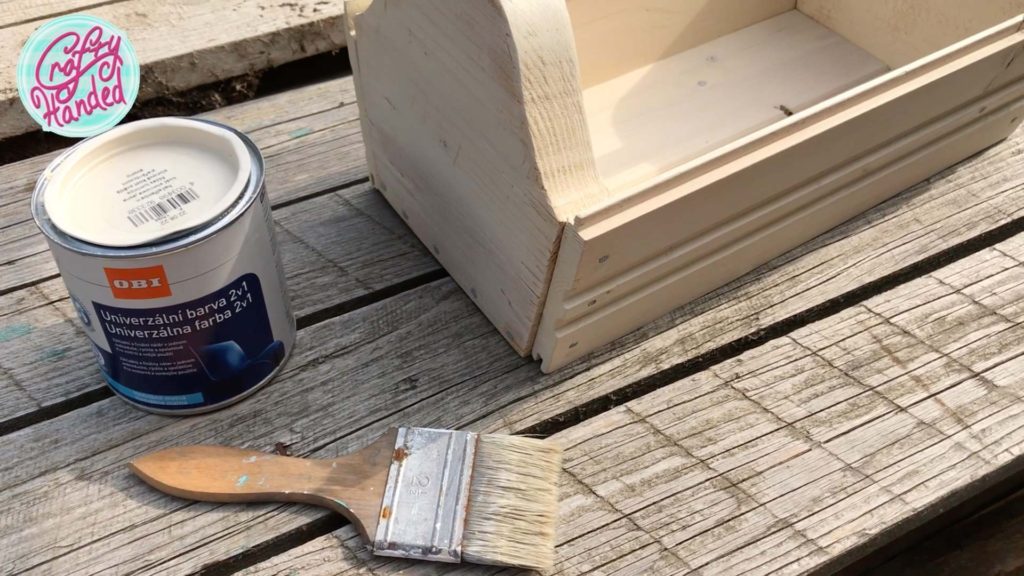
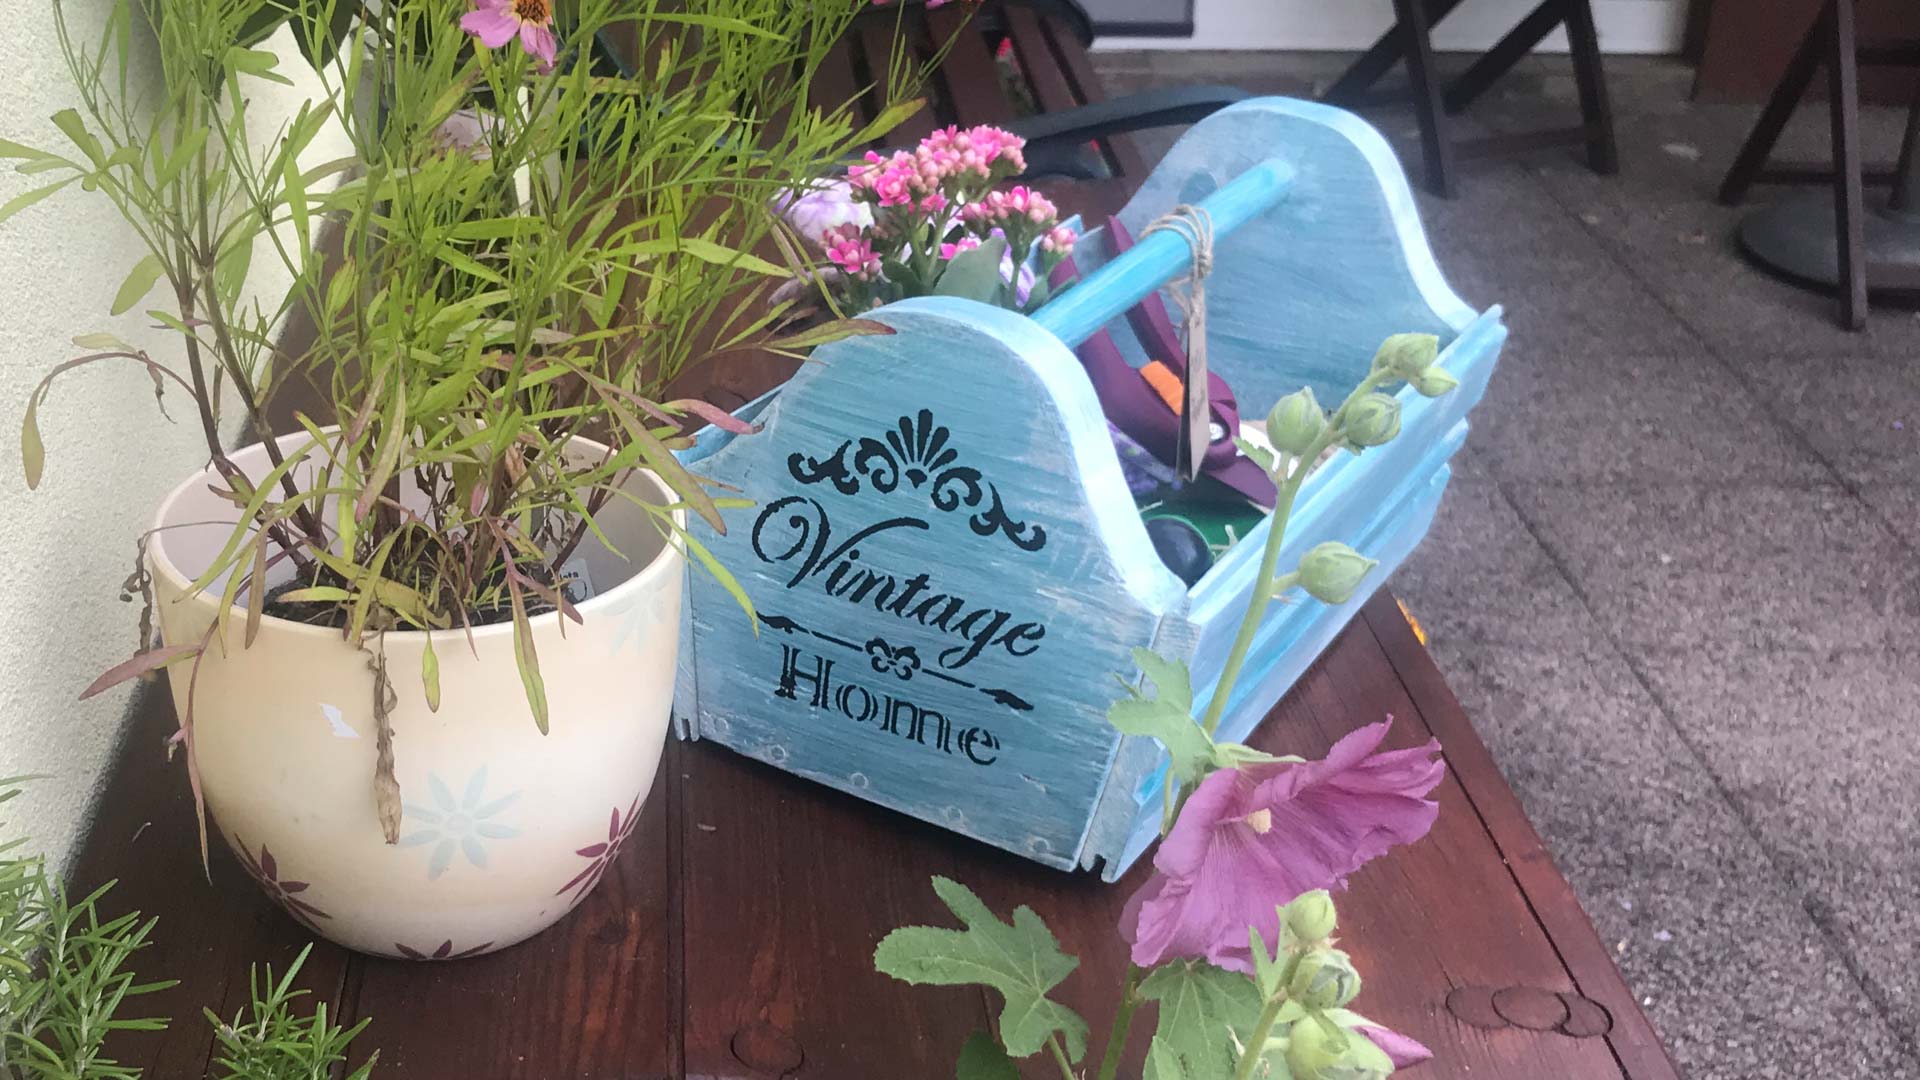
A couple of hours later, the box is done, and now it just needs some decorative finish. The shabby look is my thing, so I am going to layer some “sloppy” paint down.
For this one, I will start by painting the whole box with ivory-colored water-based wood paint. Not trying to get full coverage!
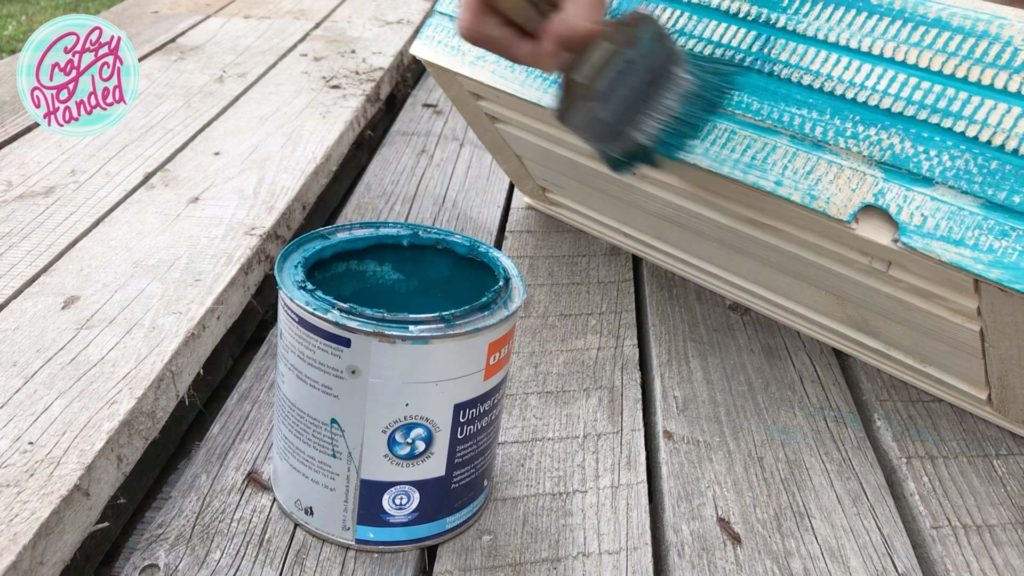
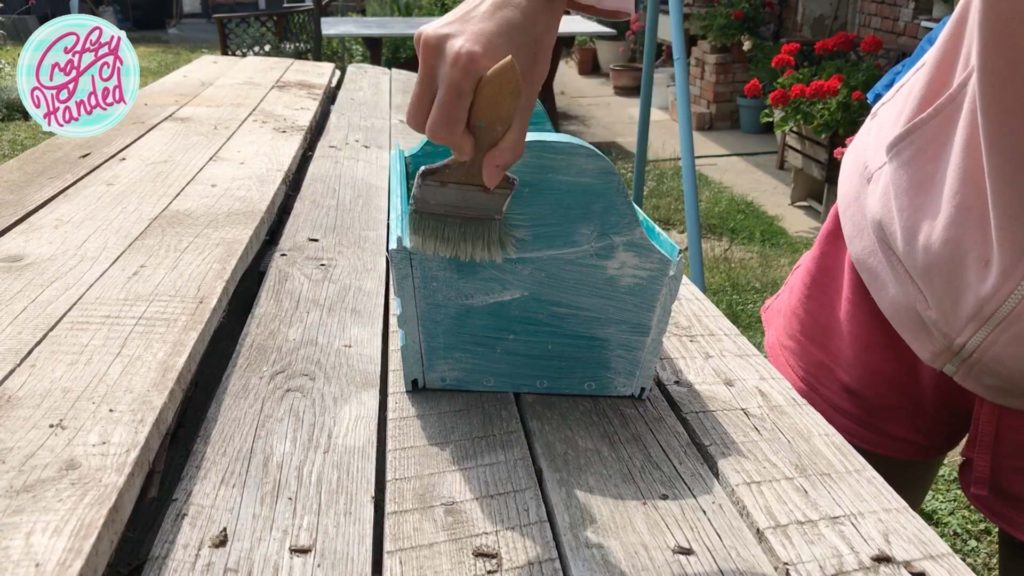
After the paint dries, I am putting on the second coat in Turquoise color. Again, not focussing on precise coverage.
And the final coat is to cover the whole box in a white gel stain. It soaks in all the unpainted spots and depressions and dulls down the bold blue color.
The finishing touch is the stenciling. For which I am going to do a separate post. Because there is some tips and tricks to get it right and fixing the mistakes. When I post it I will link it here for you.
I hope I inspired you to make your own box for whatever goodies you desire. Happy crafting!
For visual guidance watch the detailed video on my YouTube channel …Or if you like what I do and would like to support me, please become my Patron.
More Woodworking Projects
-
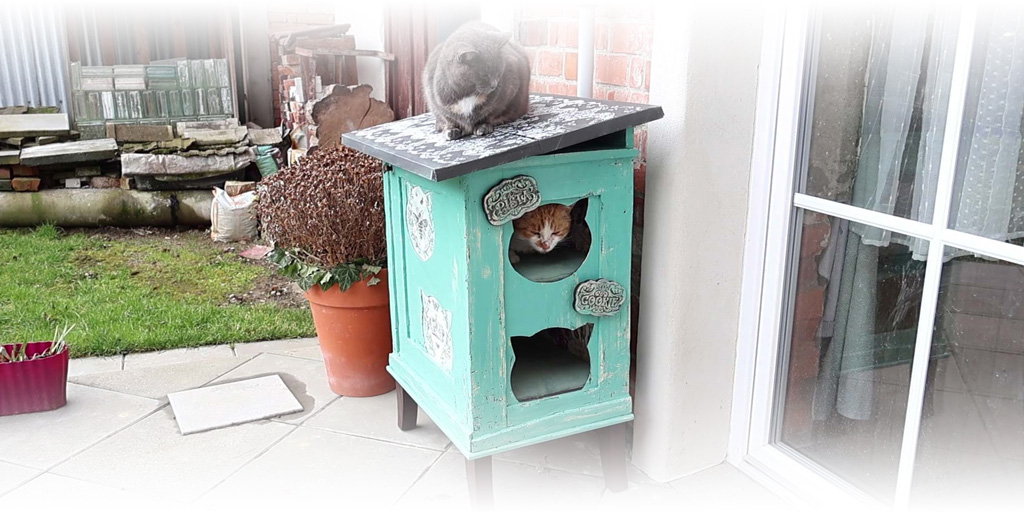
Kitty Cat Winter Retreat
What about some “tropical” Kitty Cat Winter Retreat for my outdoor kitties to ease their winter?? Quick project gone wild.
-
Scrap Wood Toolbox
I decided to use some of my pet scrap wood for a toolbox/ garden box/ gift box…and you are welcome to join me for my quick DIM (Do It Myself 🙂
-
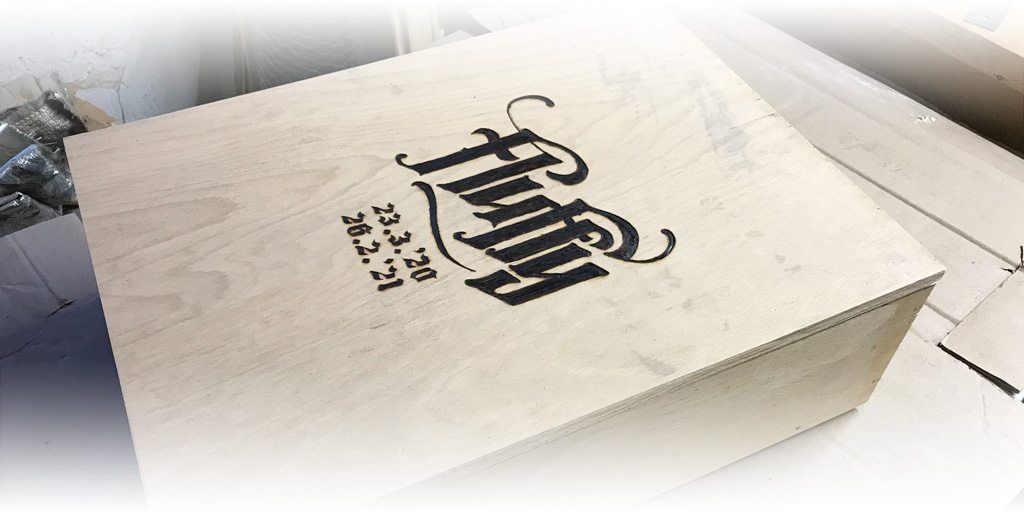
Wood Casket Inscription
…In his memory I have decided to decorate the lid of the box with his name inscription…